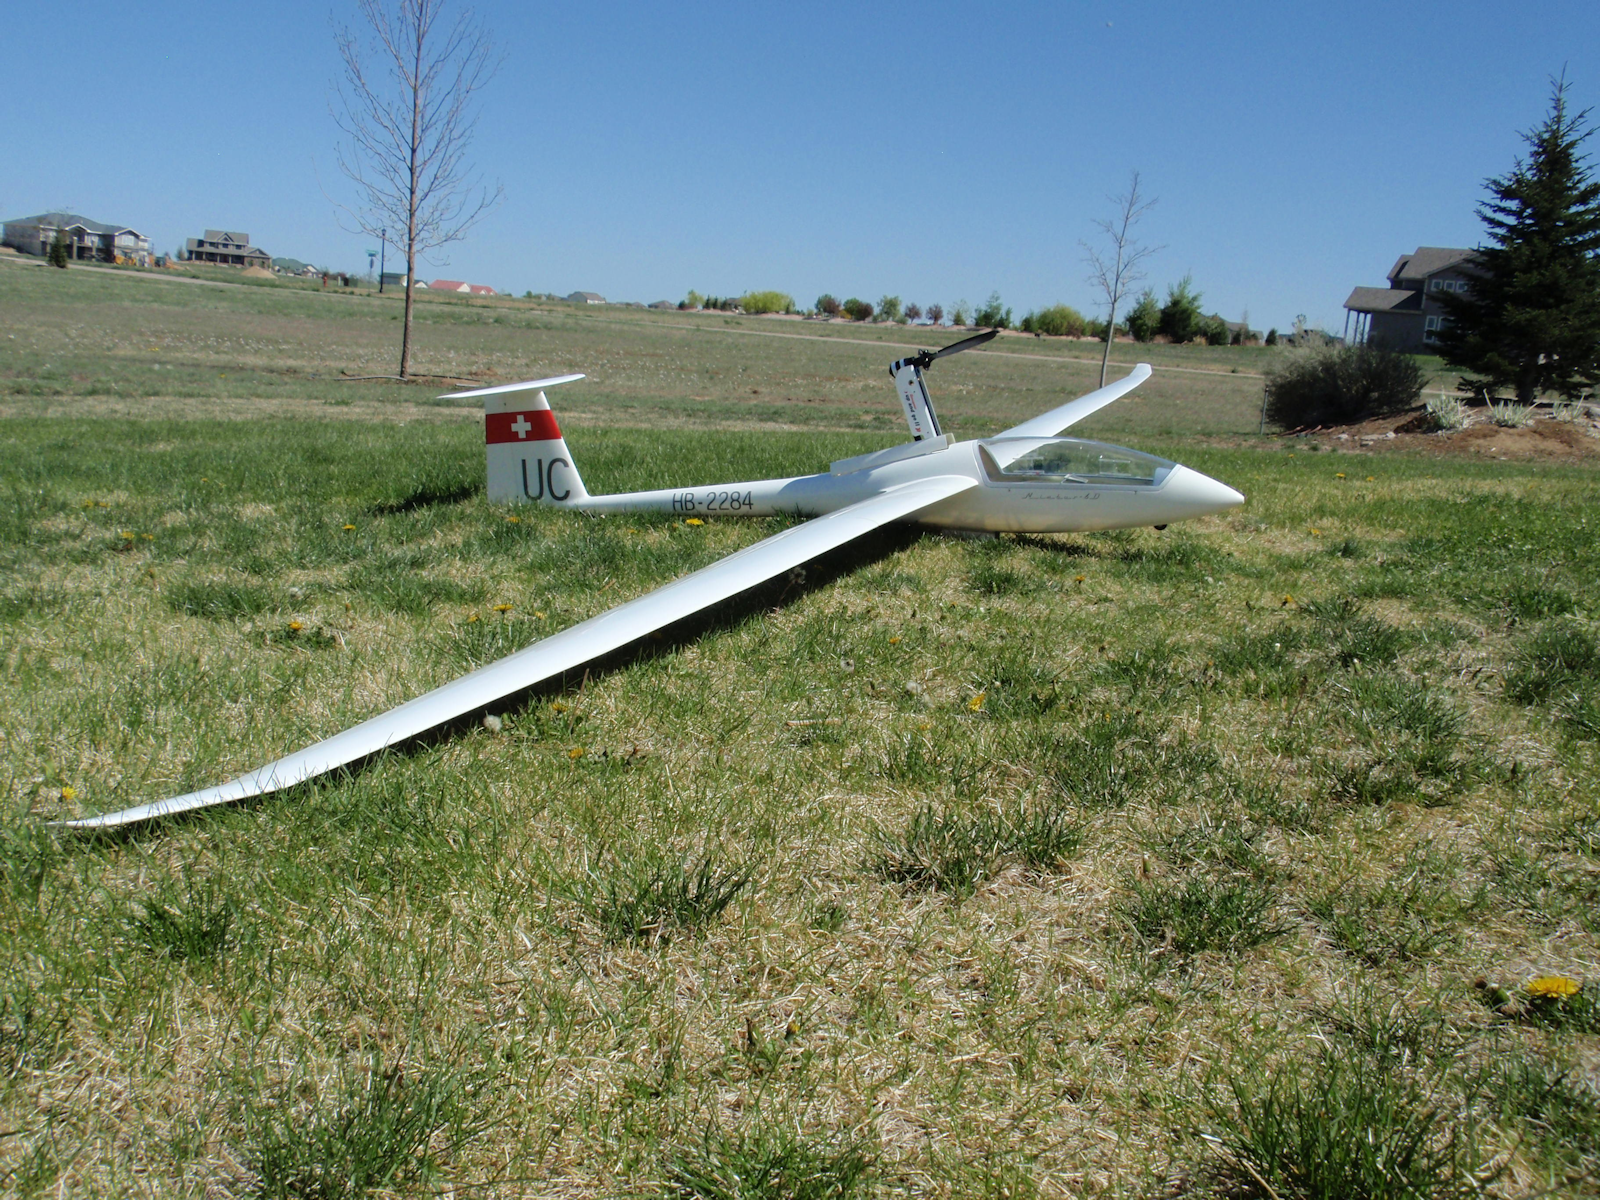
Icare 5.2M Nimbus 4D Up and Go install
Below are some pictures of the sailplane in progress. Click on thumbnails to enlarge, use the back button to return to this page.
First step, I cut the wing rod and alignment rod tubes out. I figured I could do this without hurting the fuse just in case the Up and Go doesn't fit
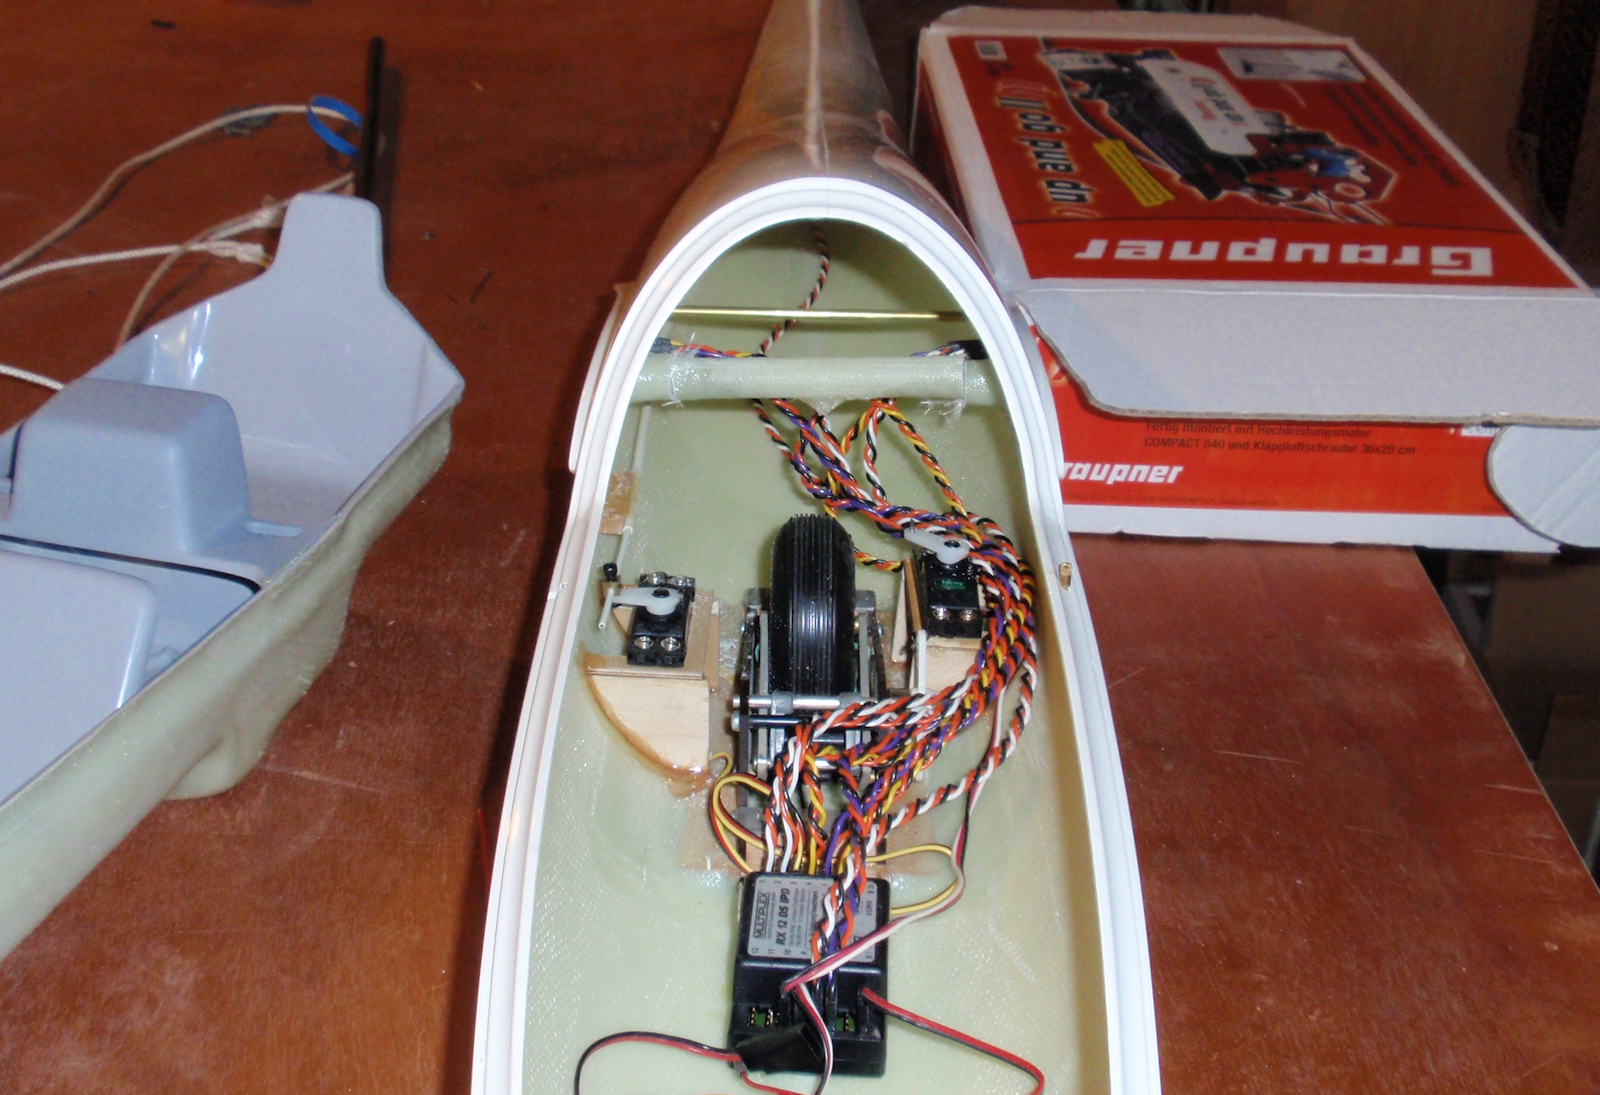
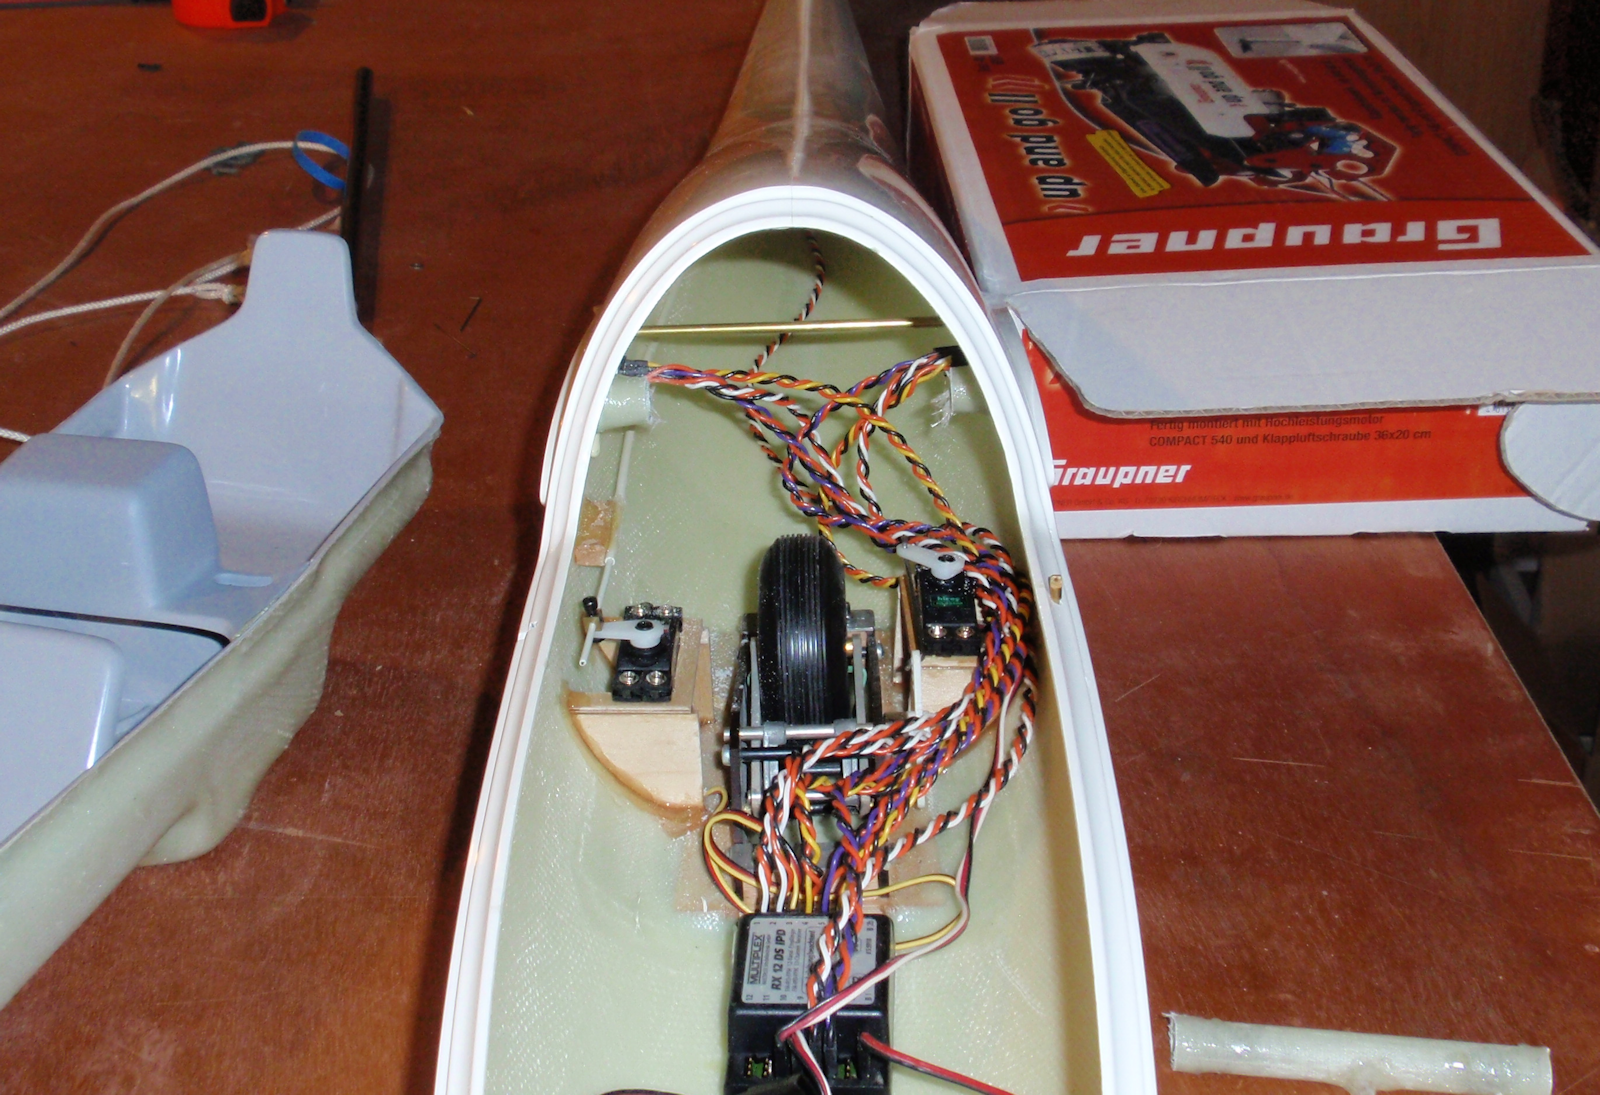
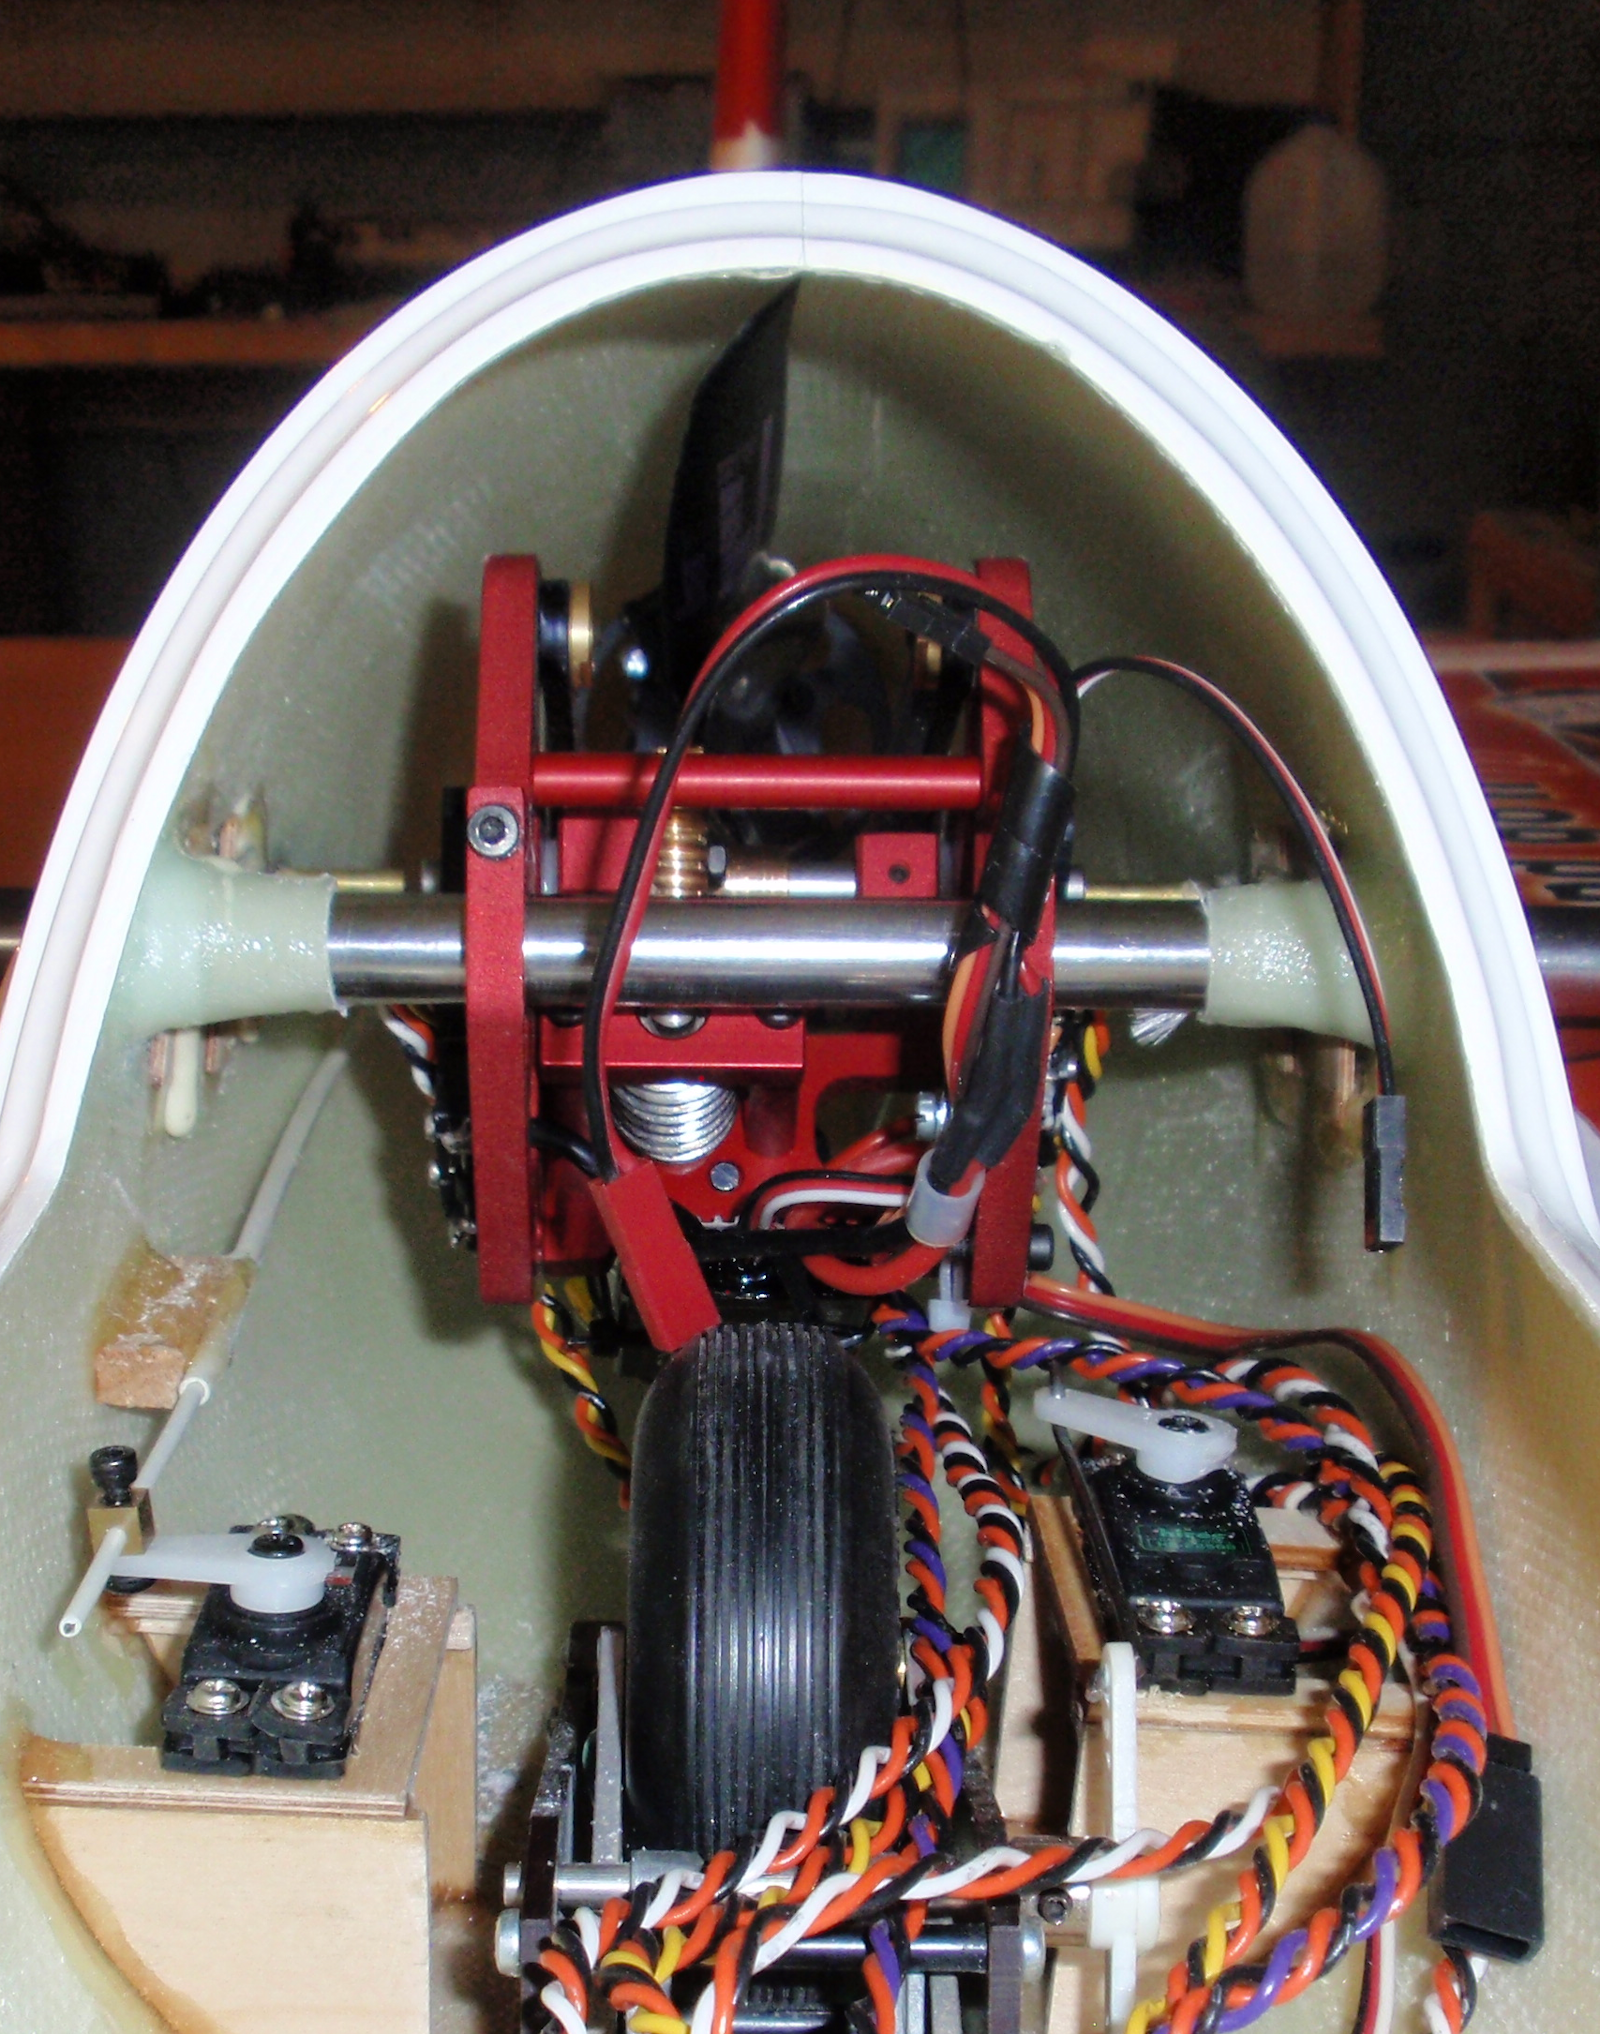
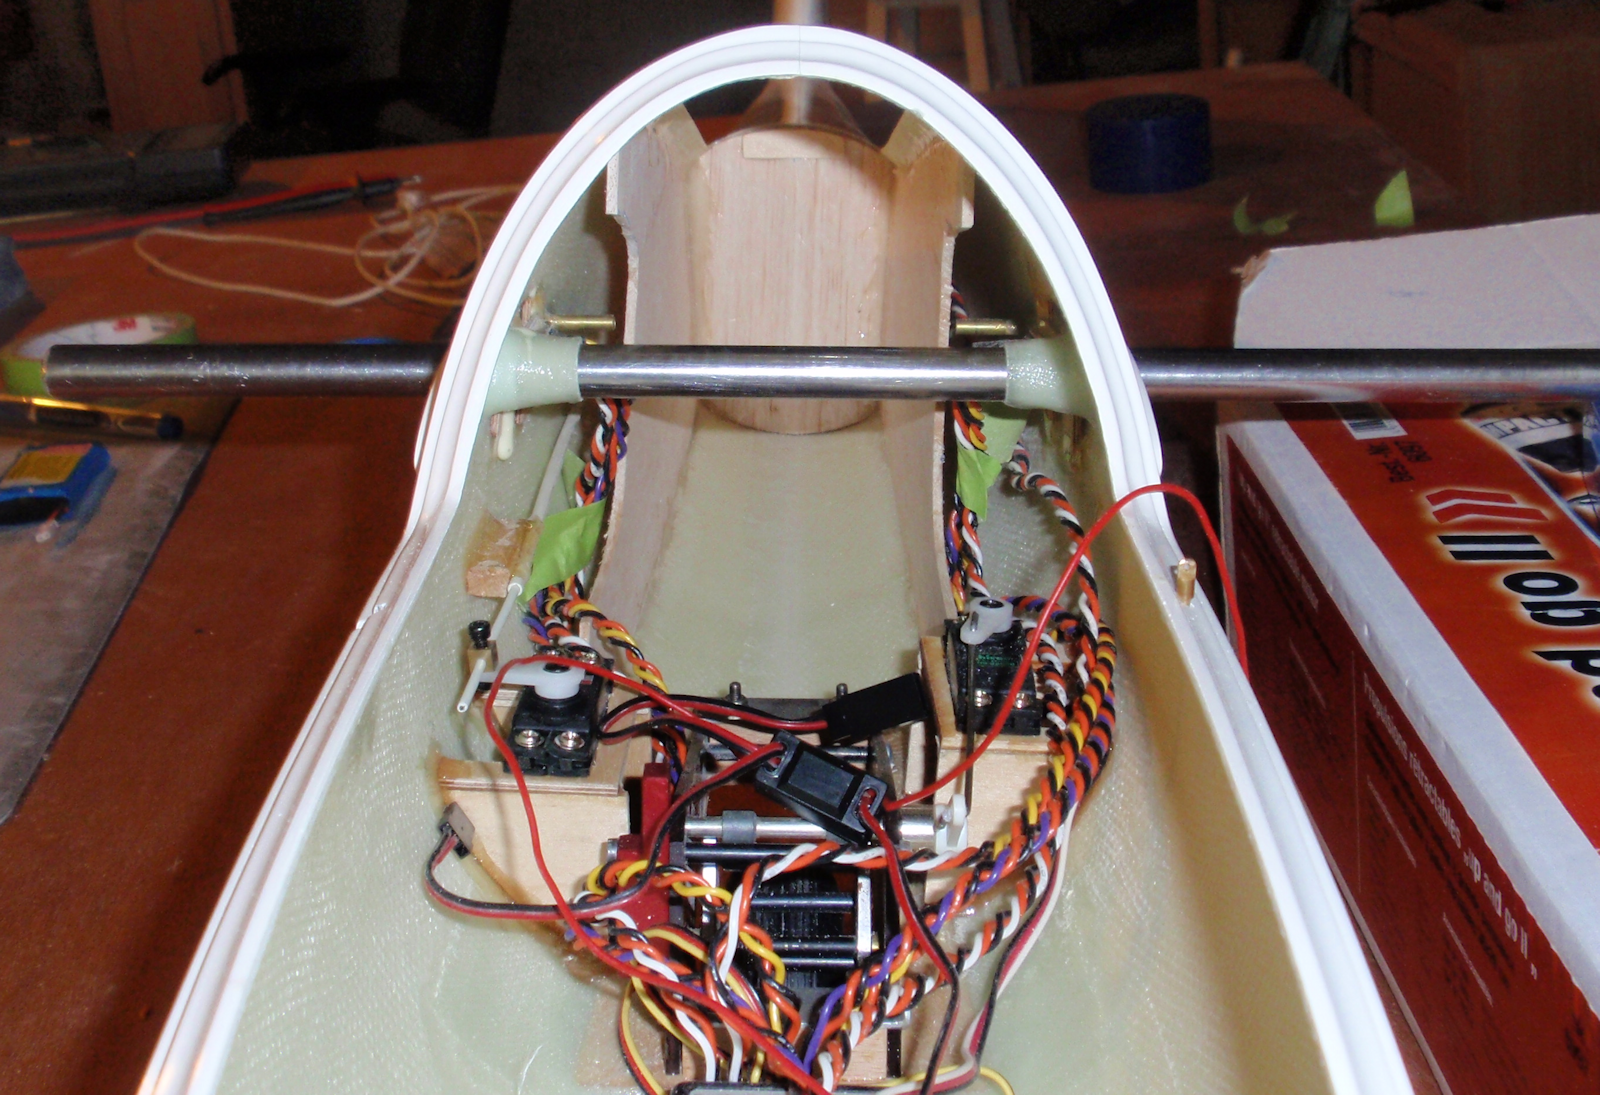
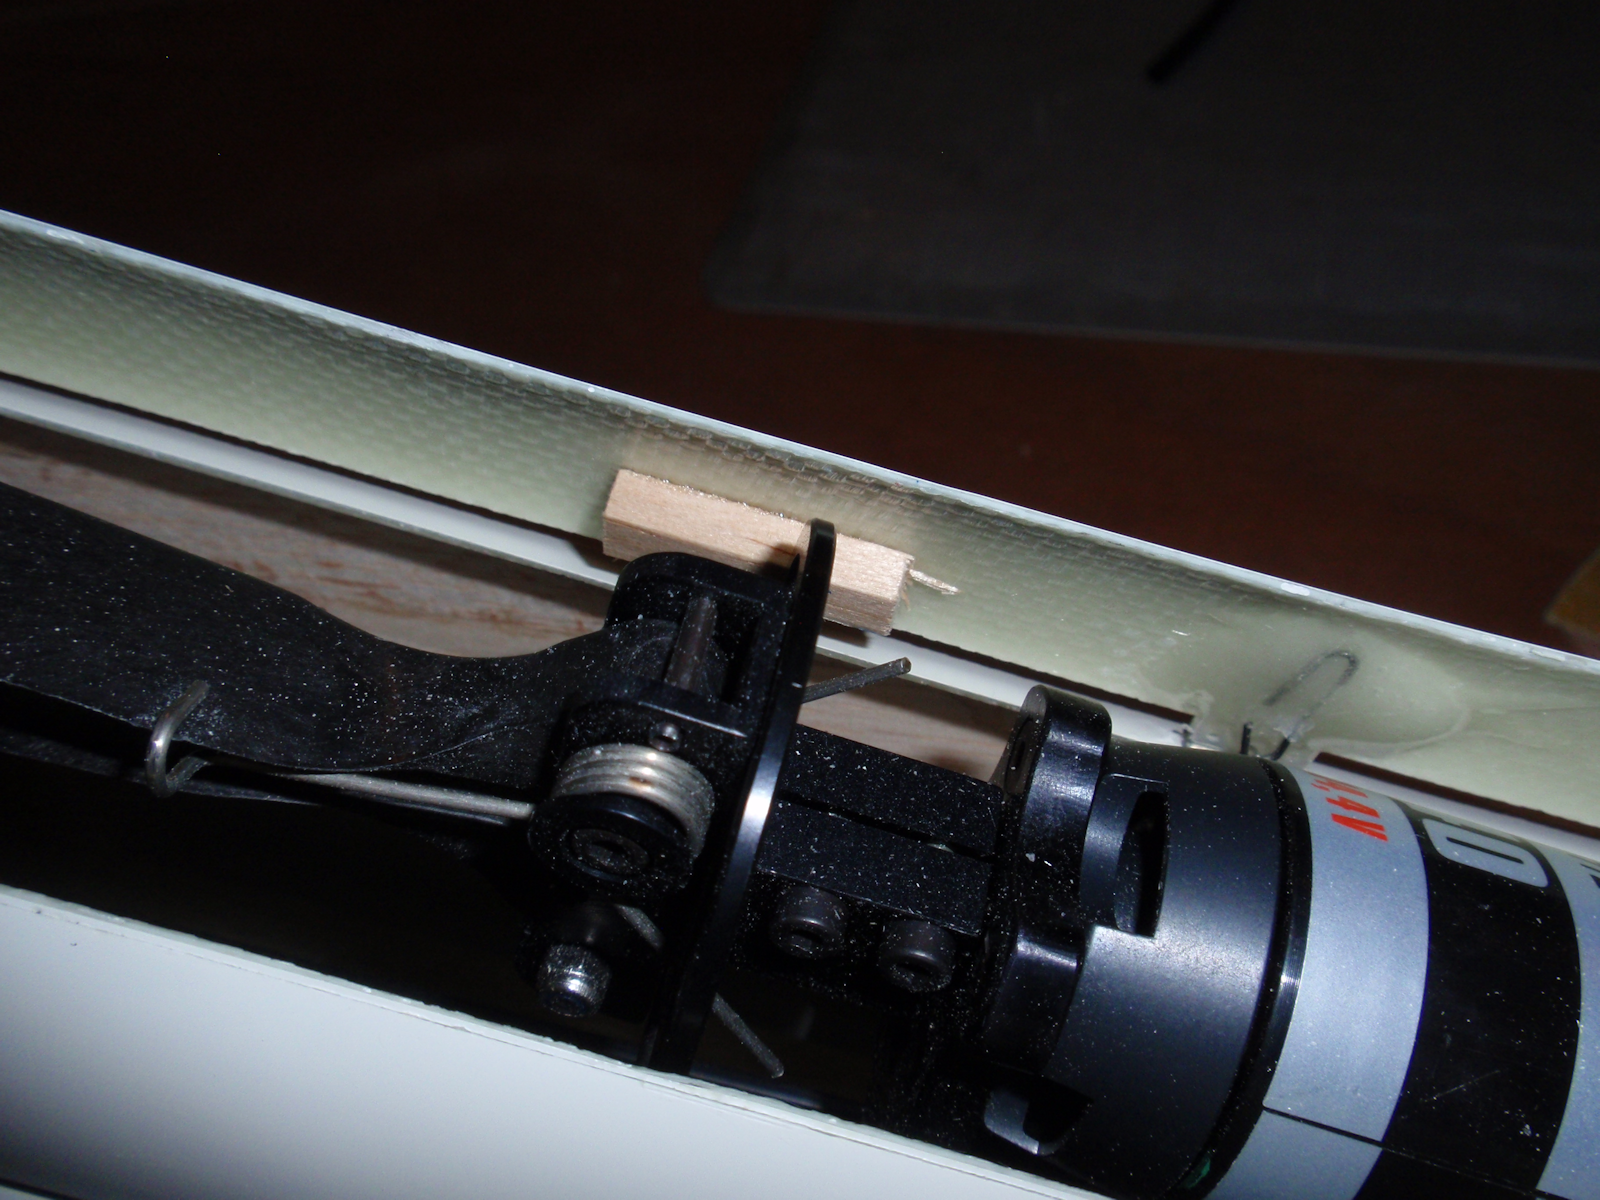
Once I decided the Up and Go did fit, I work on the mount. The Up and Go can be mounted on the wing rod tube or mounted to plates using the mounting brackets that are supplied. I choose to use the wing rod method. I start by fitting the supplied brass tube to fit between whats left of the fuselage fiberglass wing rod tube.
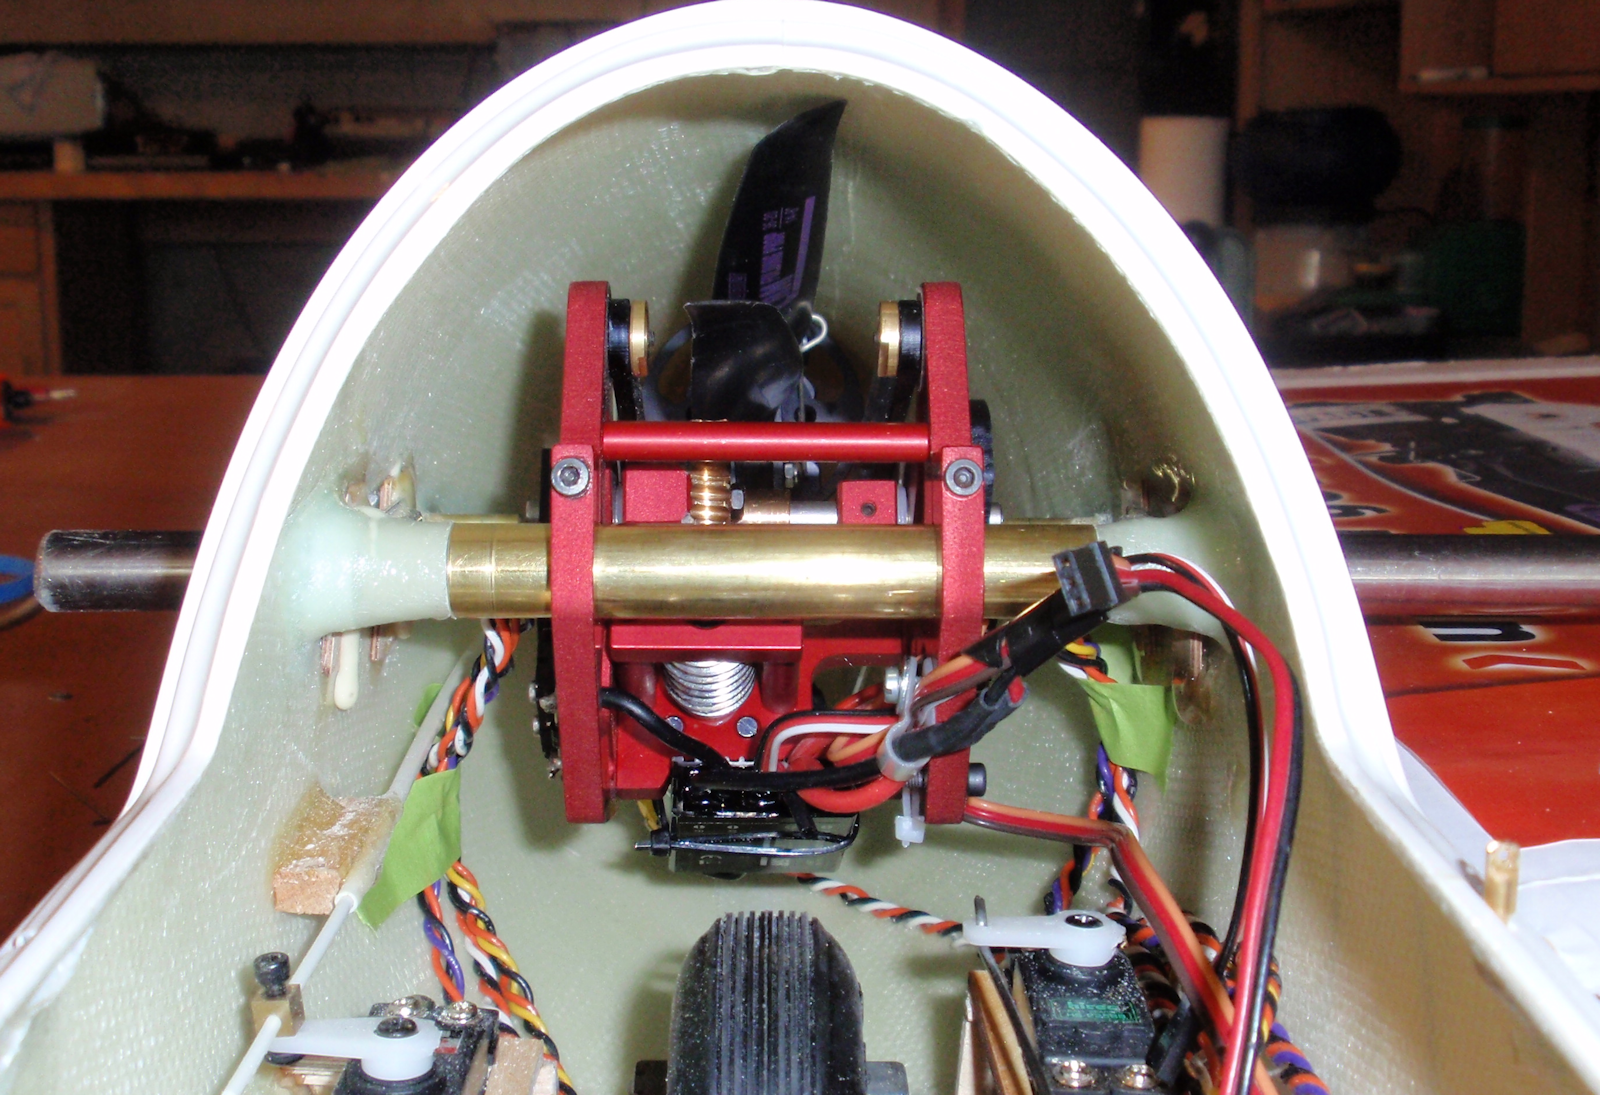


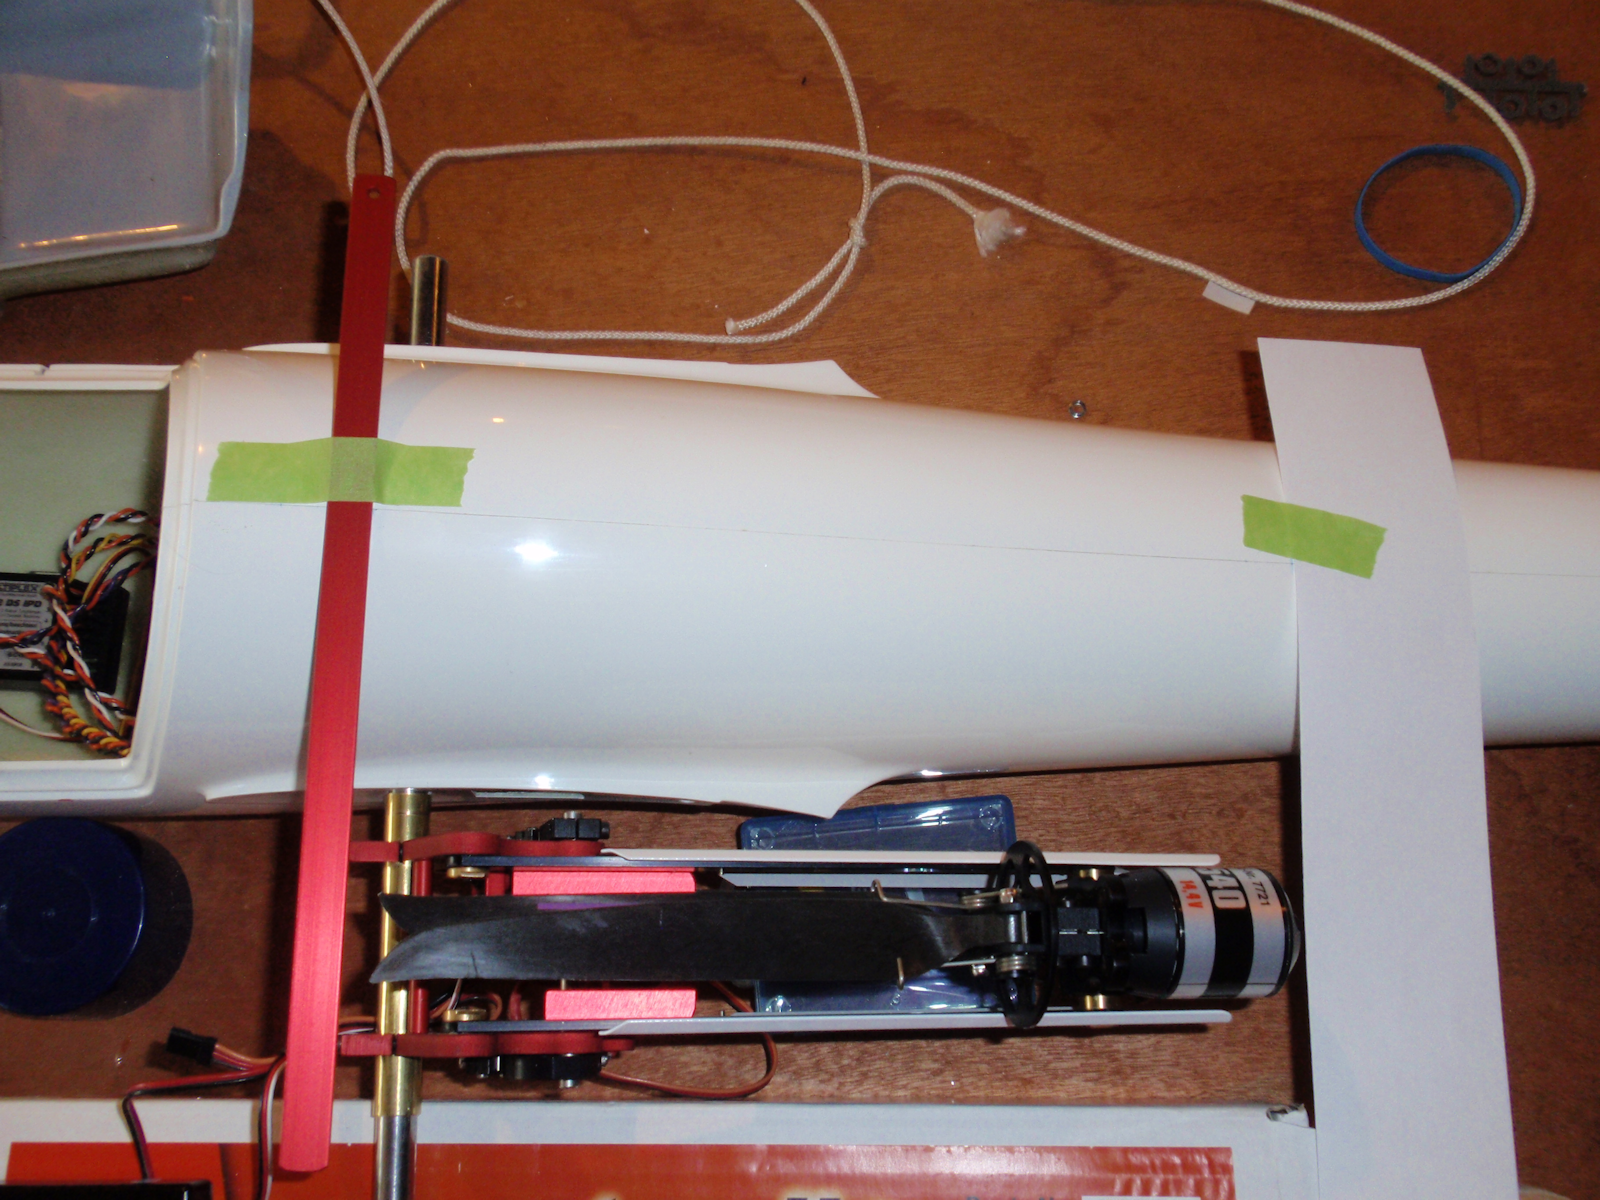
Now to size the fuselage doors. I slid the Up and Go on the wing rod and into the fuse. This puts the Up and Go in position. I taped some extensions to the fuse so I can see where the propeller and motor will pass.
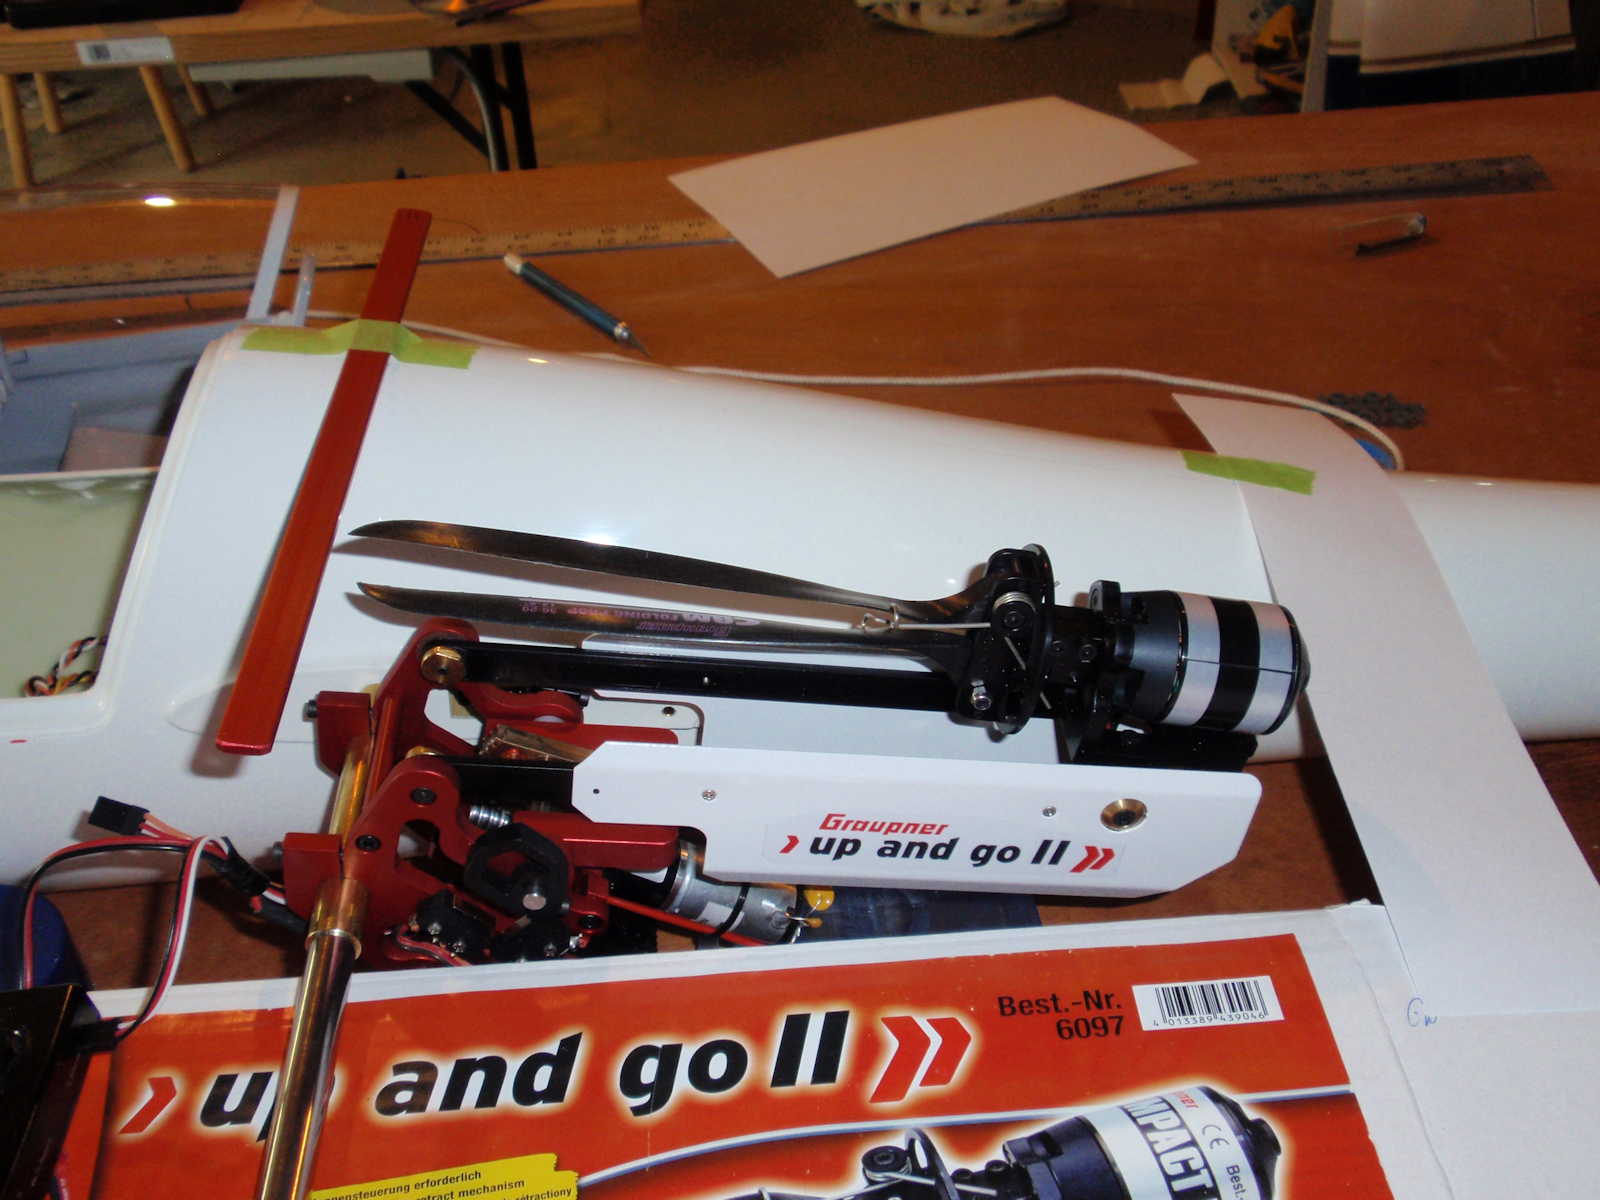
After the static look, I run the Up and Go in and out to make sure
Click image to view movie
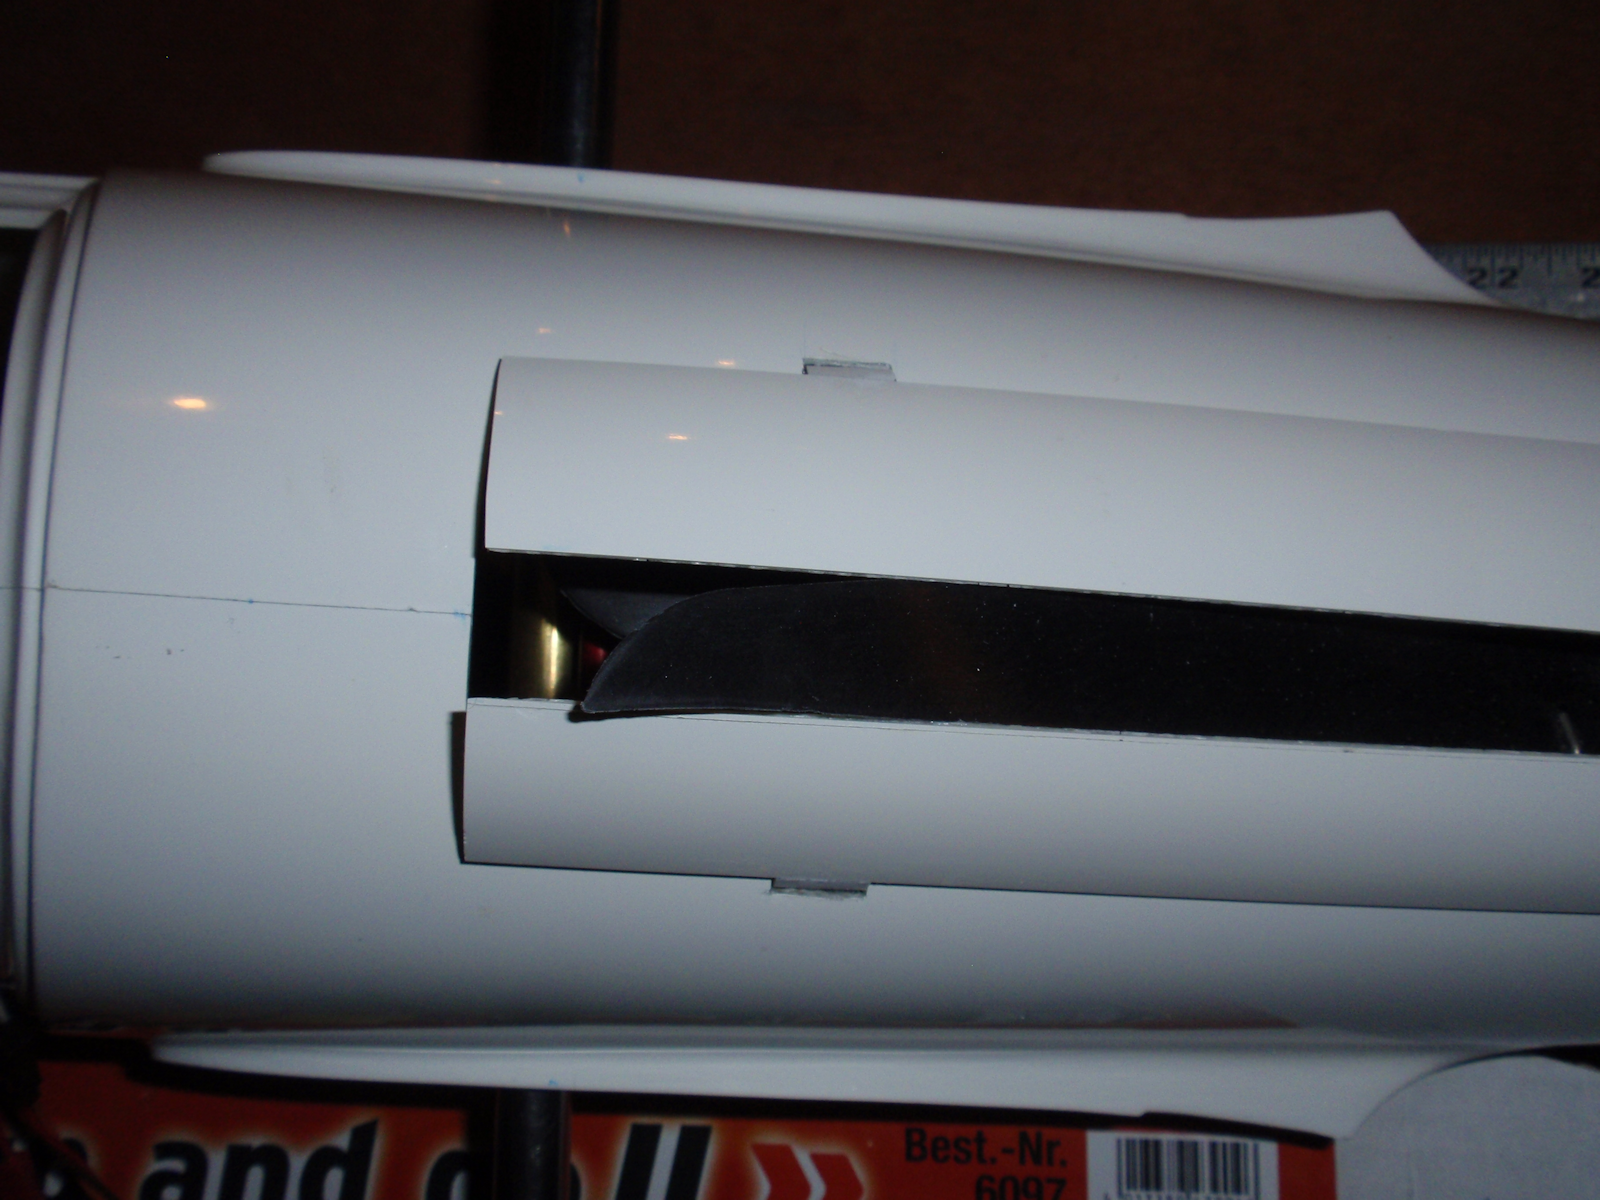
Got the doors cut and the Up and Go installed


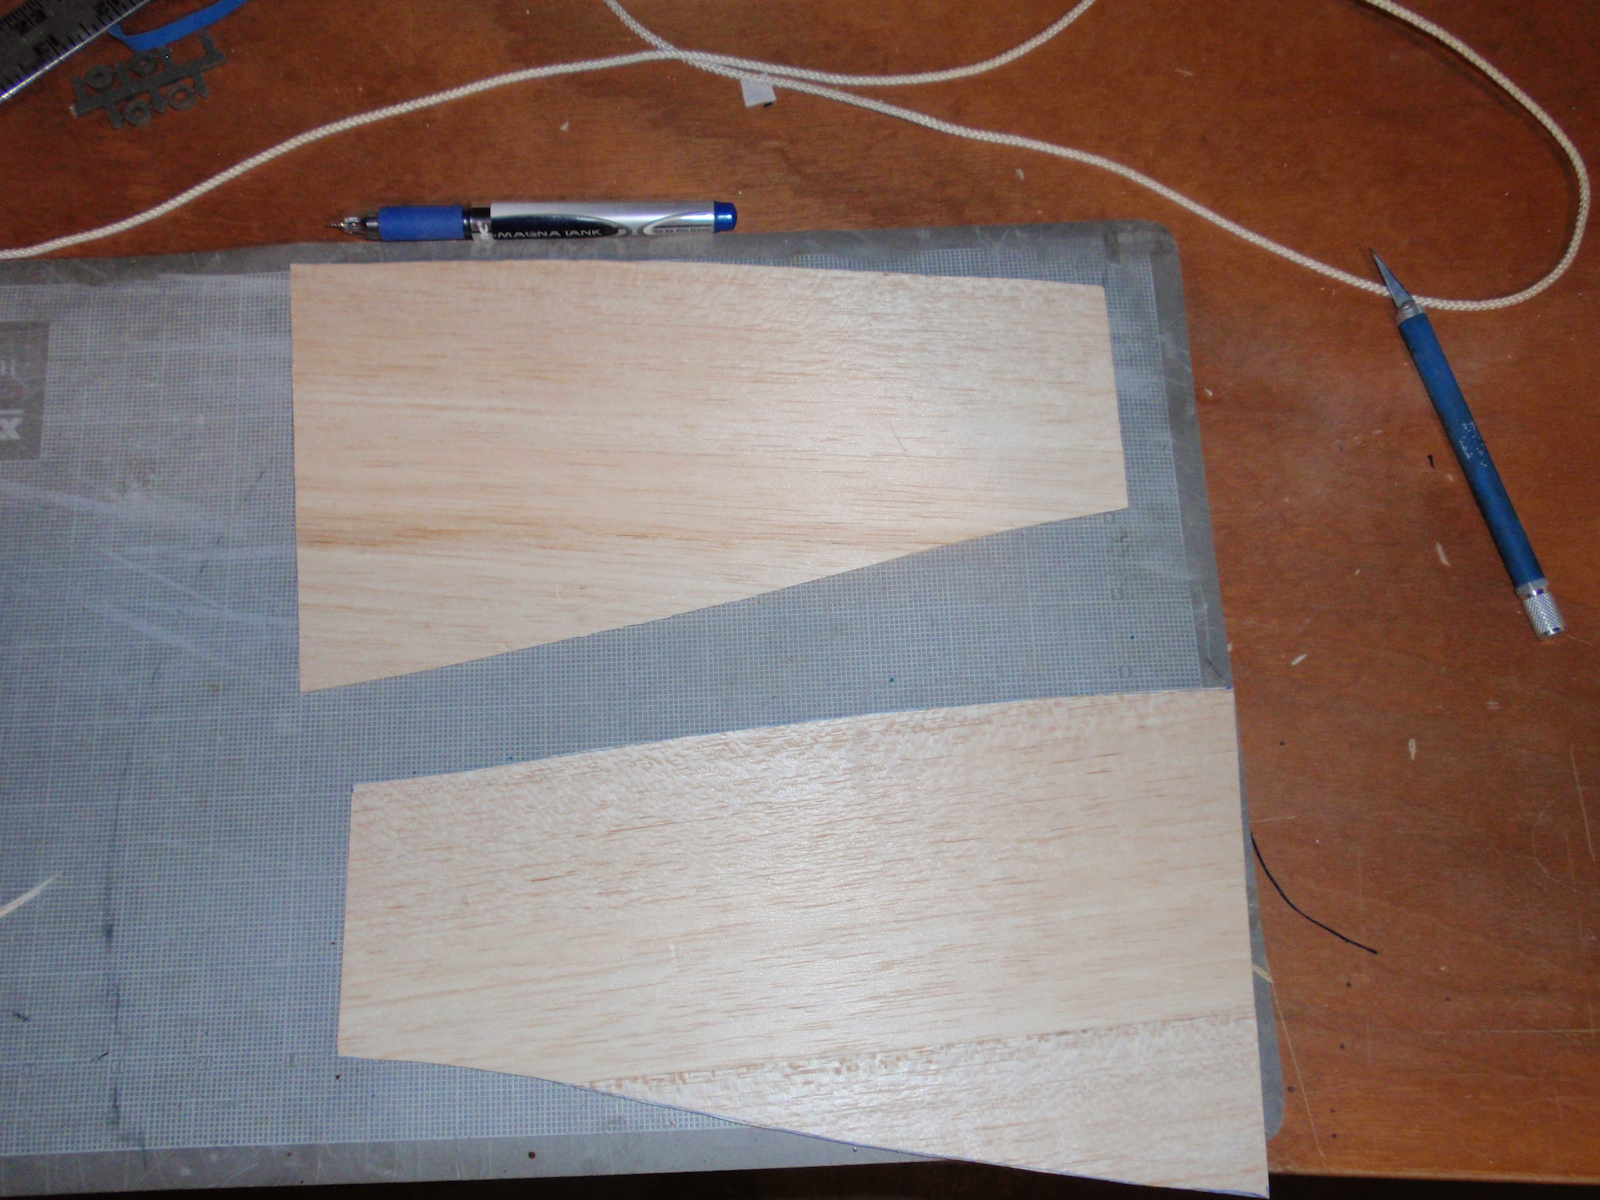
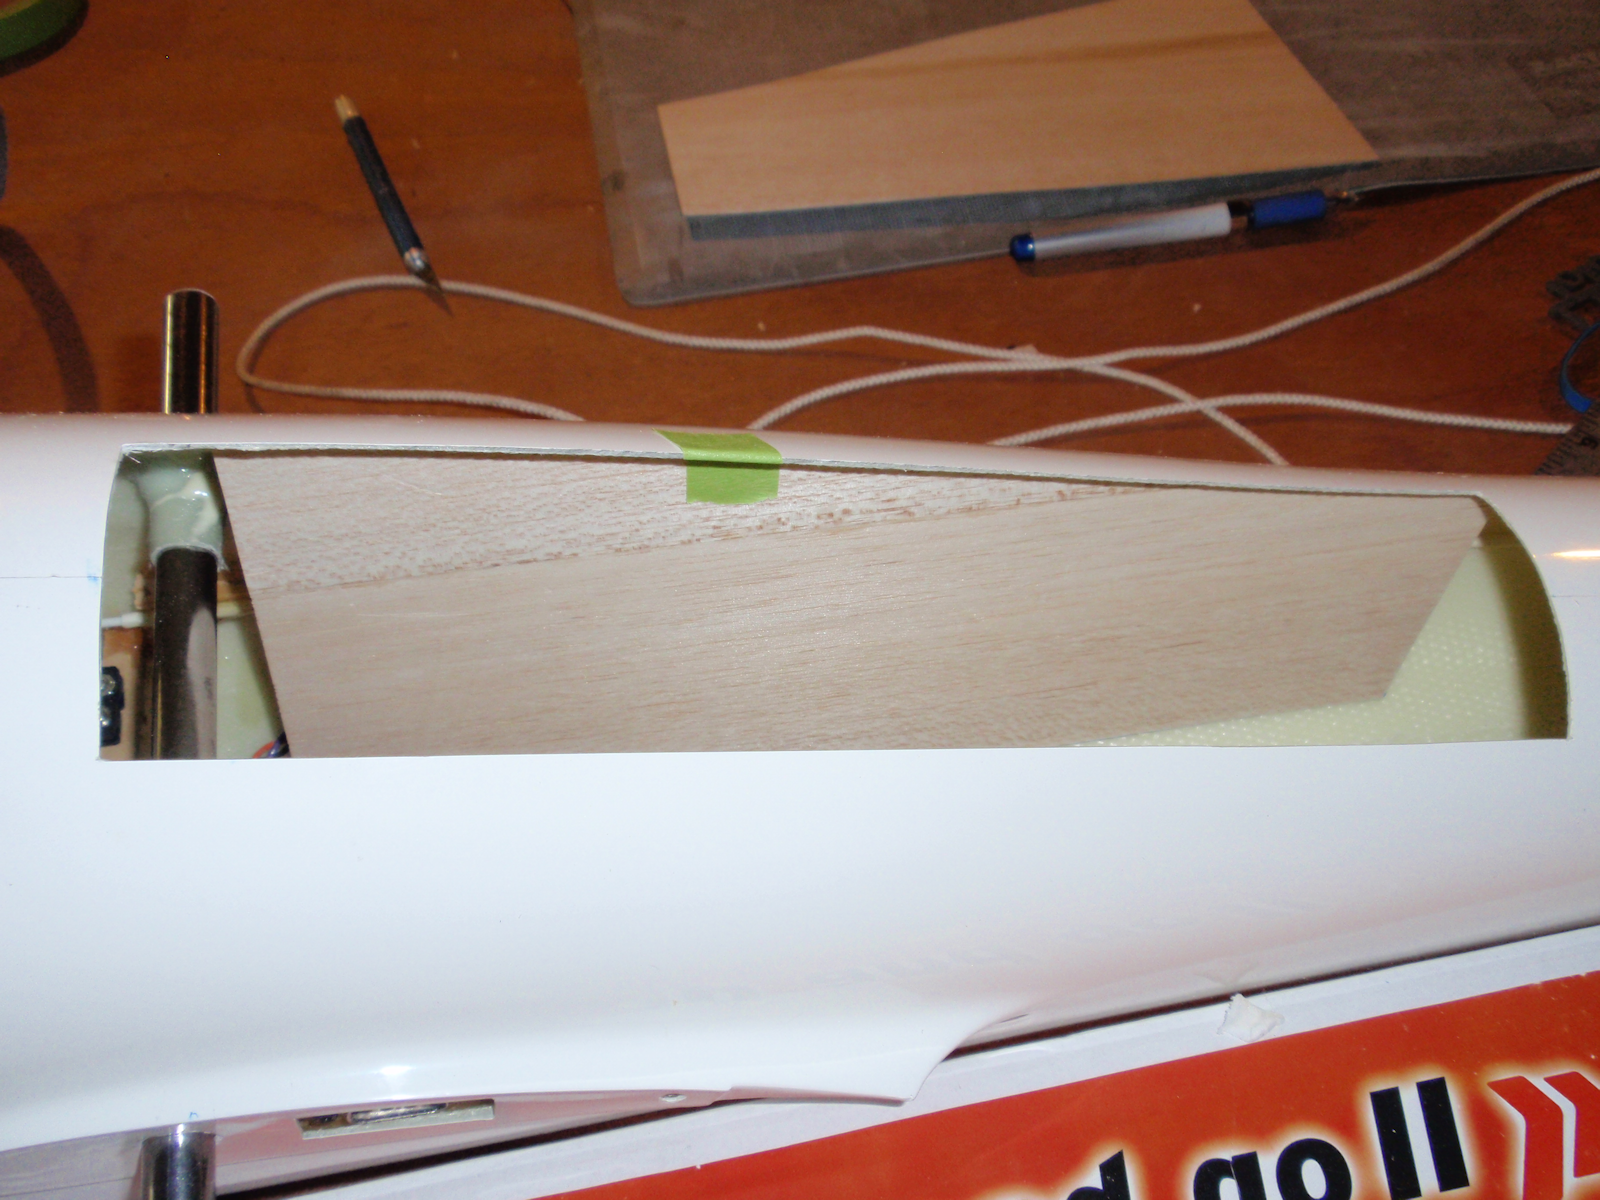
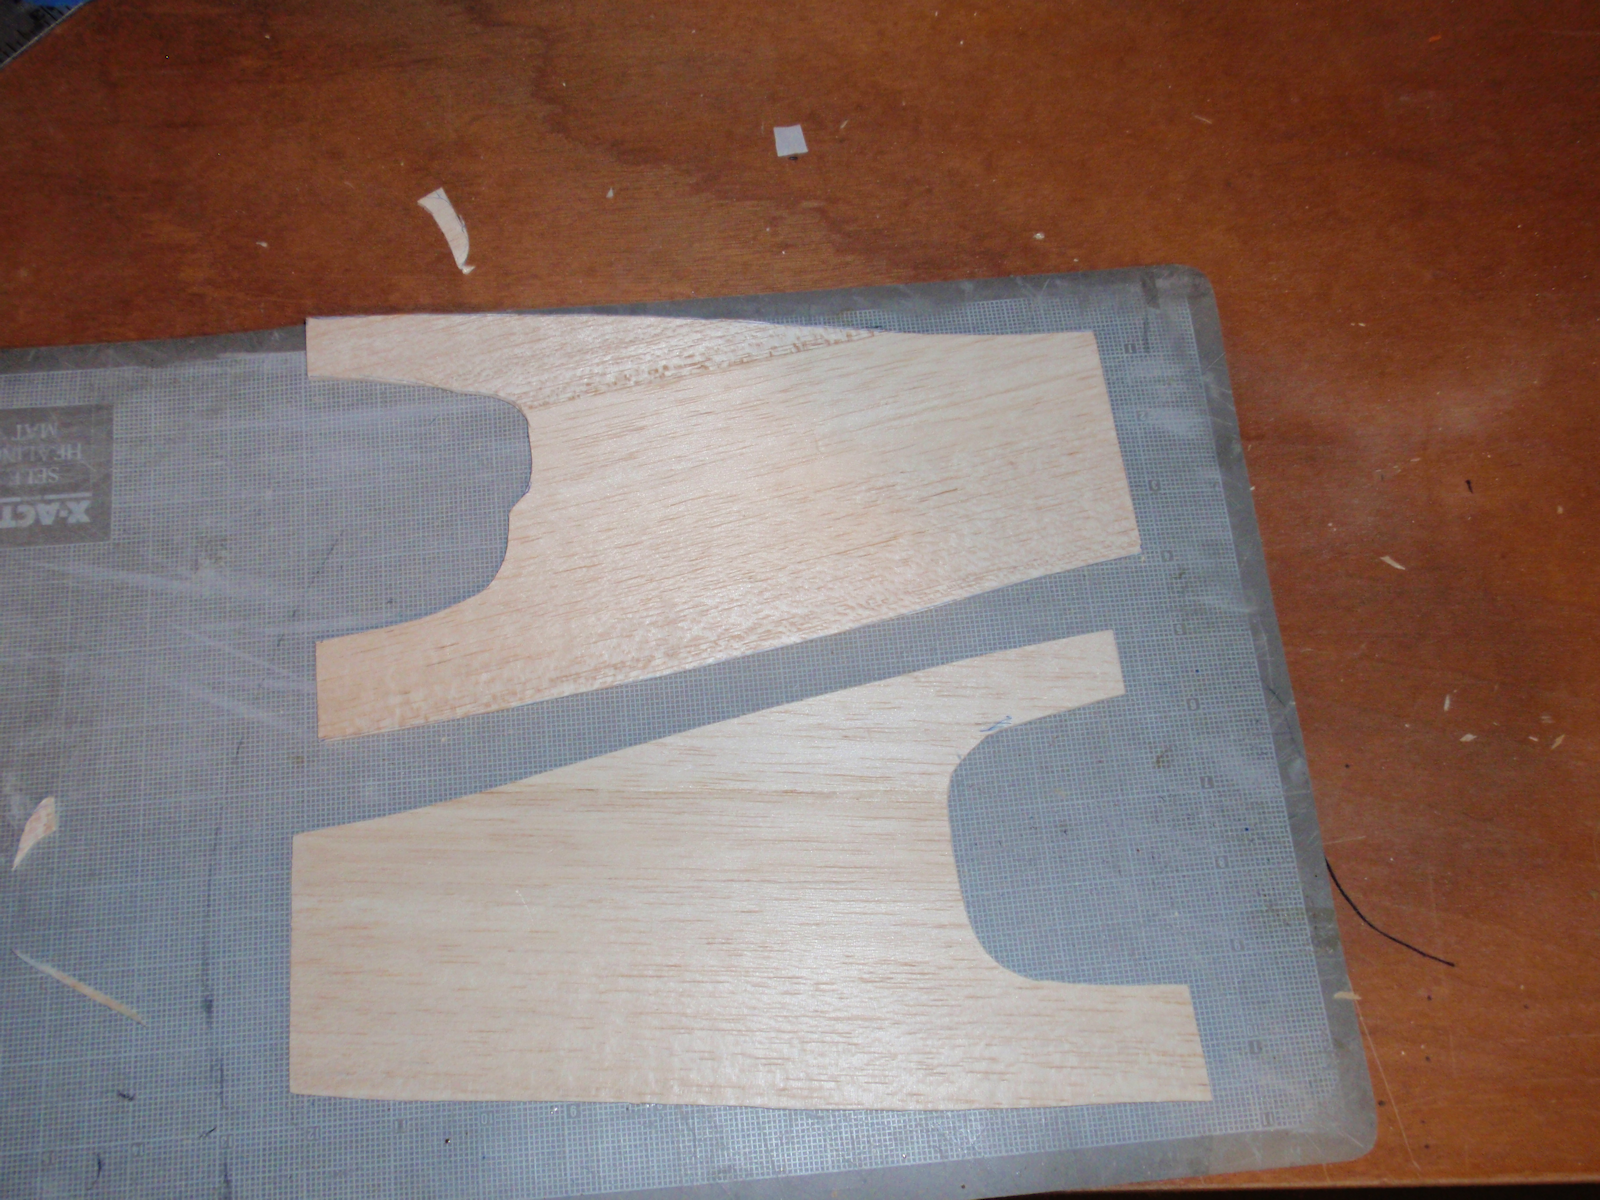
Time to box in the fuselage to make up for the loss of stiffness from the door cut outs. I decided to use 3/32 balsa to box things in. Had to decide if I wanted vertical grain or horizontal. I decided I was more concerned with twisting than bending so went for more horizontal grain. I may put a layer of glass over the whole thing at some point.
Blanks cut and test fitted
After sliding in the Up and Go, found that the fronts of the sides needed to be cut to allow clearance with the Up and Go.
I will leave the Up and Go compartment unglassed for now.
Doors are hinged. They came out OK. I think I will do the hinges different on the next go around, but here is what the nimbus got.
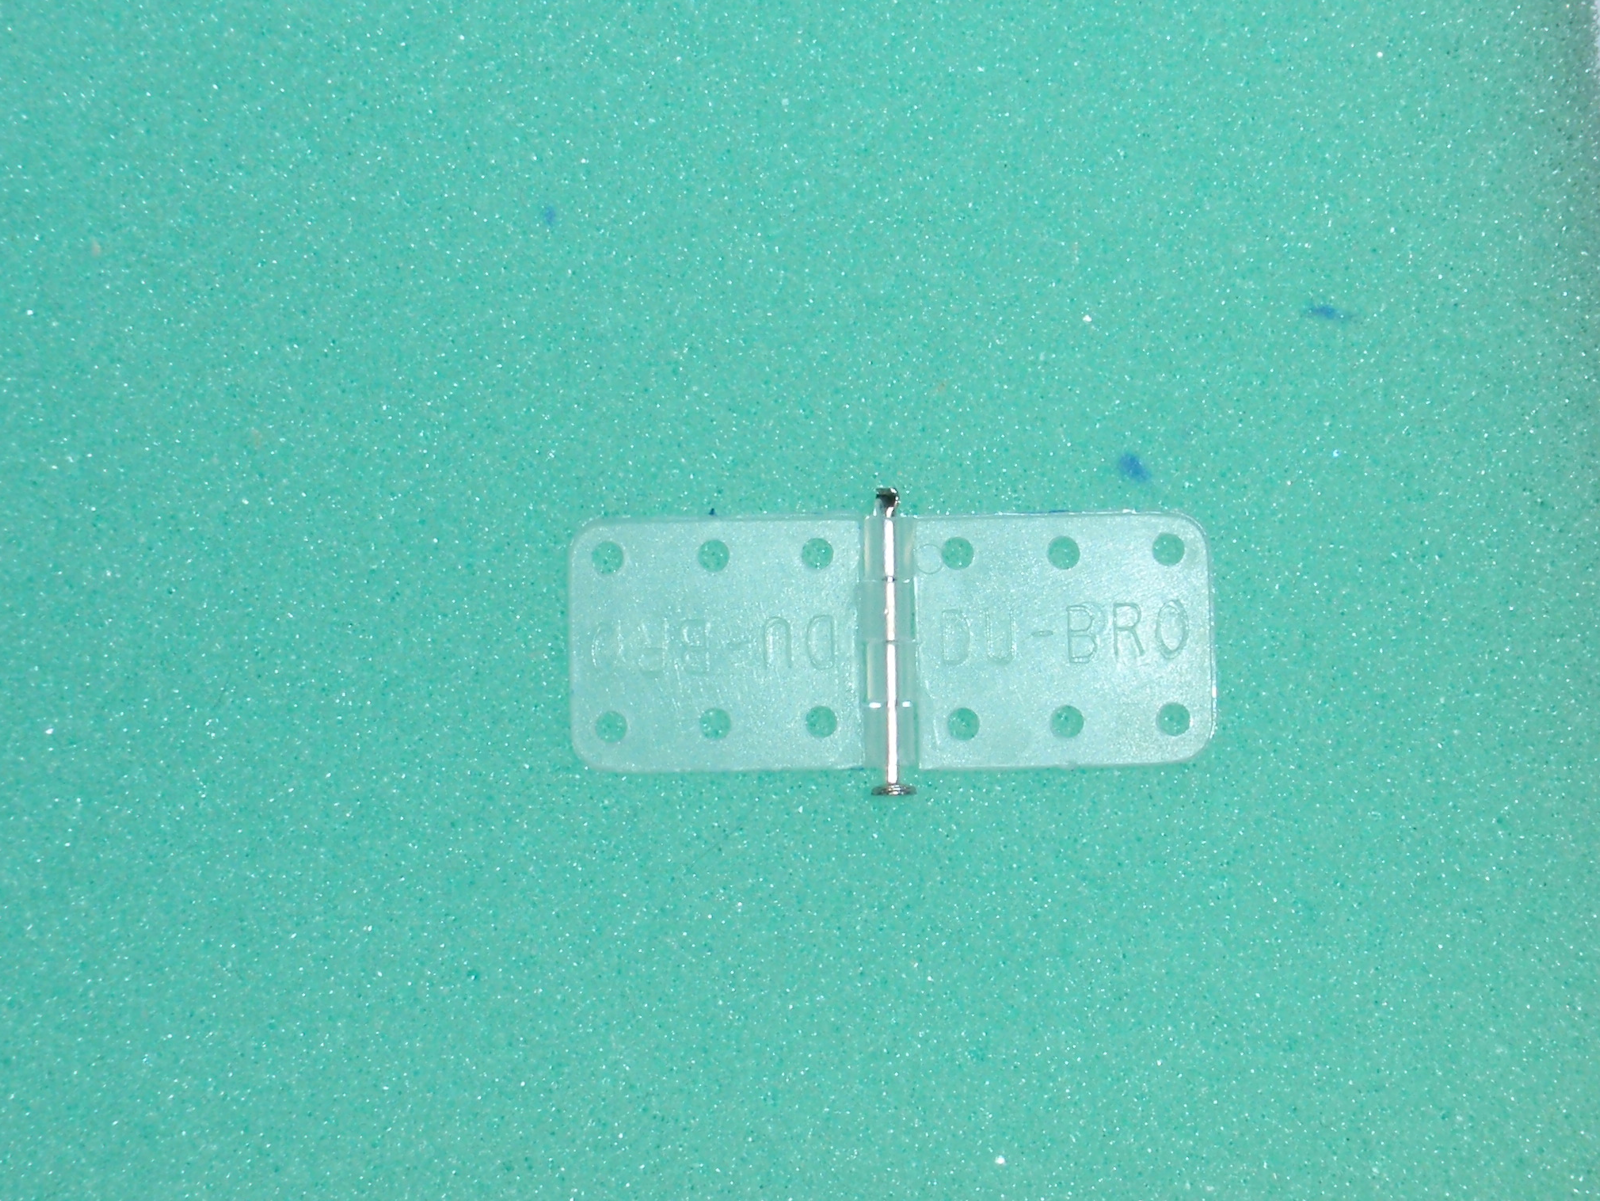
I used the small Dubro pin hinges and glue them so the hinge line is at the bottom of the notch ( farthest fron the door ). I initially use thick CA to glue them in place then go over the hinge with chopped glass and epoxy mix. I use Vasaline to keep glue out of the moving parts.

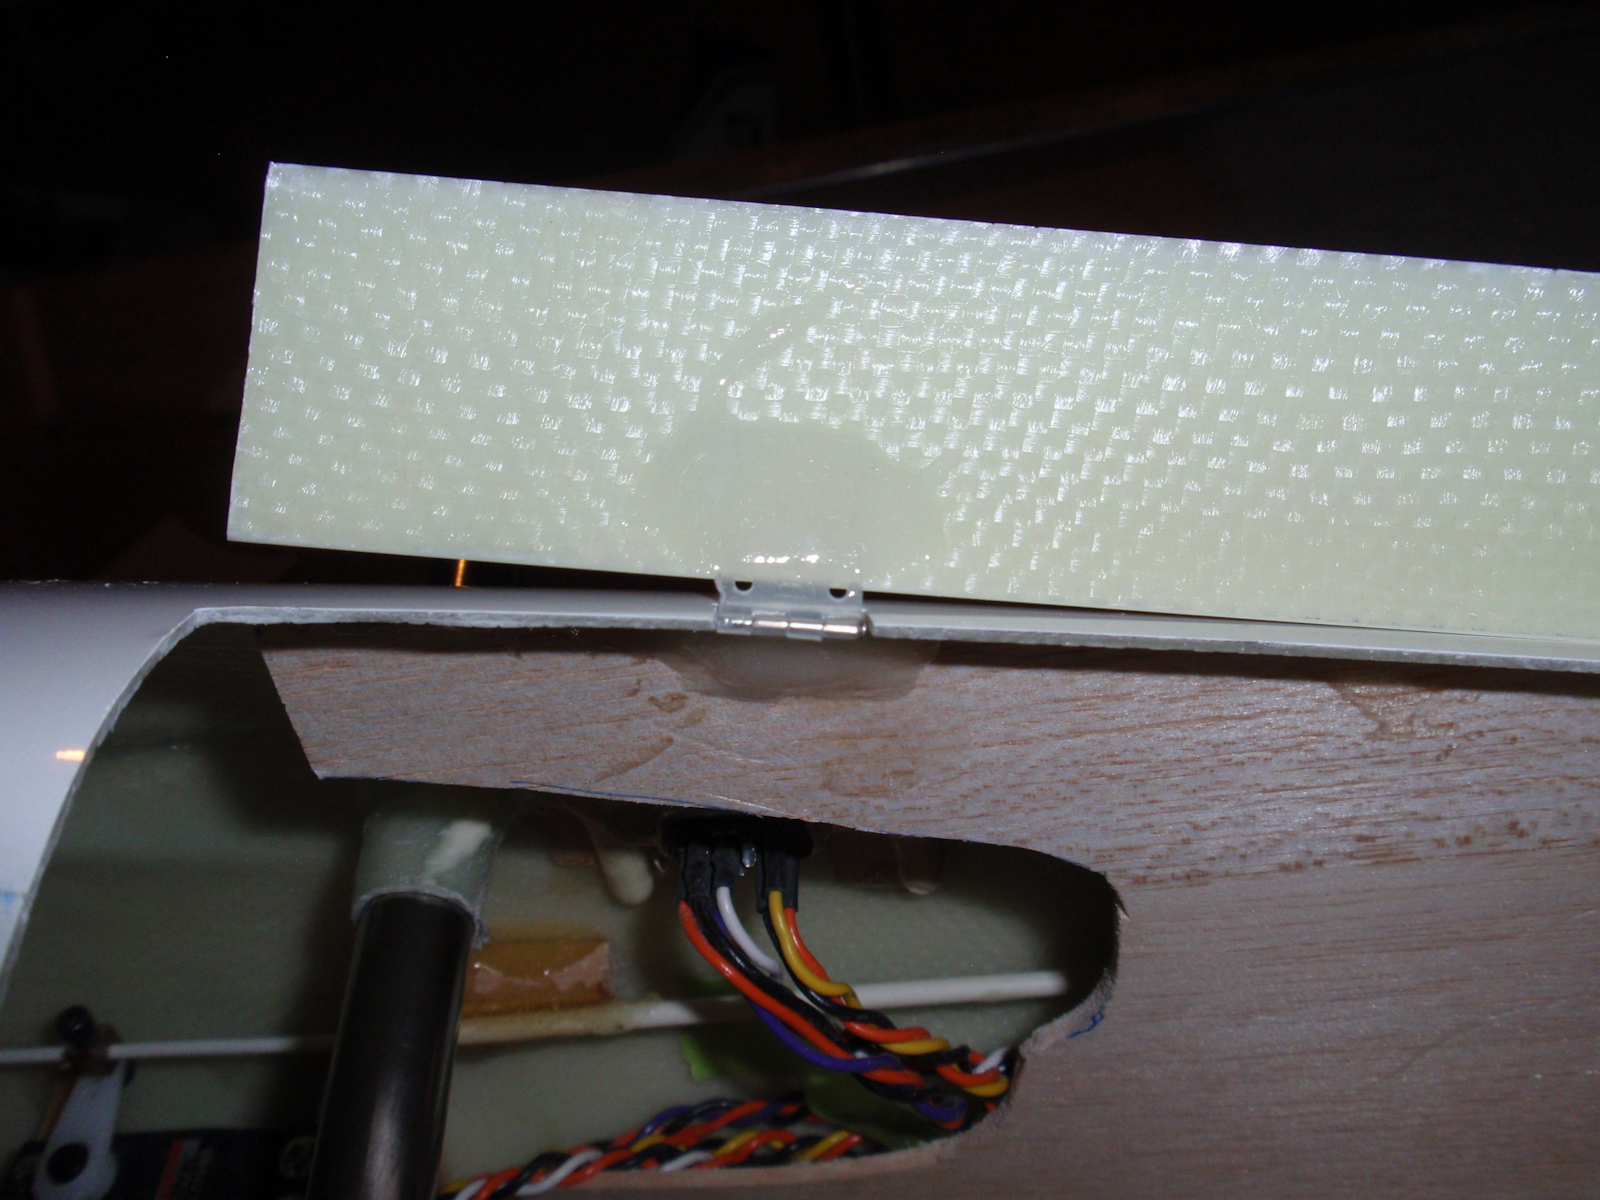
I took the piece that was cut from the hinge notch and trim it to fit to the door
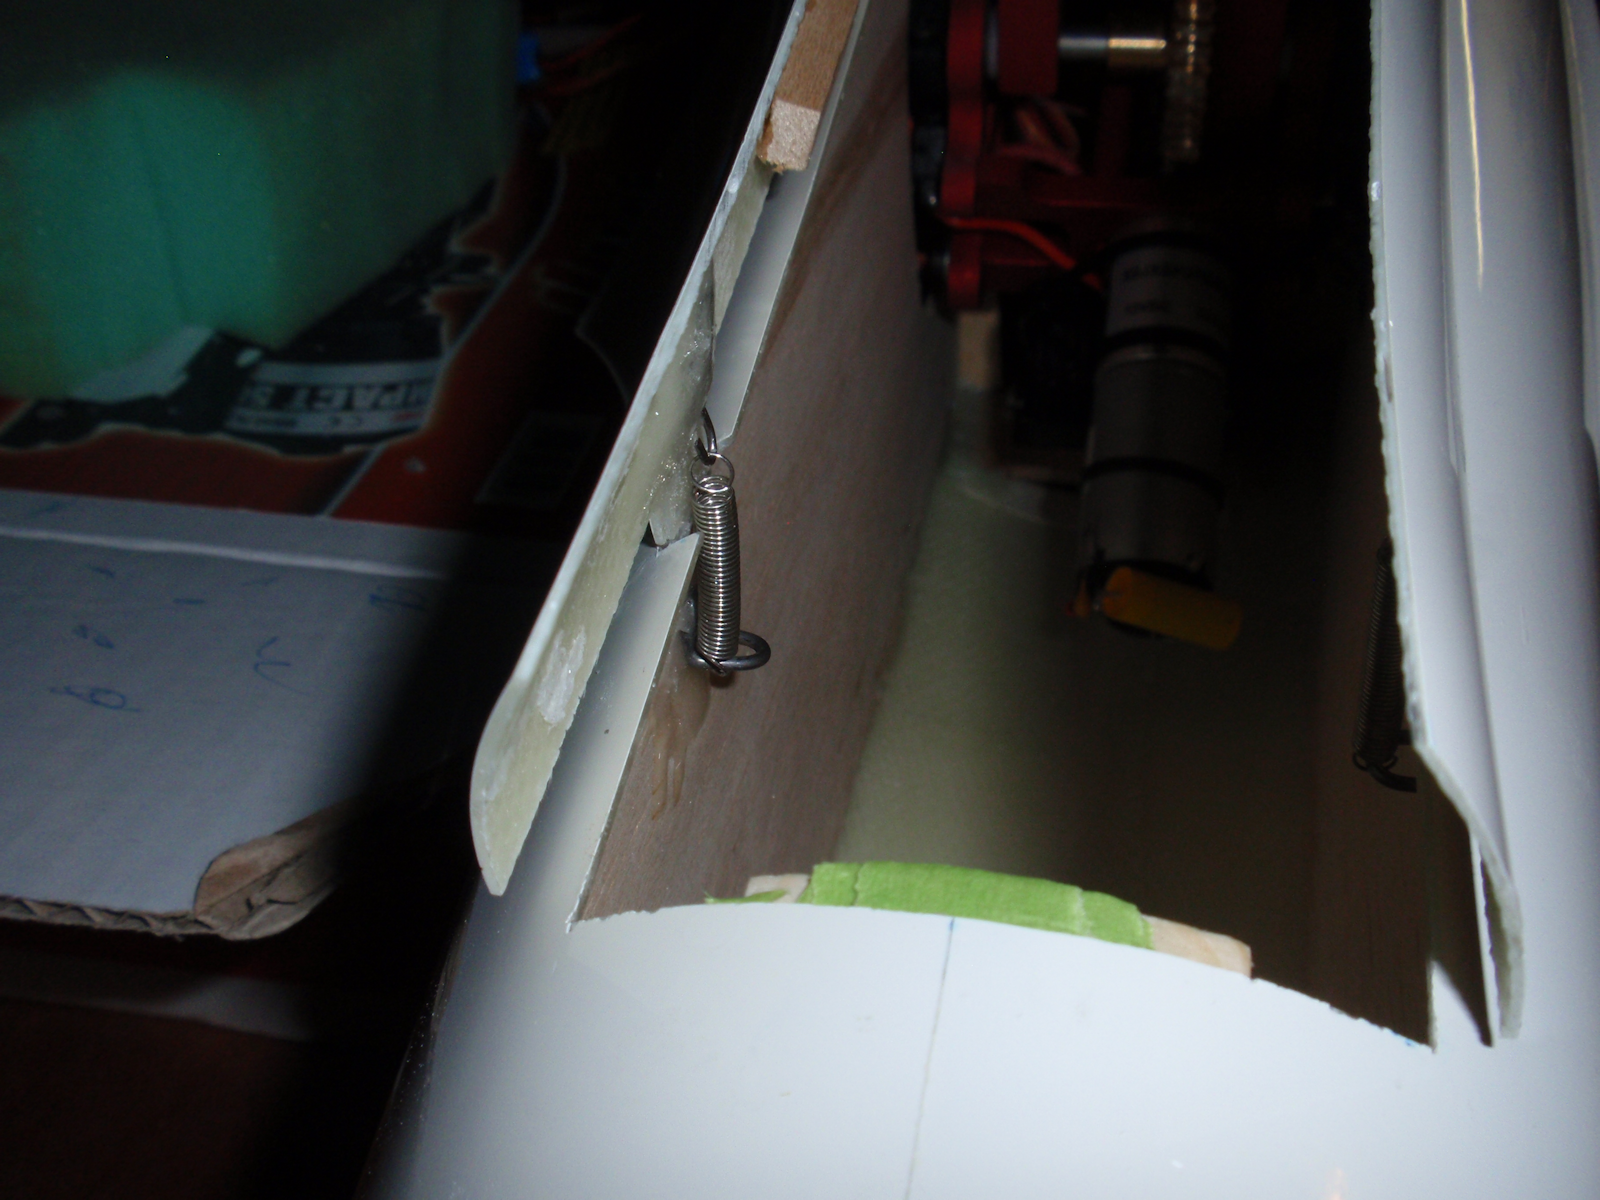
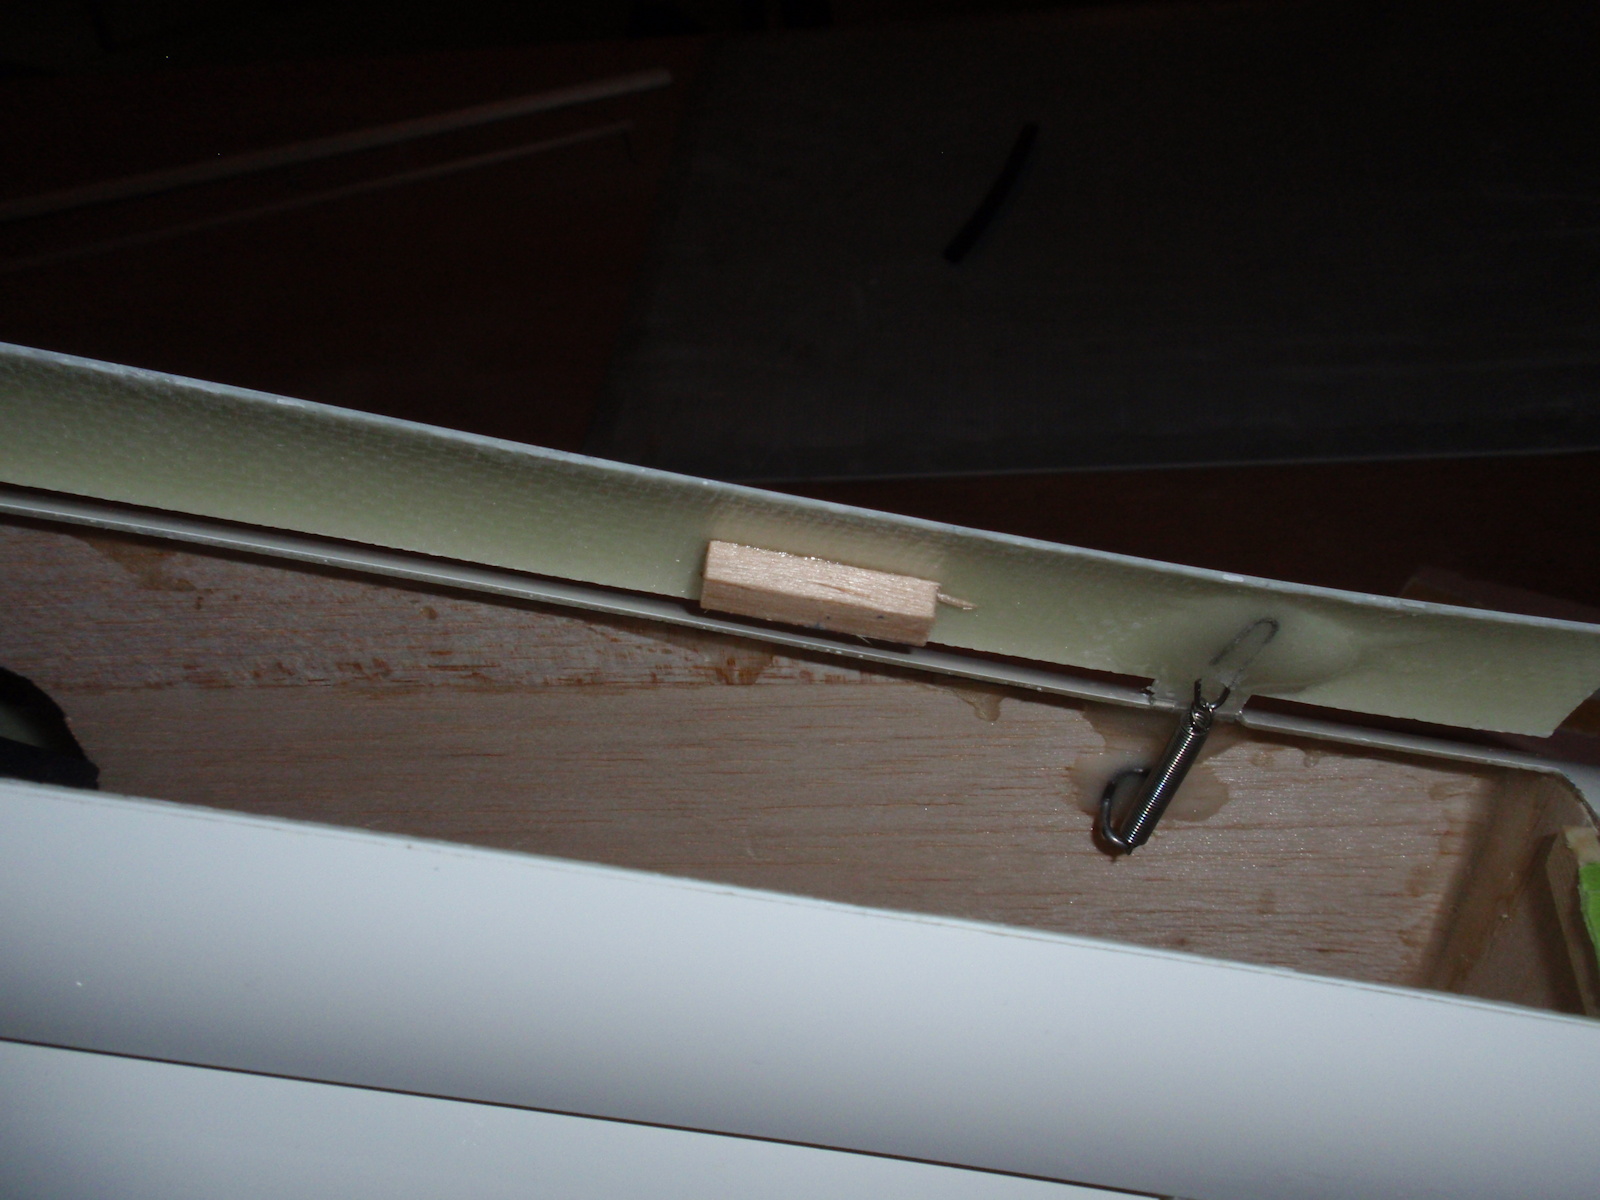
Up and Go door springs
It ended up the the prop would get stuck in the doors while retracting if the motor stopped with a blade at the top.
I glues to hard balsa stick whre the ring behing the prop is. This held the doors open just enough more/longer to get the blade tip in.
Door spring detail
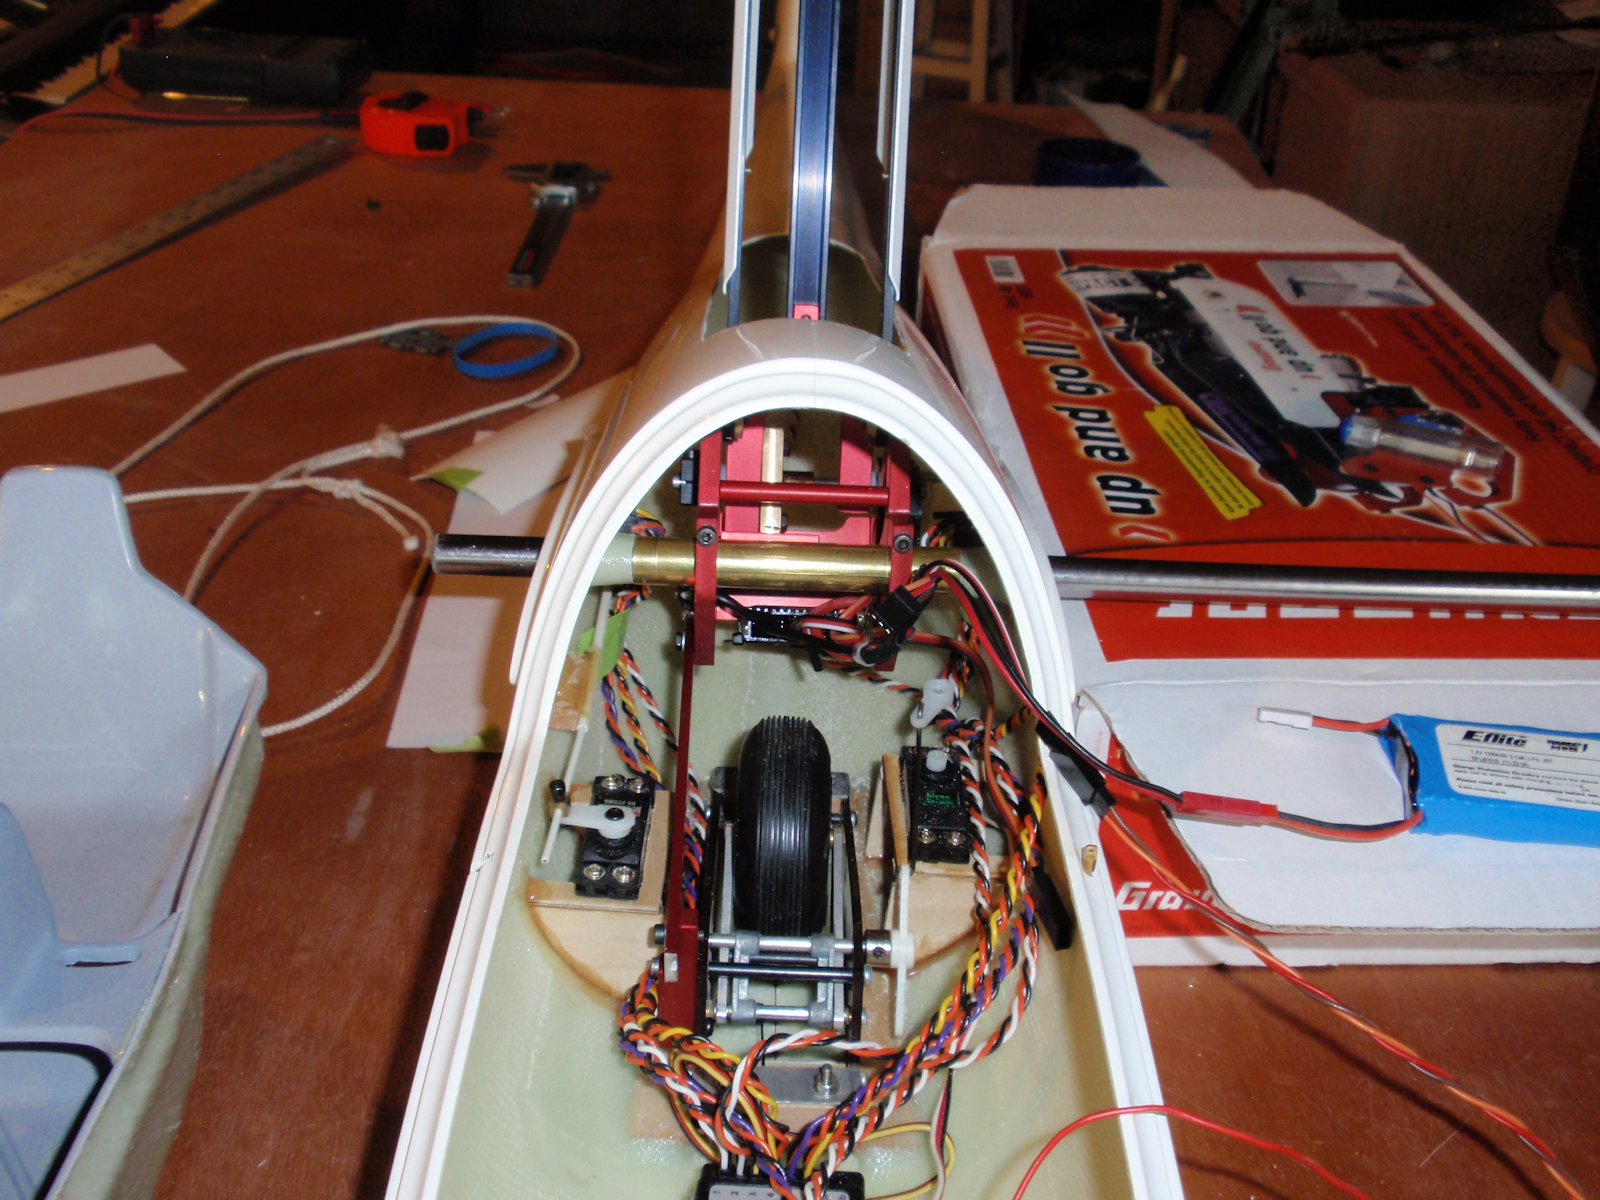
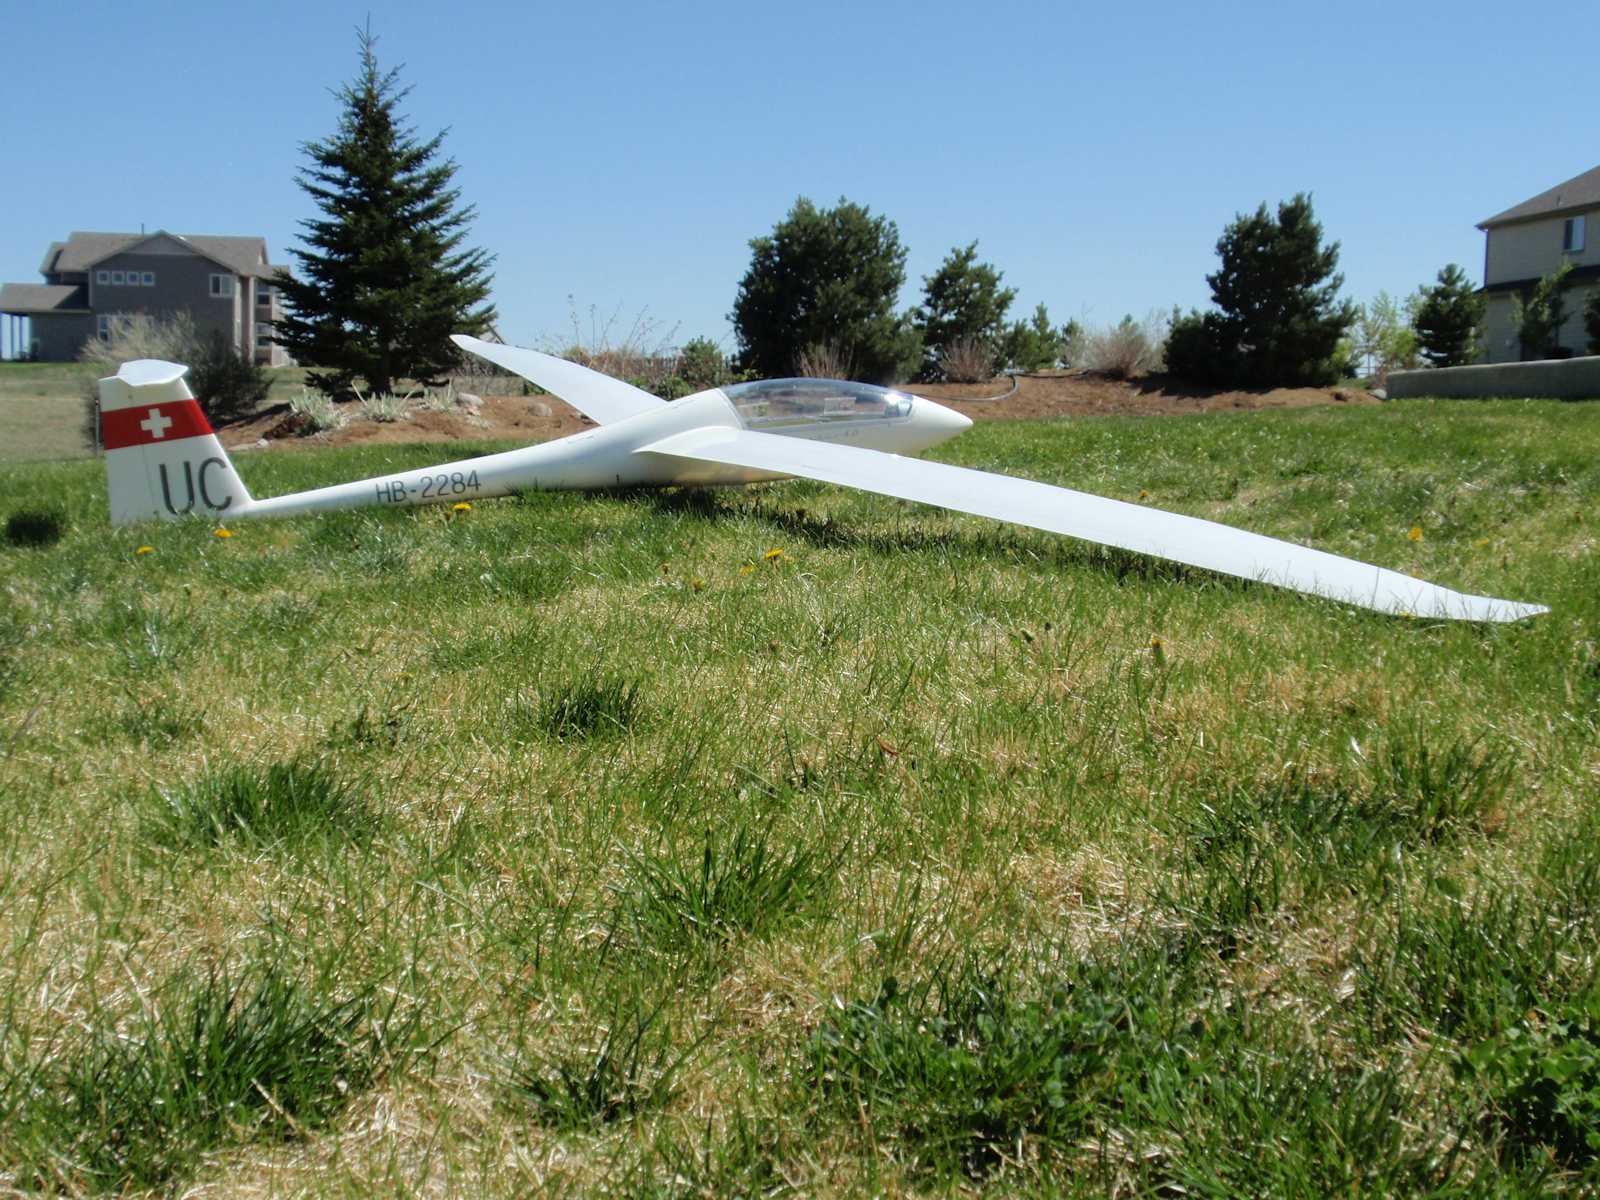
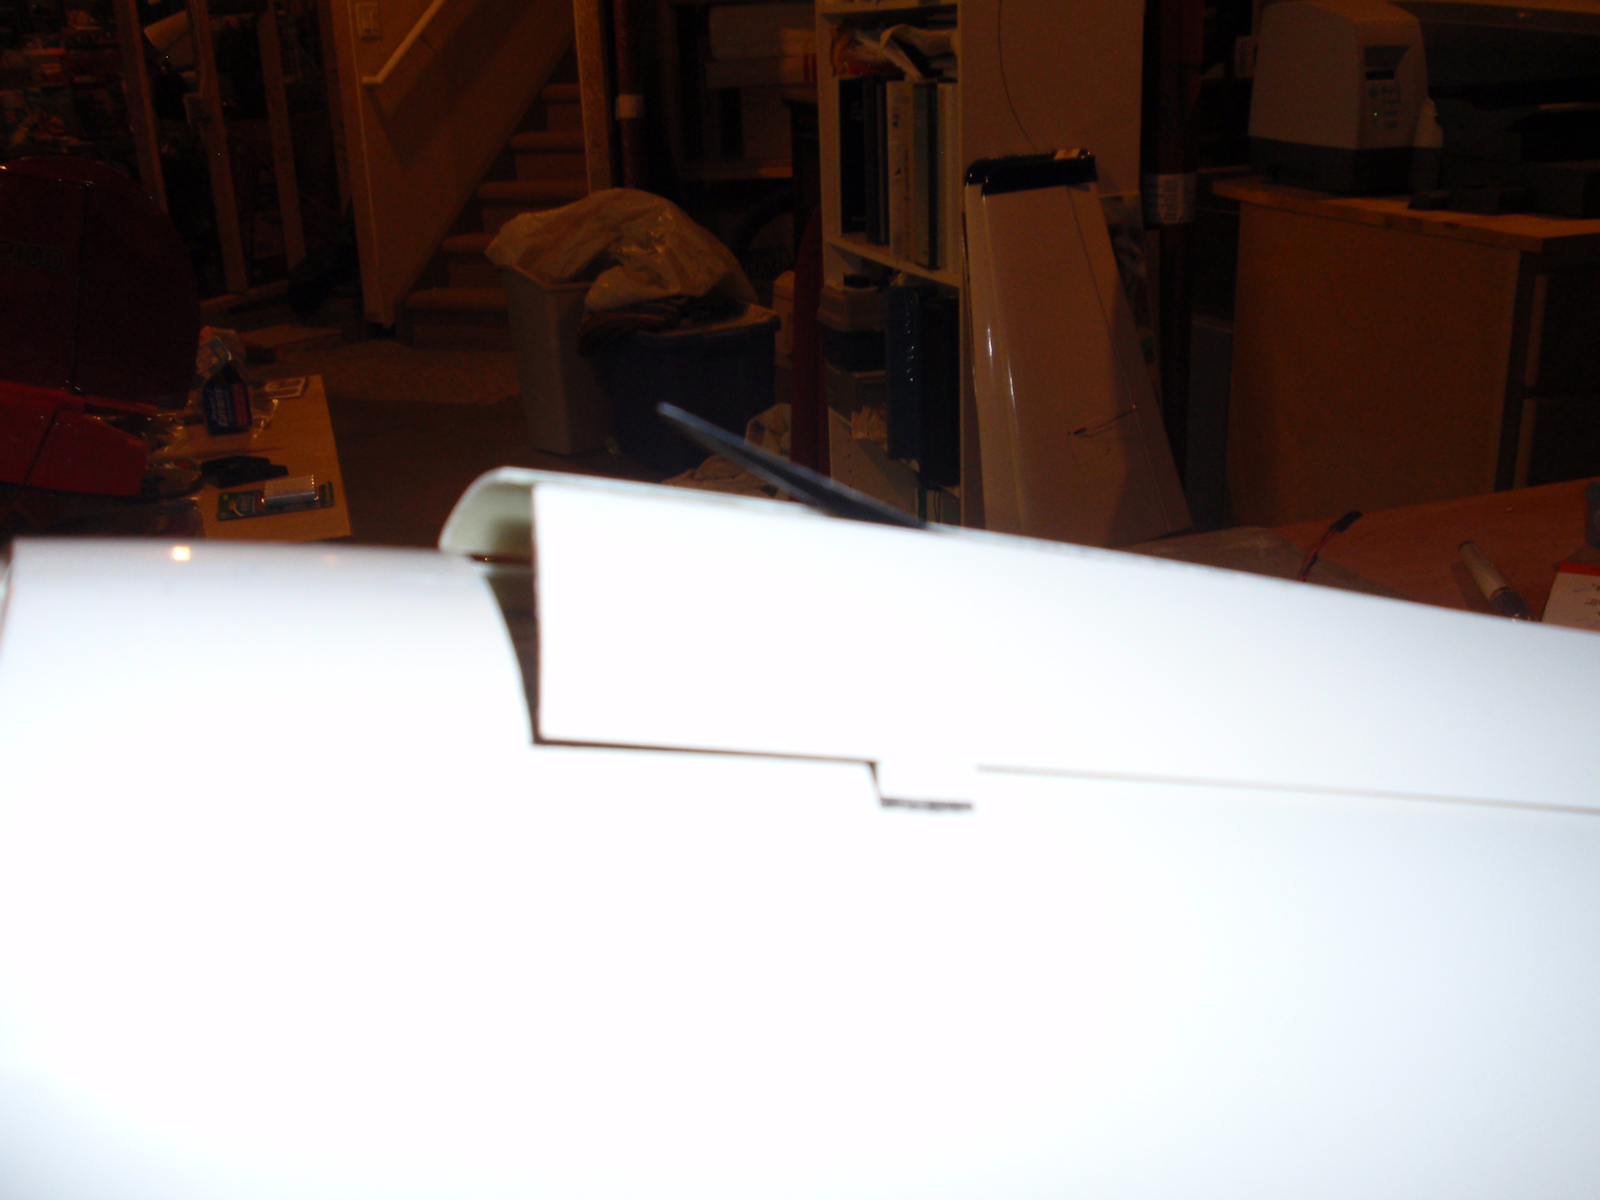
All Set up. Still needs a speed control for the Up and Go and radio set up done.


