Let DG-1000
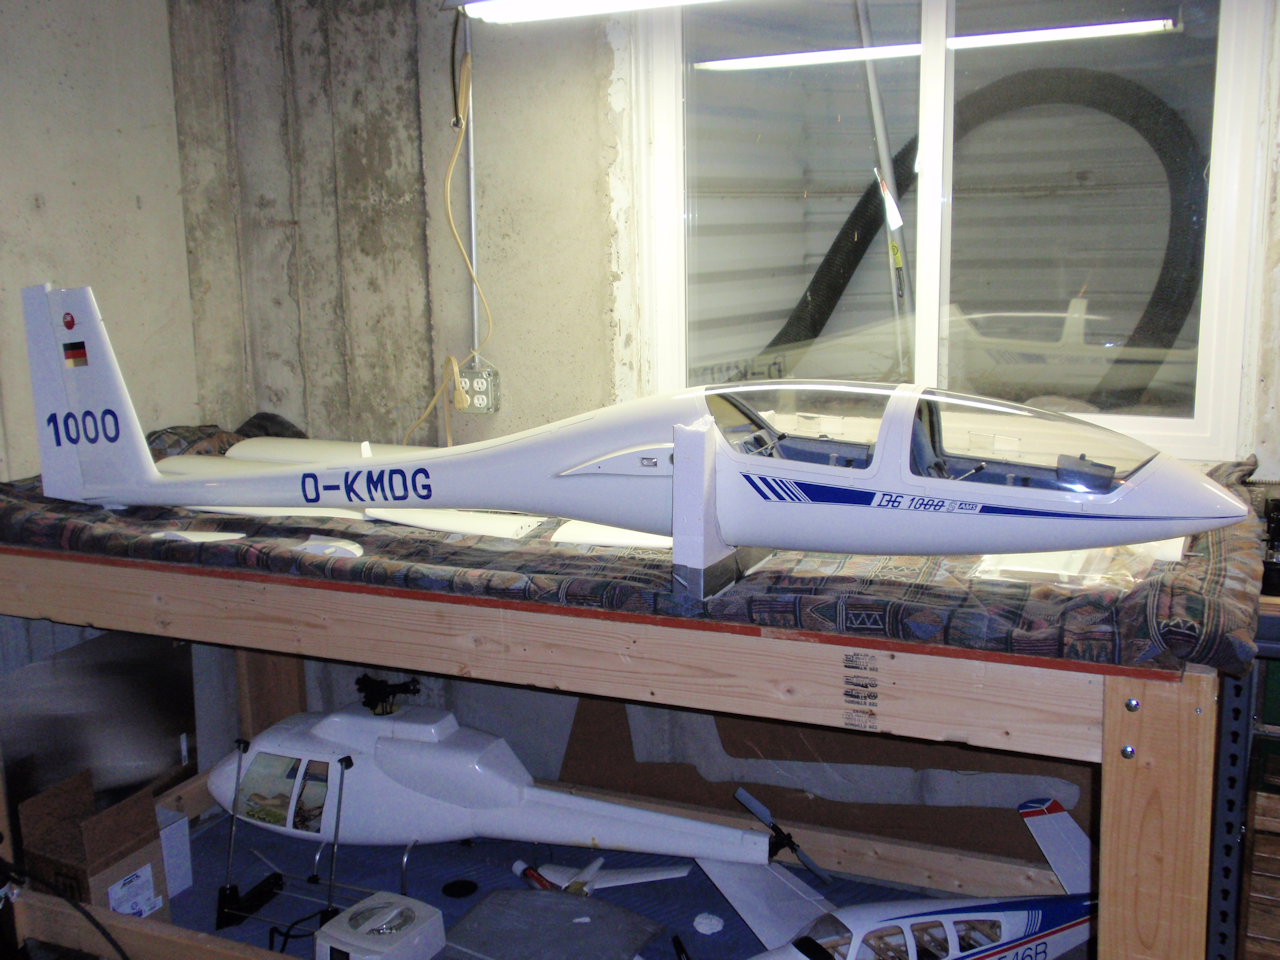
Below are some pictures of the sailplane in progress. Click on thumbnails to enlarge, use the back button to return to this page.
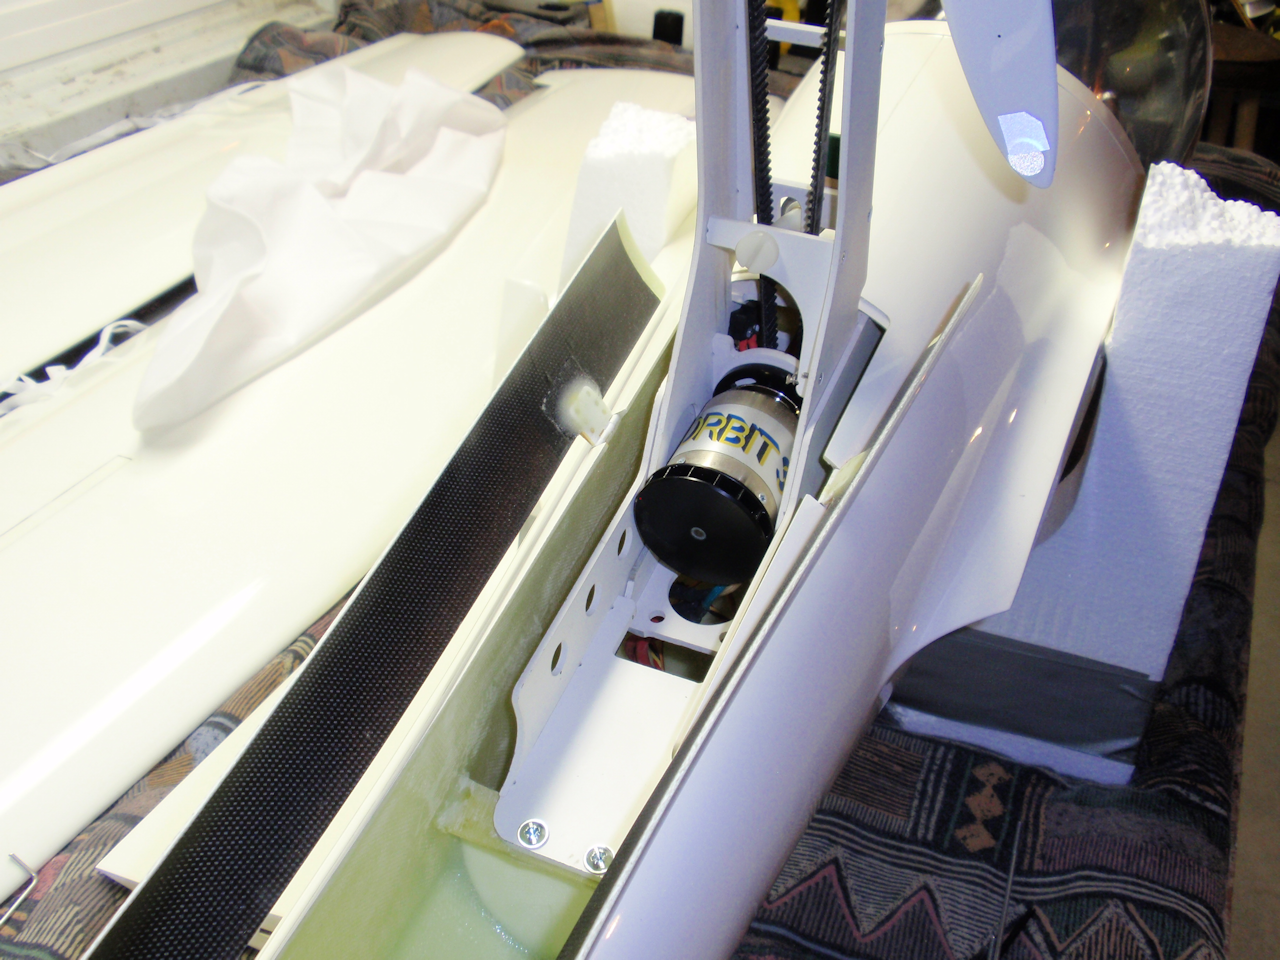
For scale, the model is sitting on an 8 foot bench
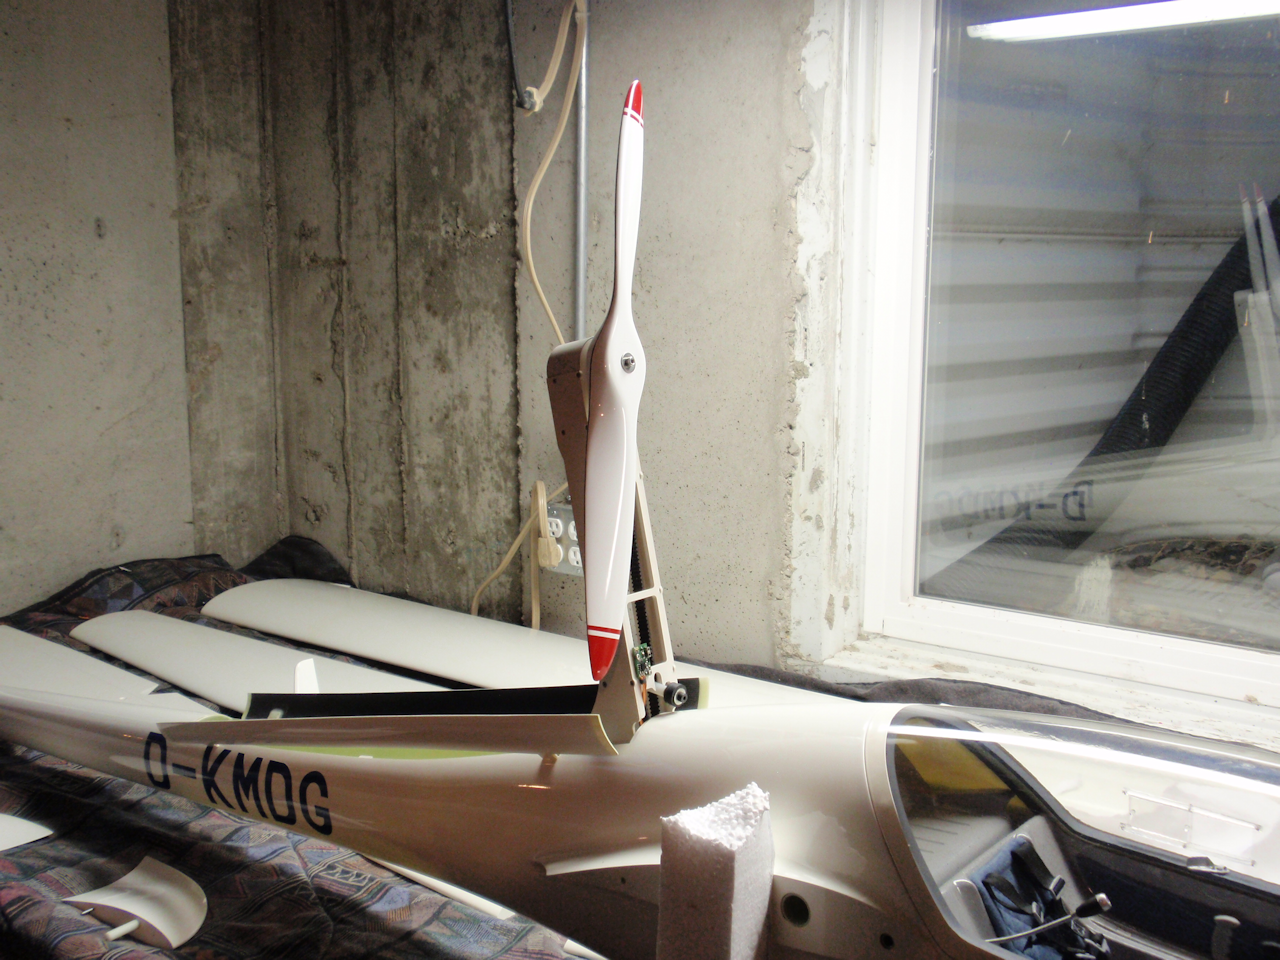
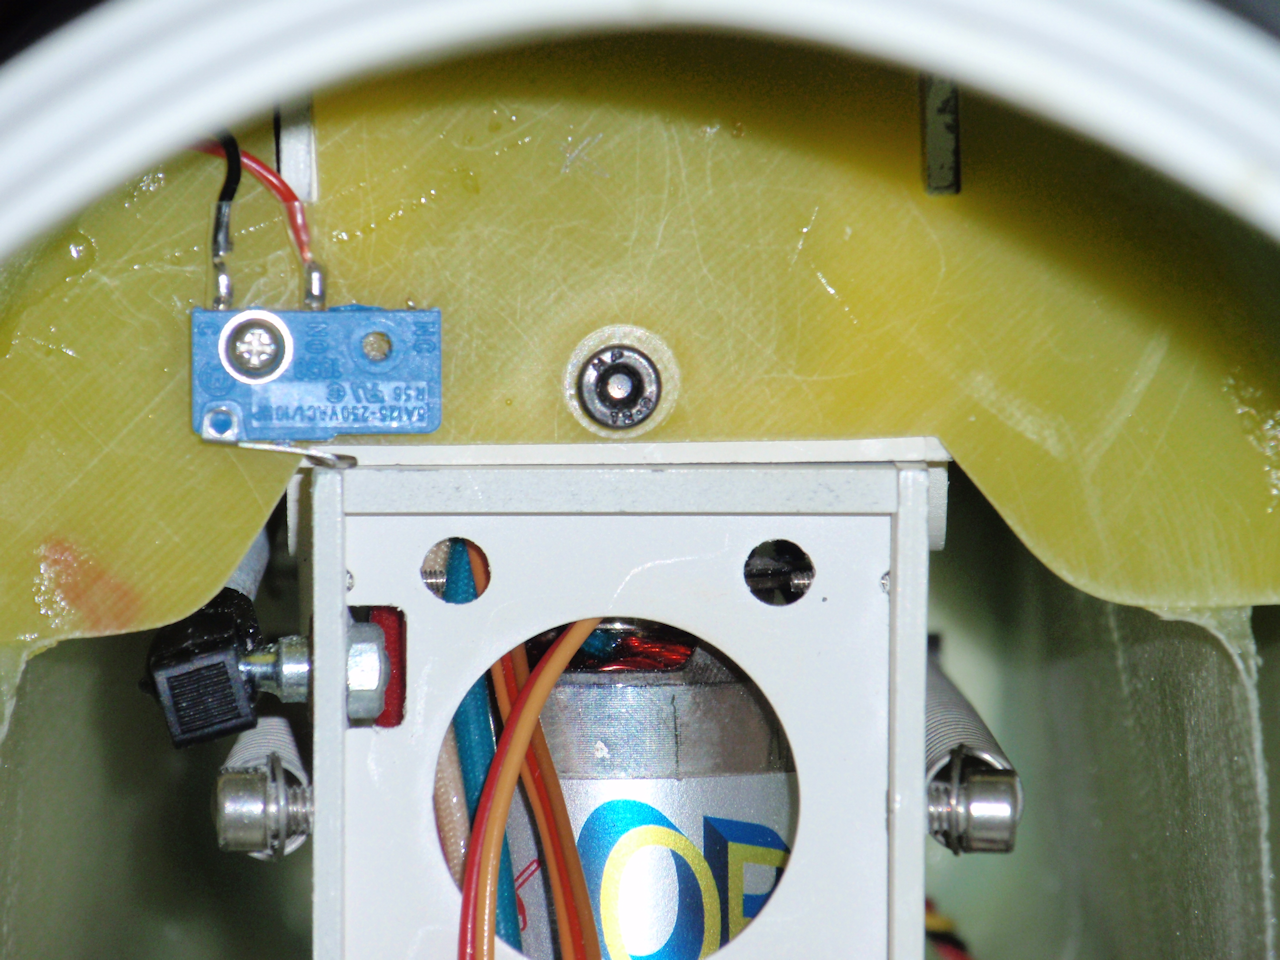
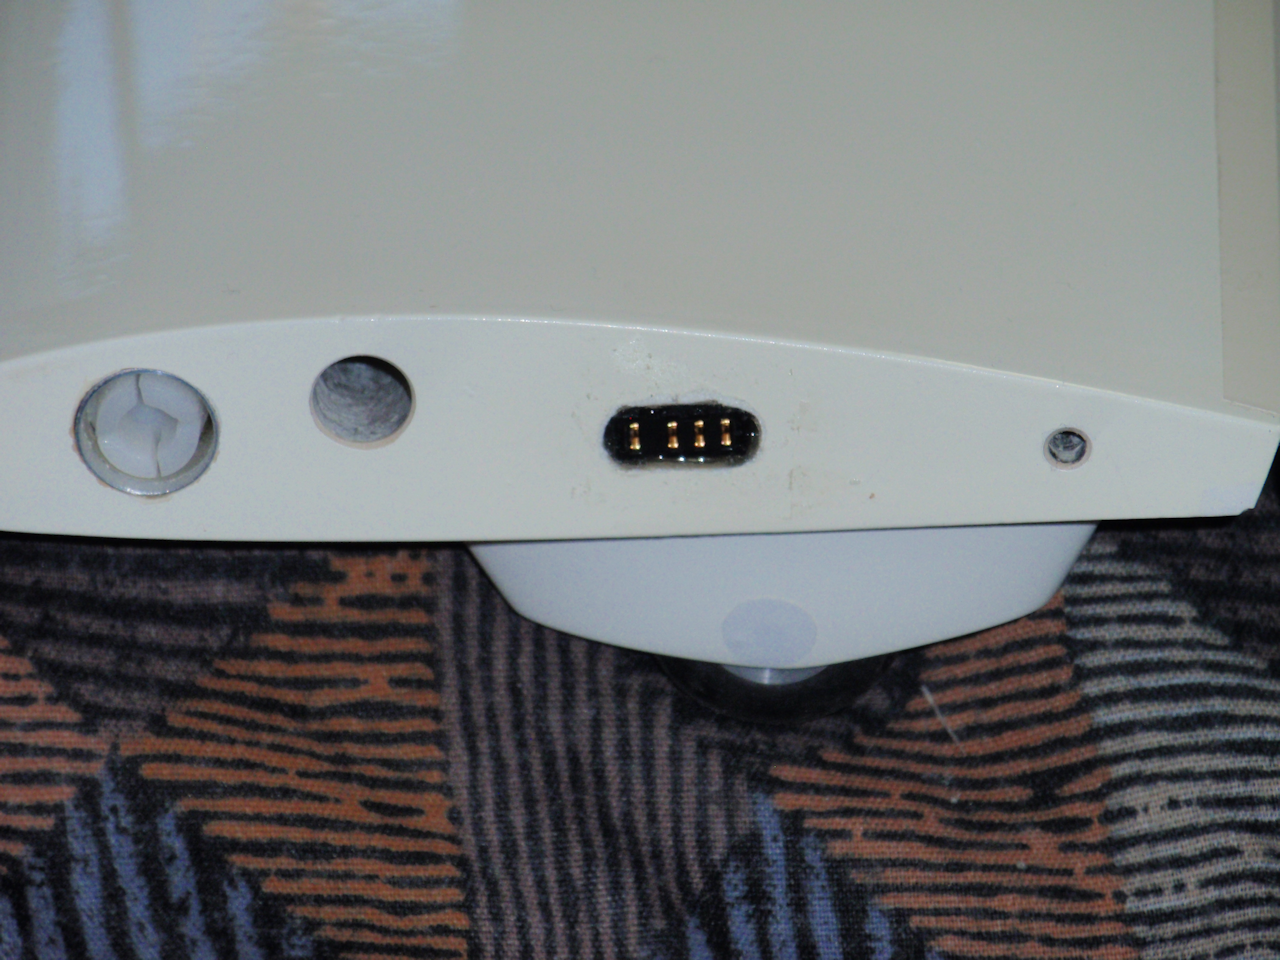
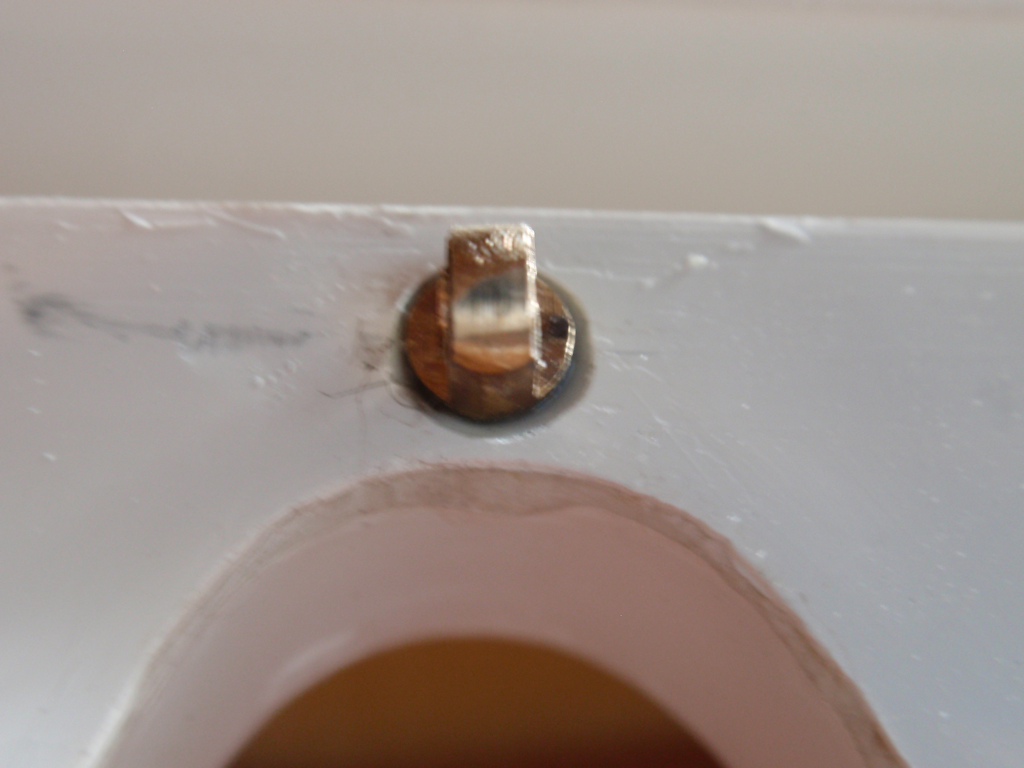
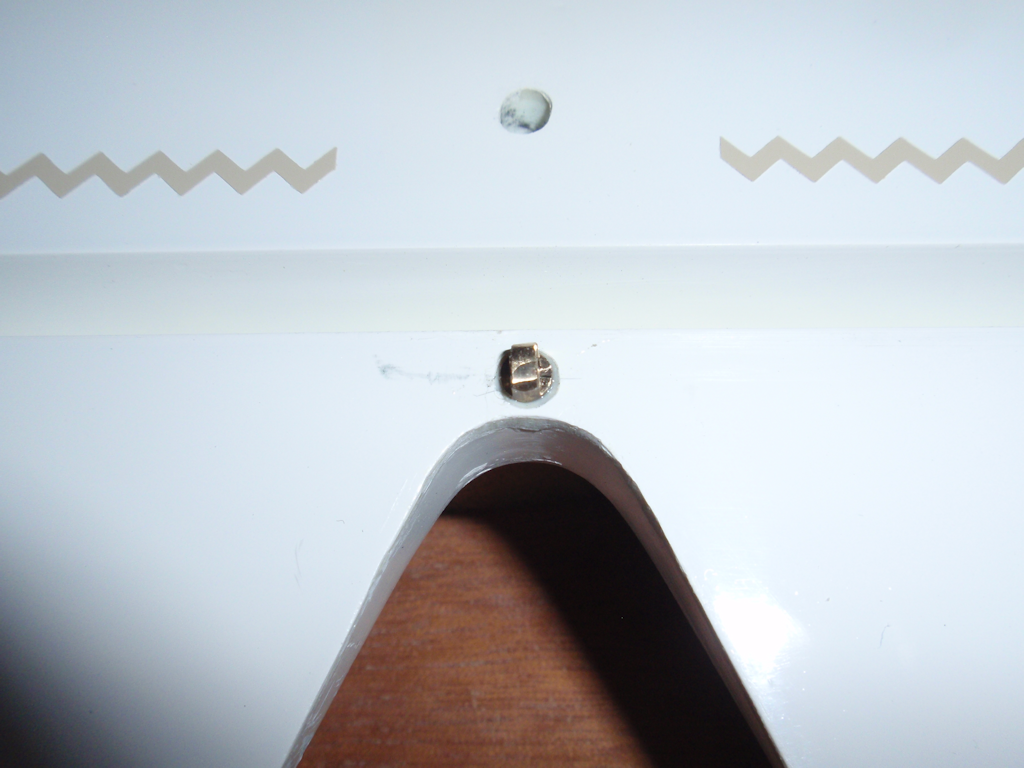
Not much progress so far, did get a limit switch in that senses when the SLS boom is retracted.

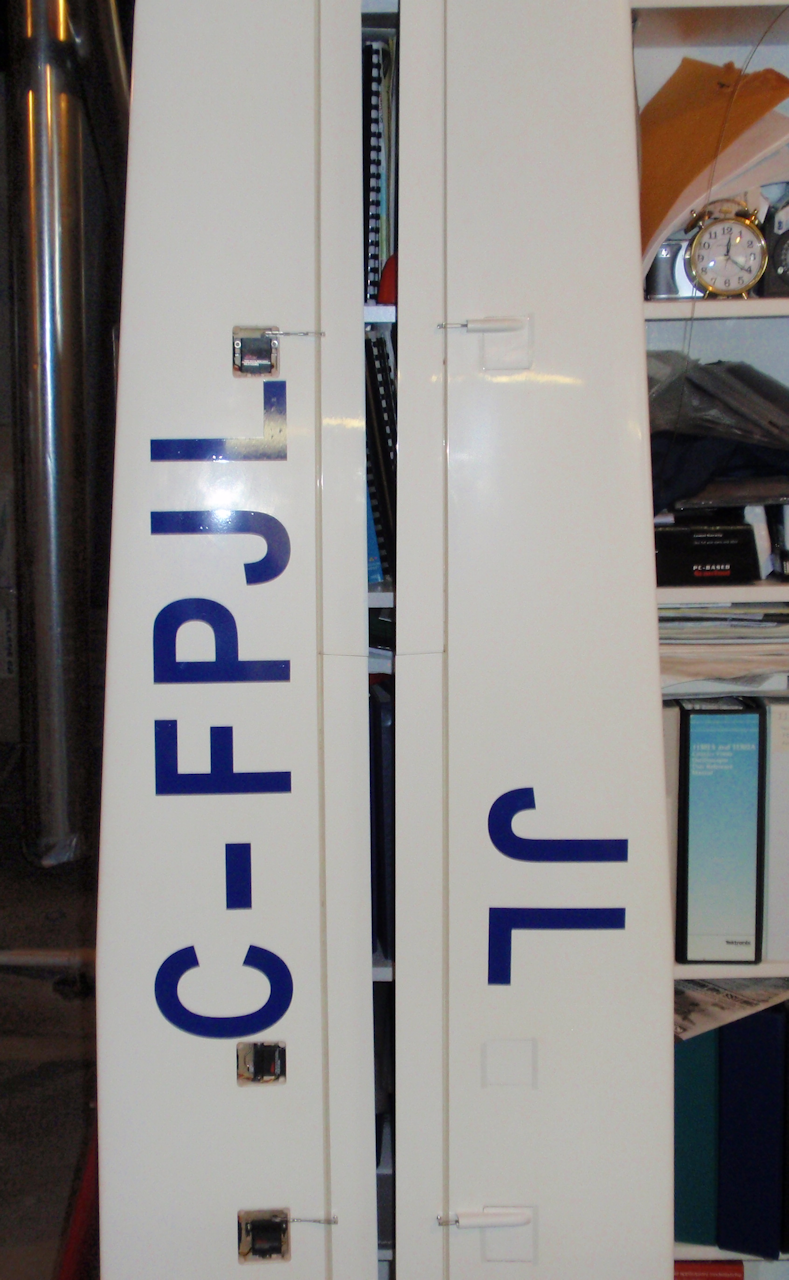
Wing servo installation
The wings came without any servo mounting provisions. They were cut to fit the multiplex servo frames which I have used before but now it seems they are getting harder to find. I decided to make my own.
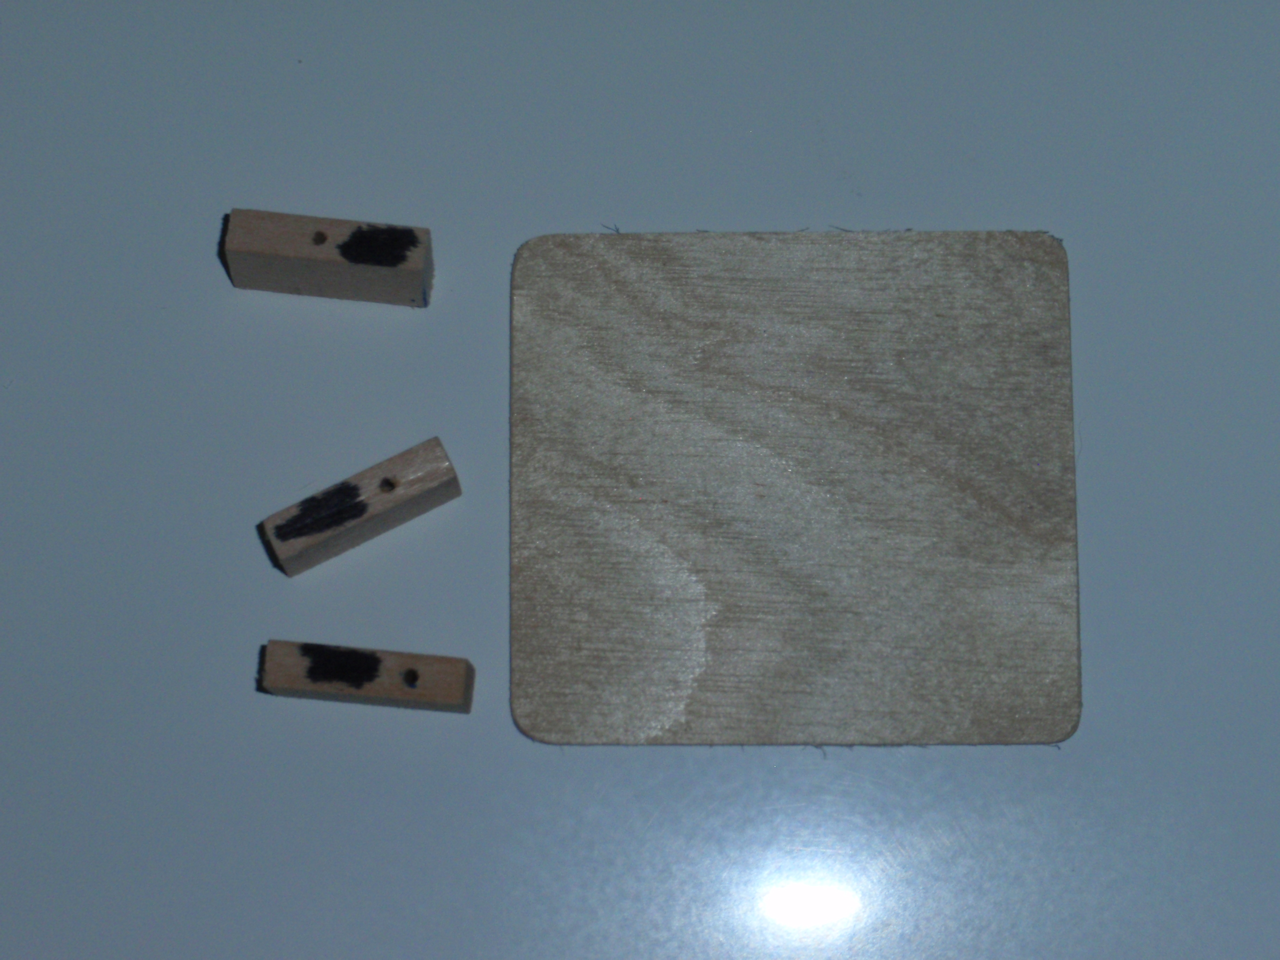

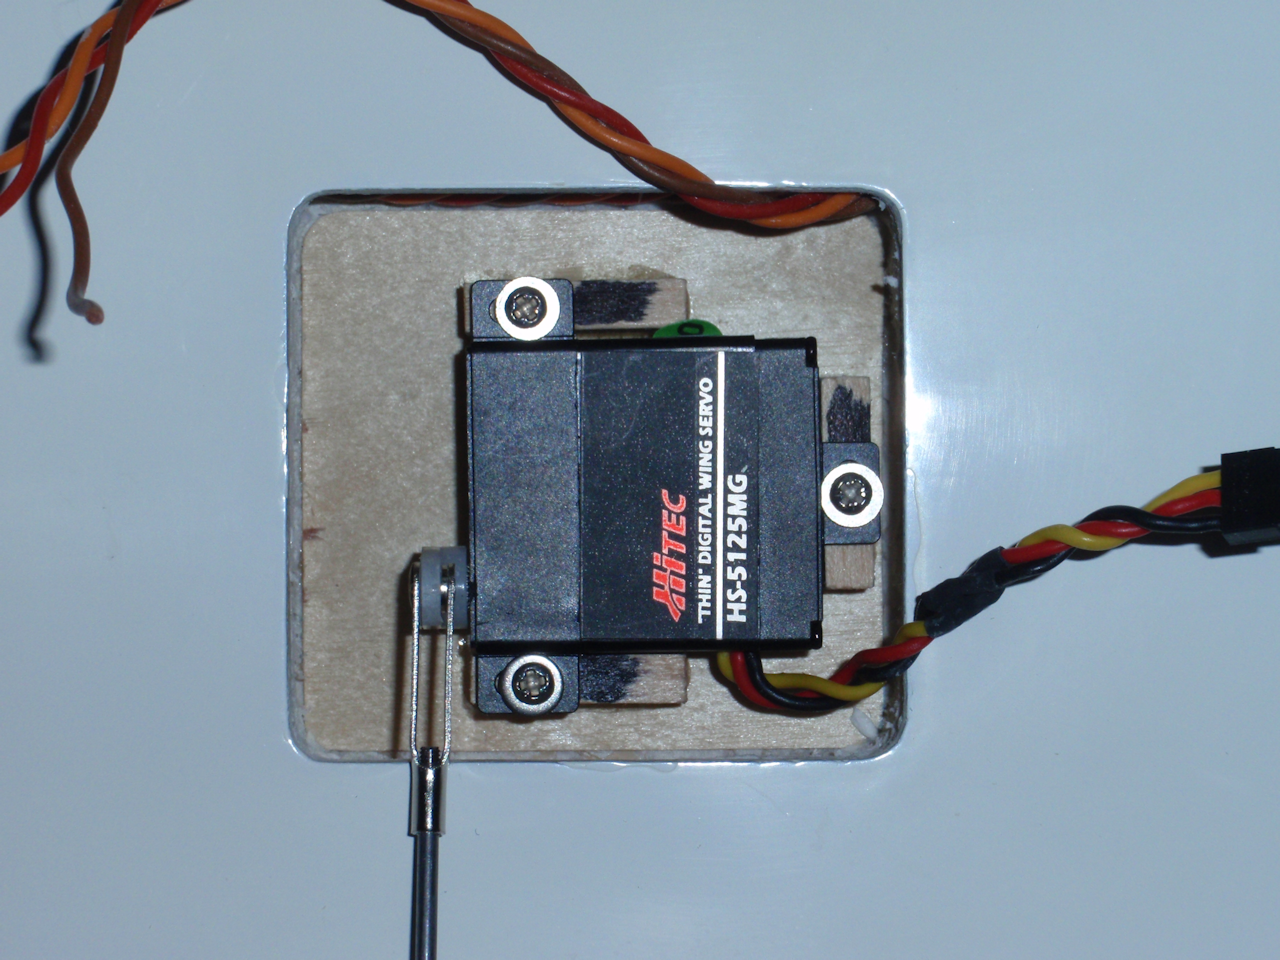

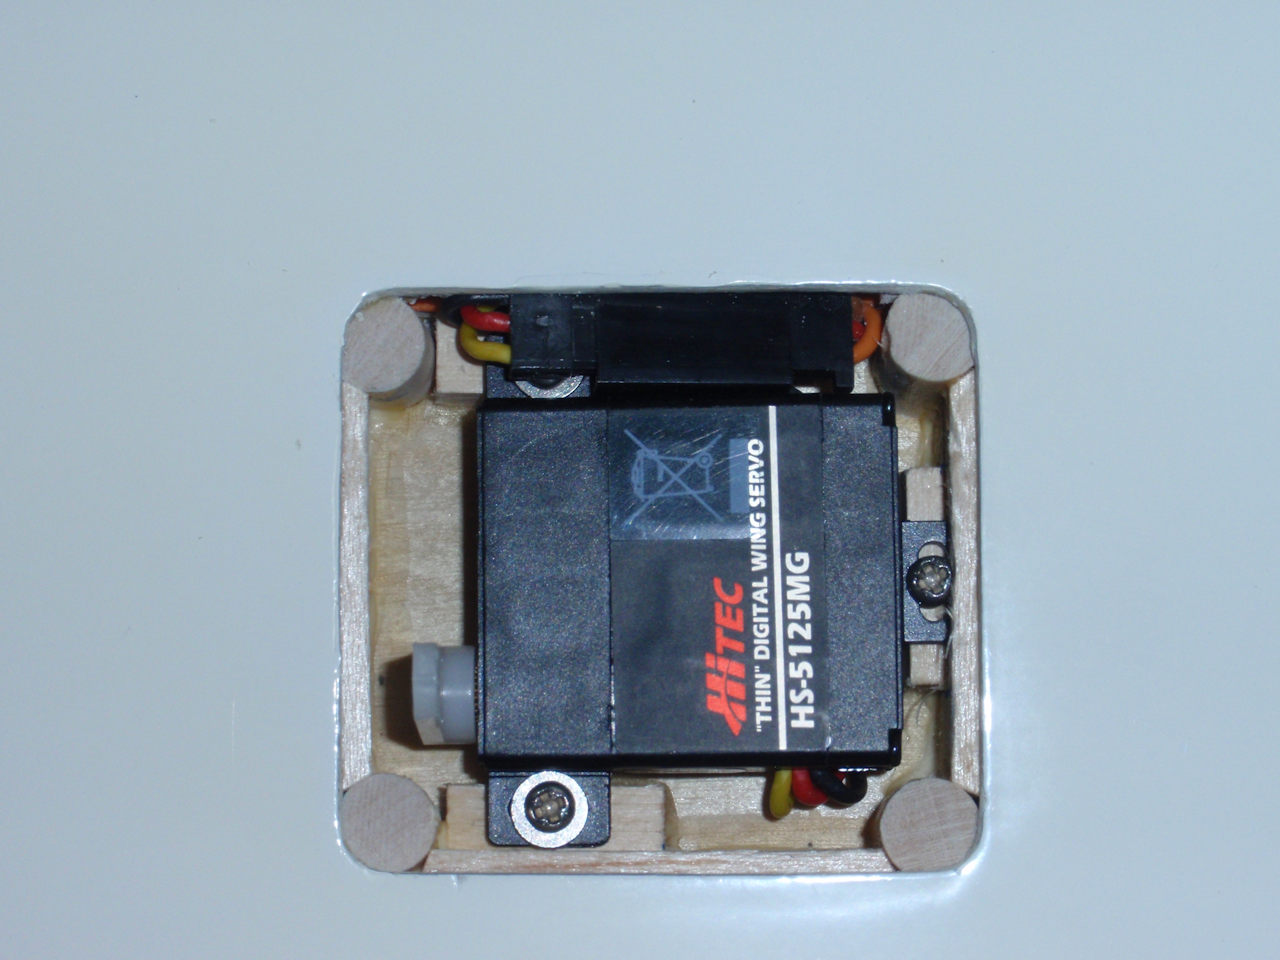
I used 1/32" ply and hardwood stick to make the mounts. I glued 1/4" dowels in the corners and used 1/8" balsa sheeting to box things in. I also laminated 1/32" ply to the bottom of the fibreglass covers to add stiffness. I was worried about using HS-5125 servos on the flaps but as it turns out the pushrod is .25" from the servo center and the control horn on the flap is .75" from the hinge line. In the end the 41 in-oz servo has 123oz at the flap.
The SLS door servos are in but not yet adjusted with the sequencing unit. I initially taped them in but found that they moved too much for my liking. I added a hard mount to the top of each servo. Still need to add some retainers to the push rods. The rudder servo is now mounted, still deciding on solder on threaded end vs a screw clamp keeper. One wing is now complete with all servos installed, the other just needs the wing tip servo completed.
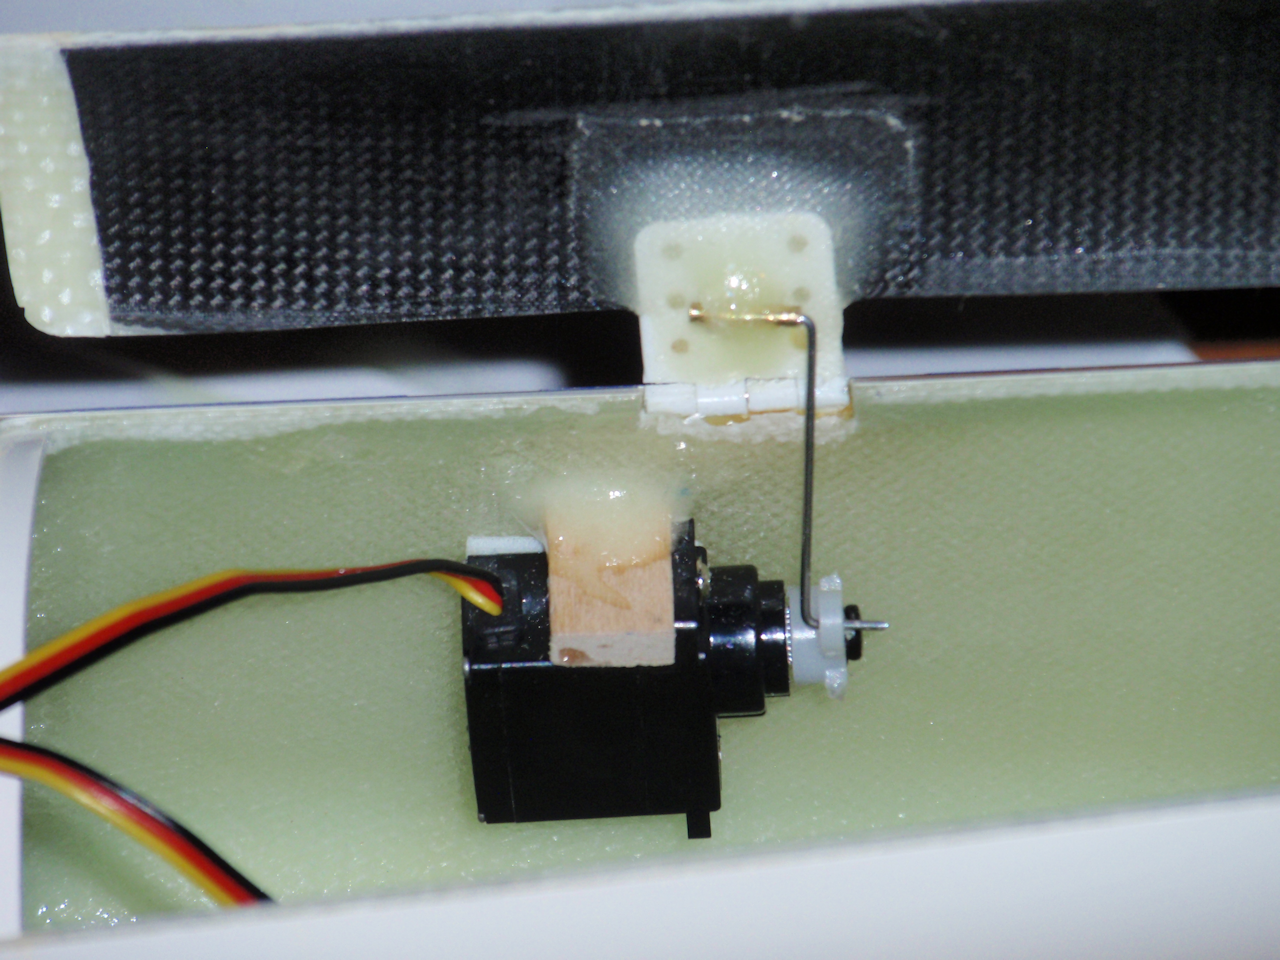
Elevator servo
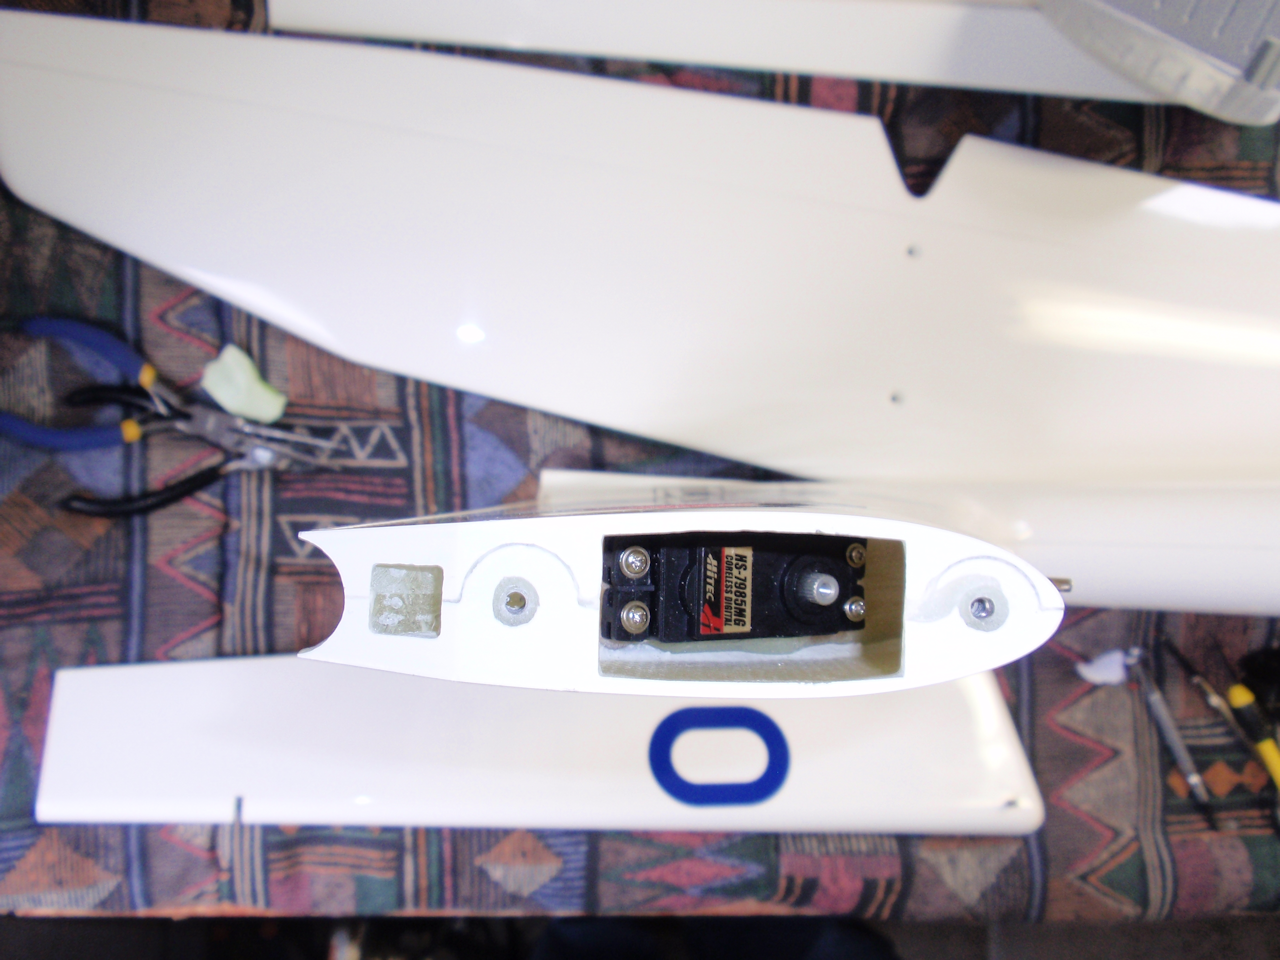


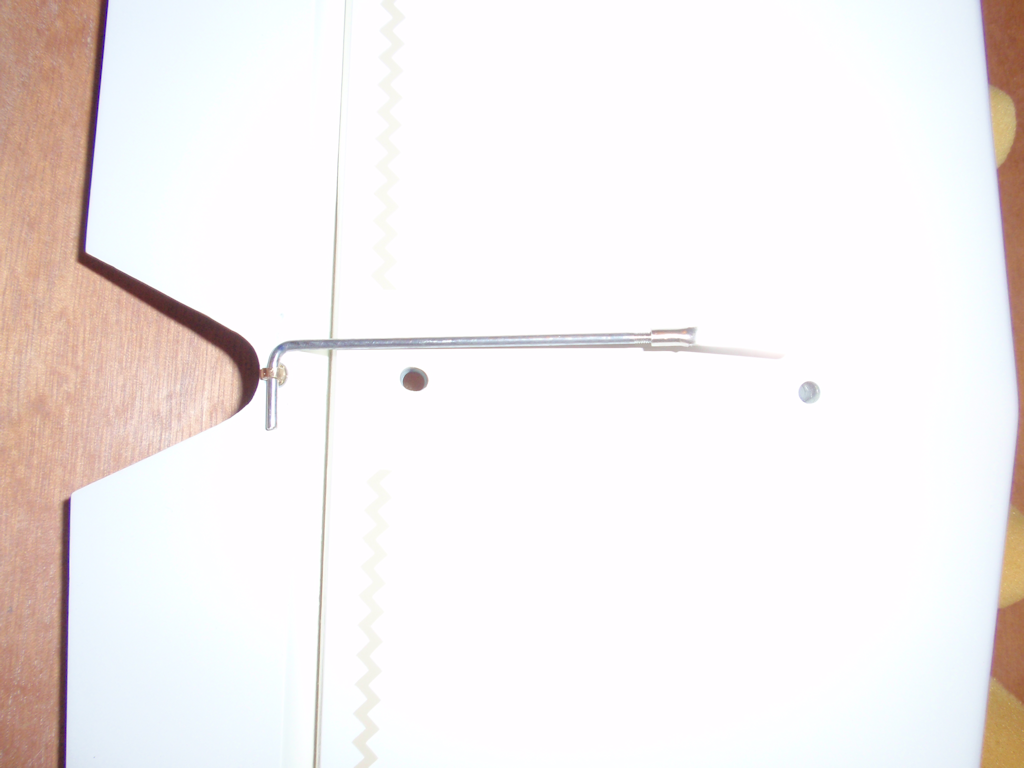
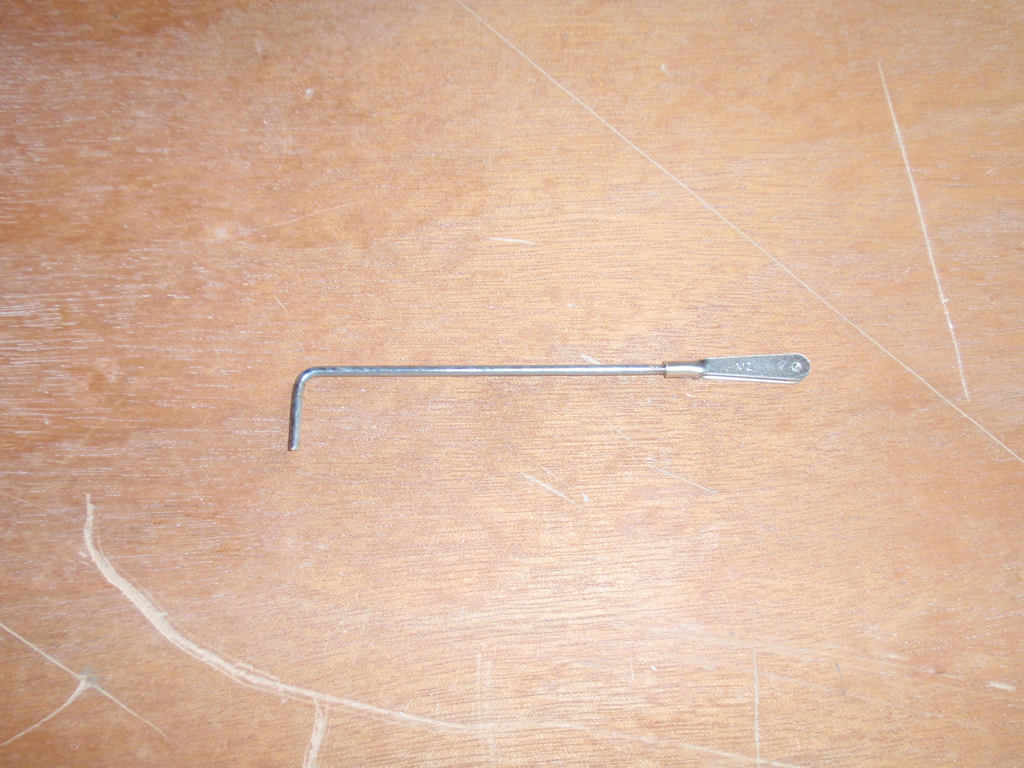
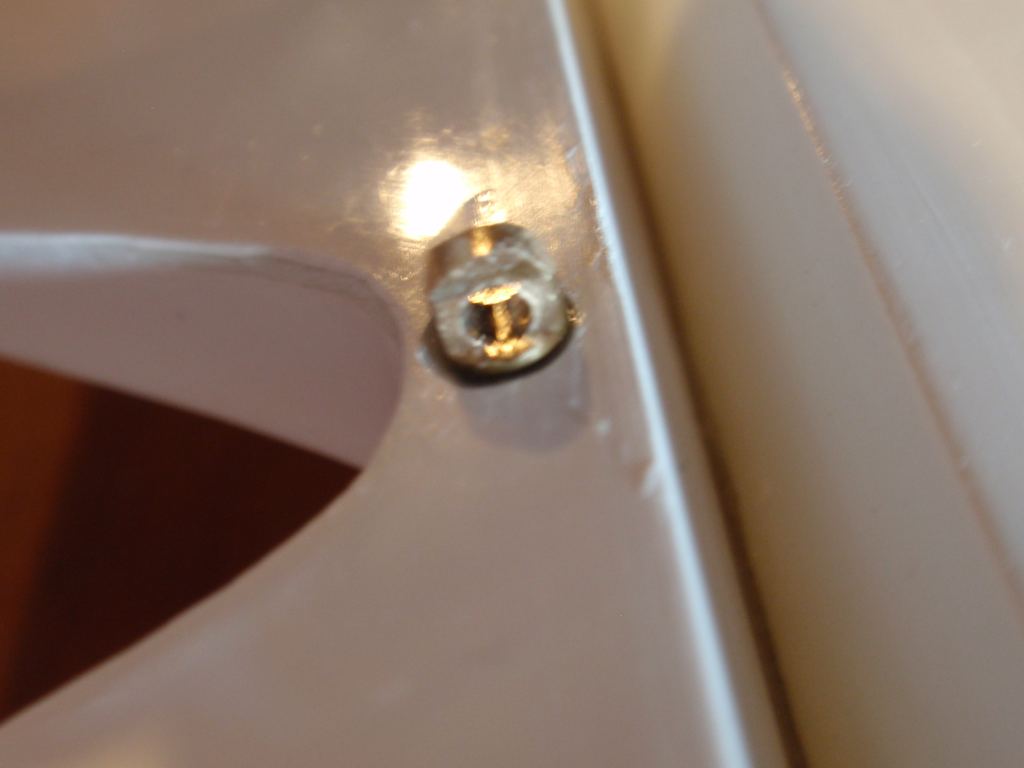
I originally had an issue with getting the elevator servo mounted. The front two screws are not really accessible from the big openning. I made a screw driver out of music wire that I could slide through the front stabalizer mounting hole and get on the front two servo mounting screws.
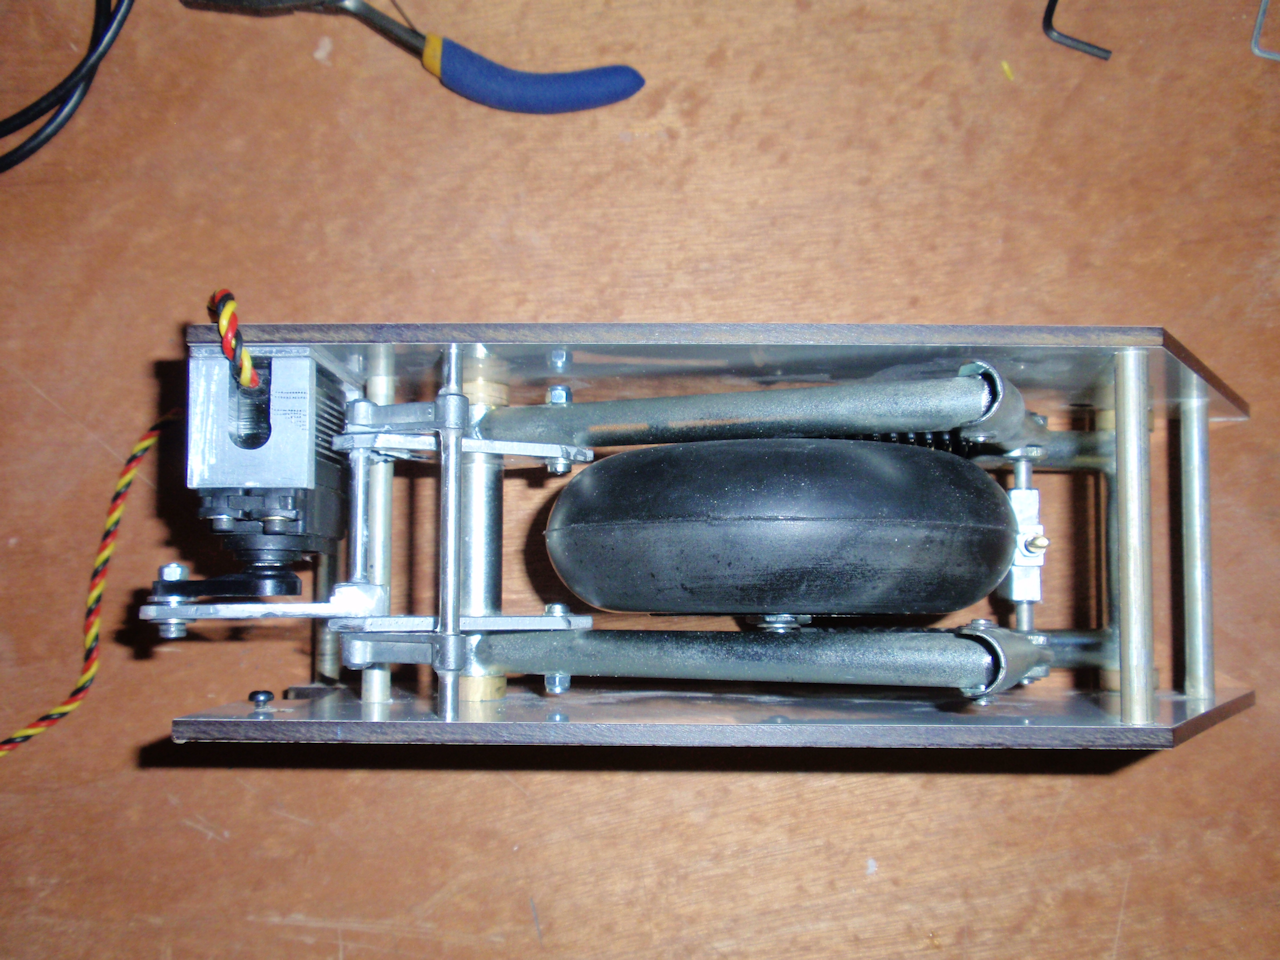
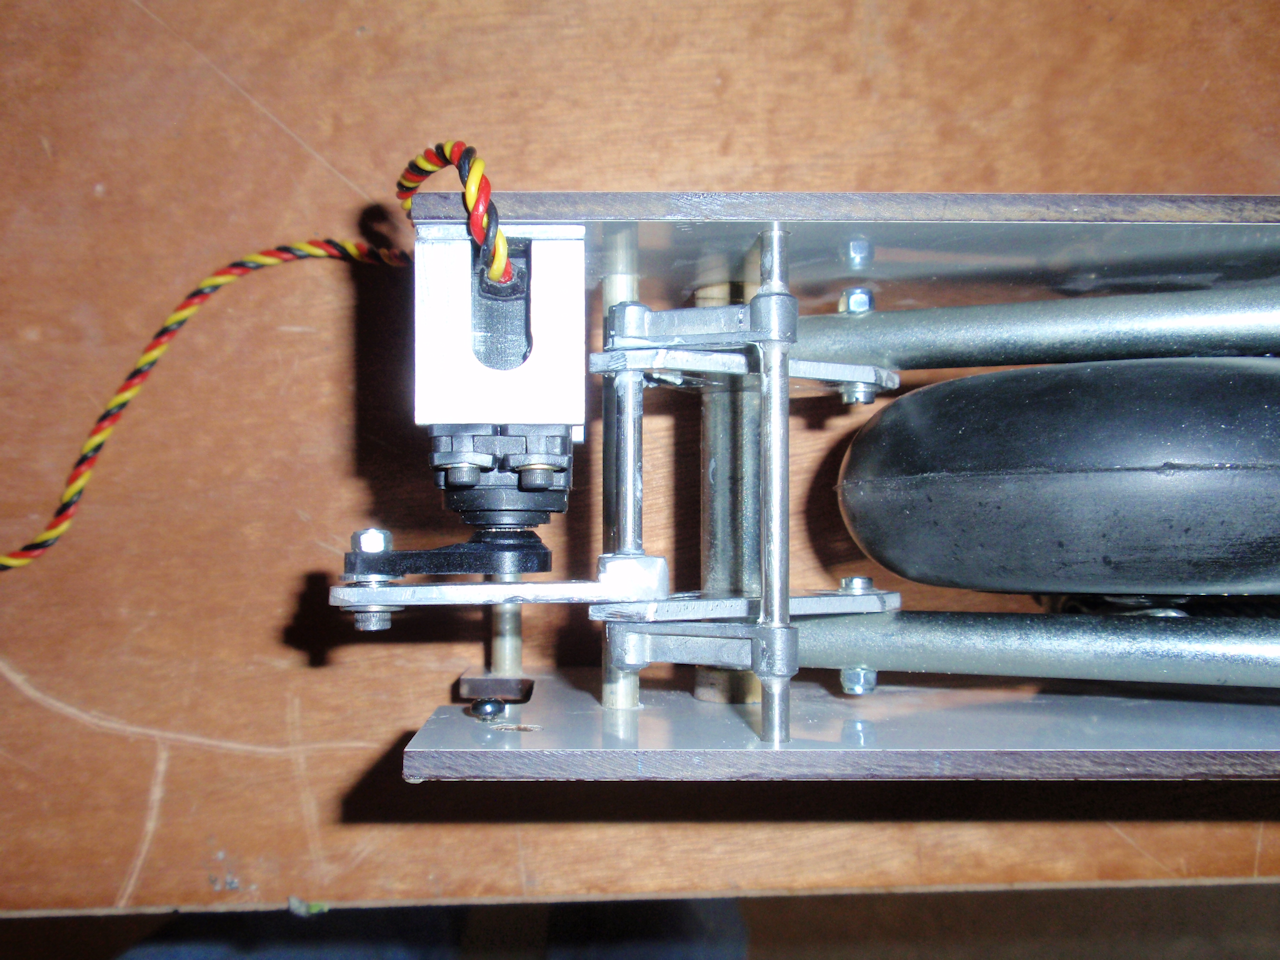
Retract Mechinism
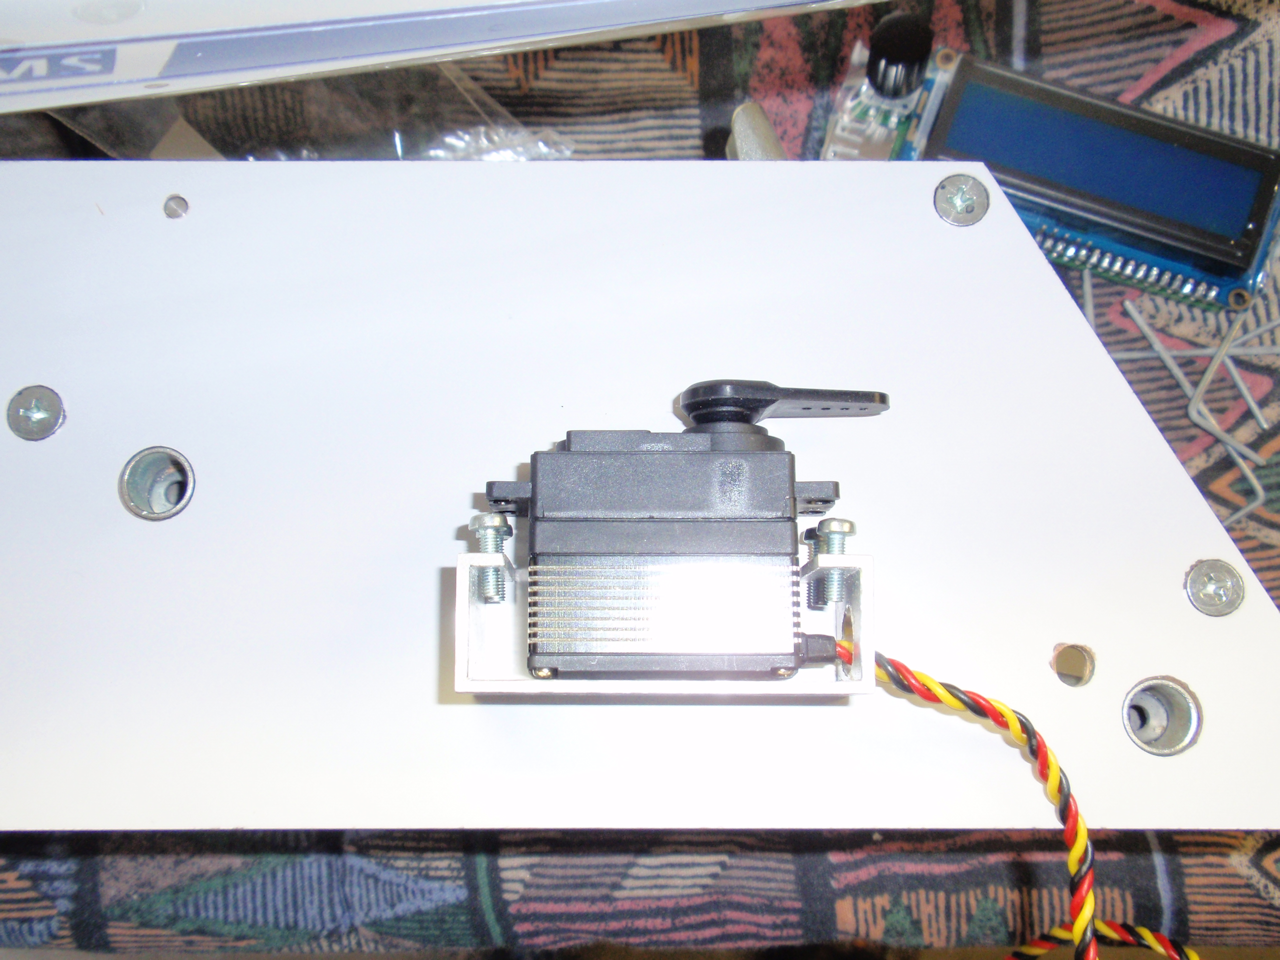
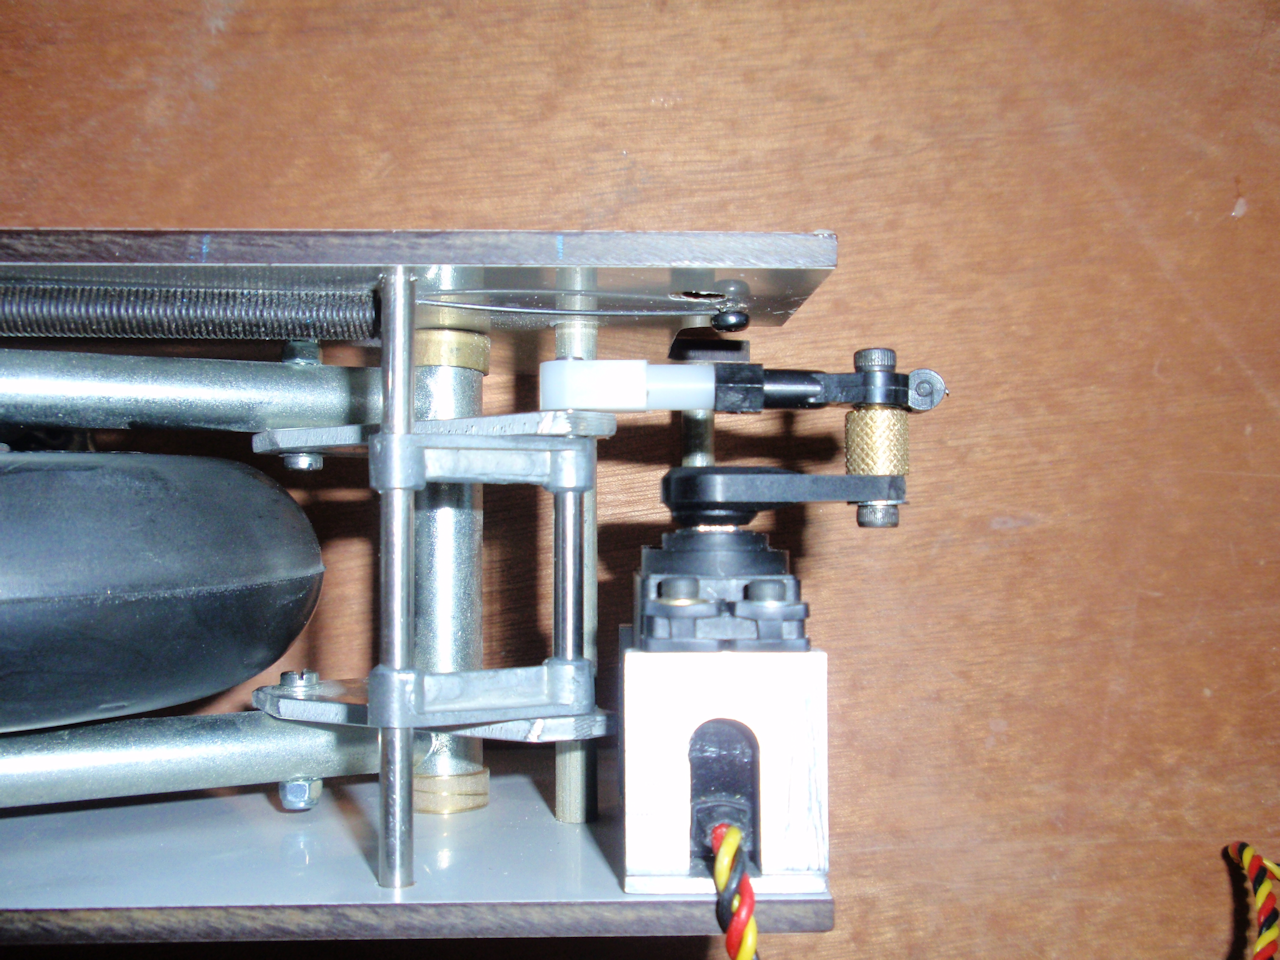

The recommended servo for the retract mechanism is an HS-7955 TG. Nice servo, doesn't fit the supplied servo mount as it is too tall. Again, no problem, I'll make a new mount. The second two pictures show the servo mounted in the retract frame. After programming the servo for 180 degree rotation everything works fine.
Retract Mechanism 2
After installing the retract and testing it and the SLS arm, I found that the way I did the servo arm and linkage interfered with the SLS arm when the SLS arm is retracted. The servo arem would hit the SLS frame. So I redid the retract linkage and now all is well
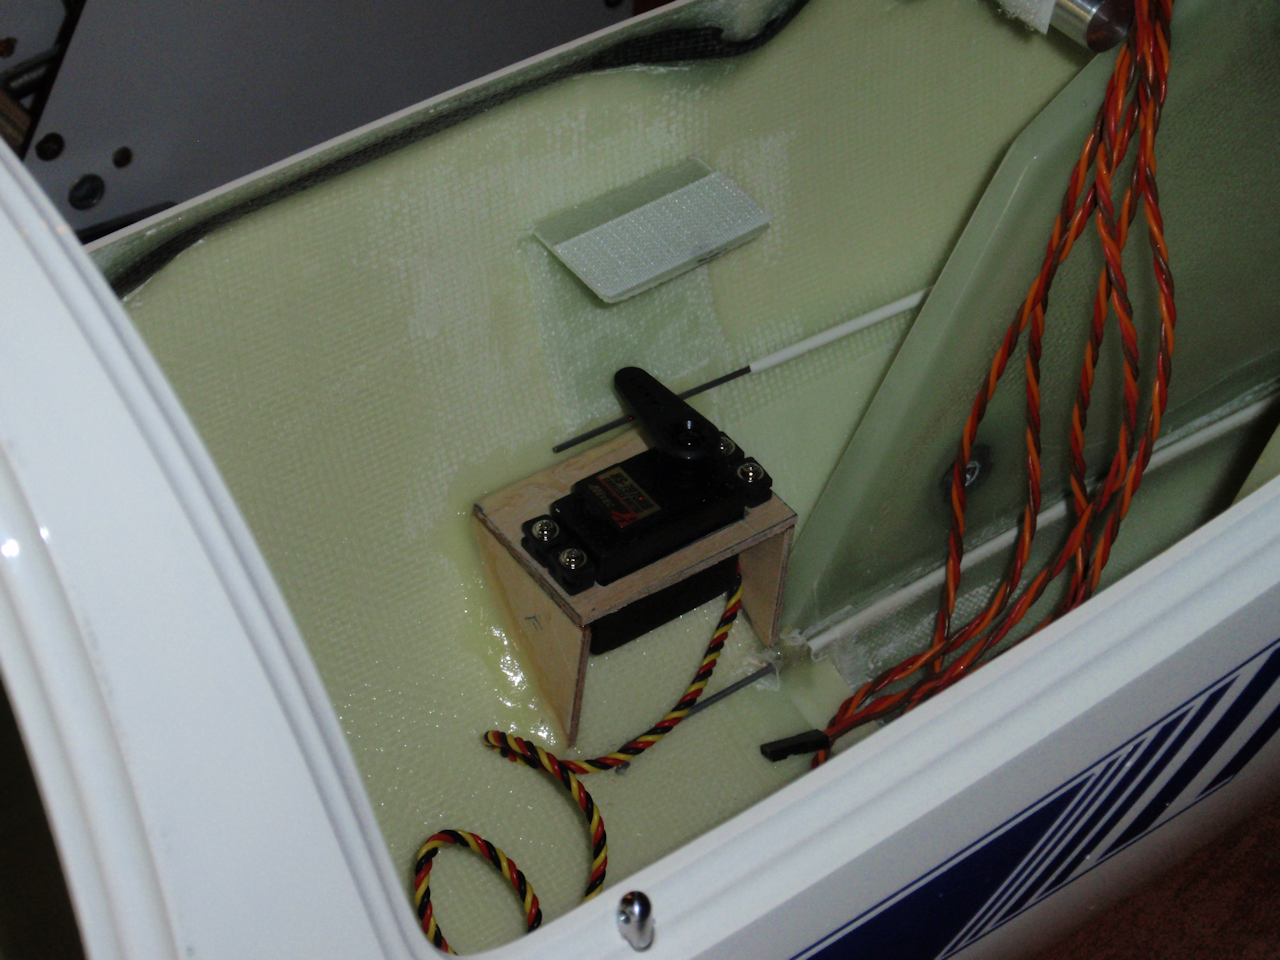
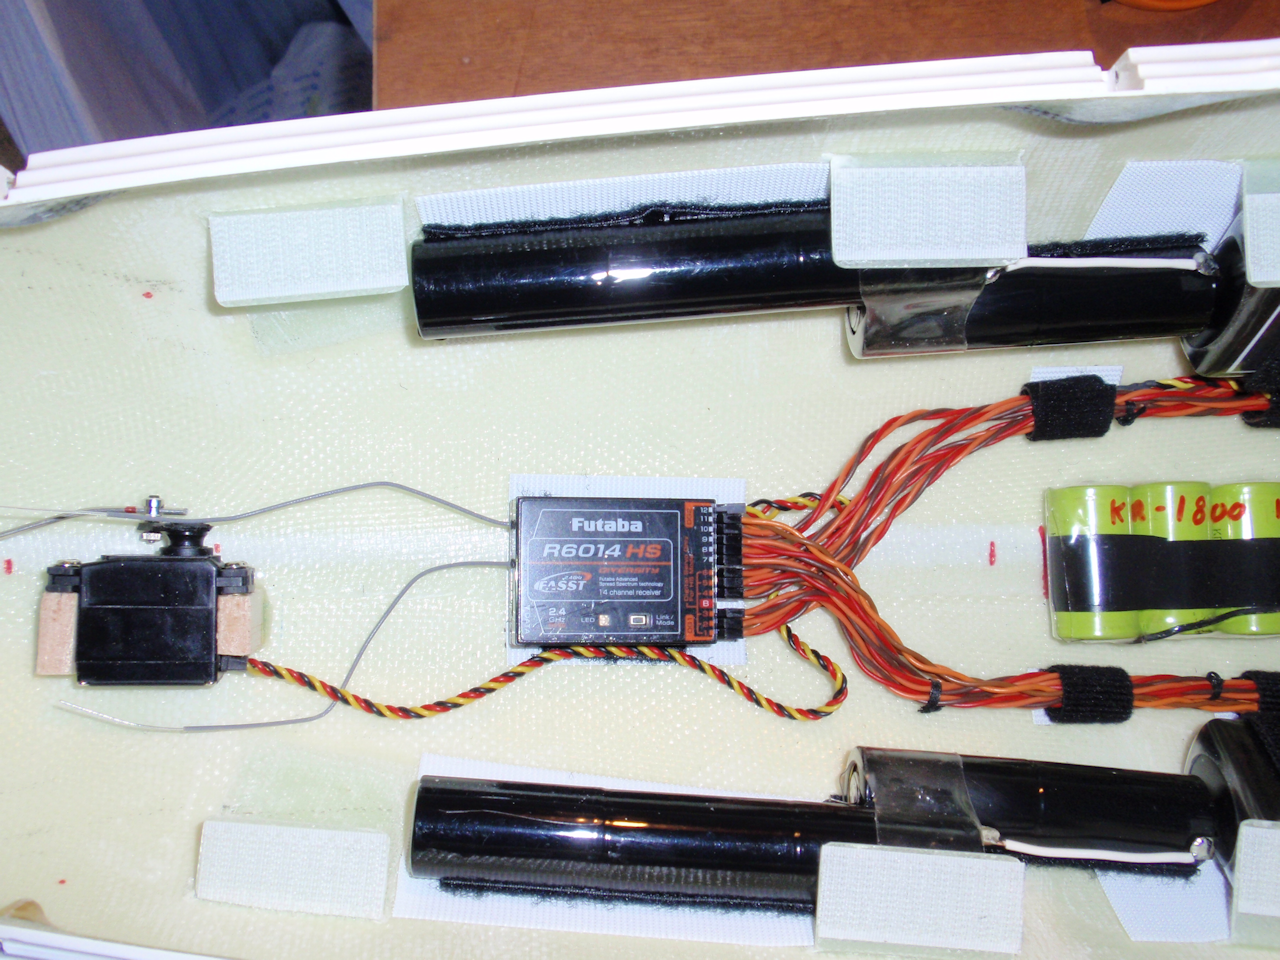
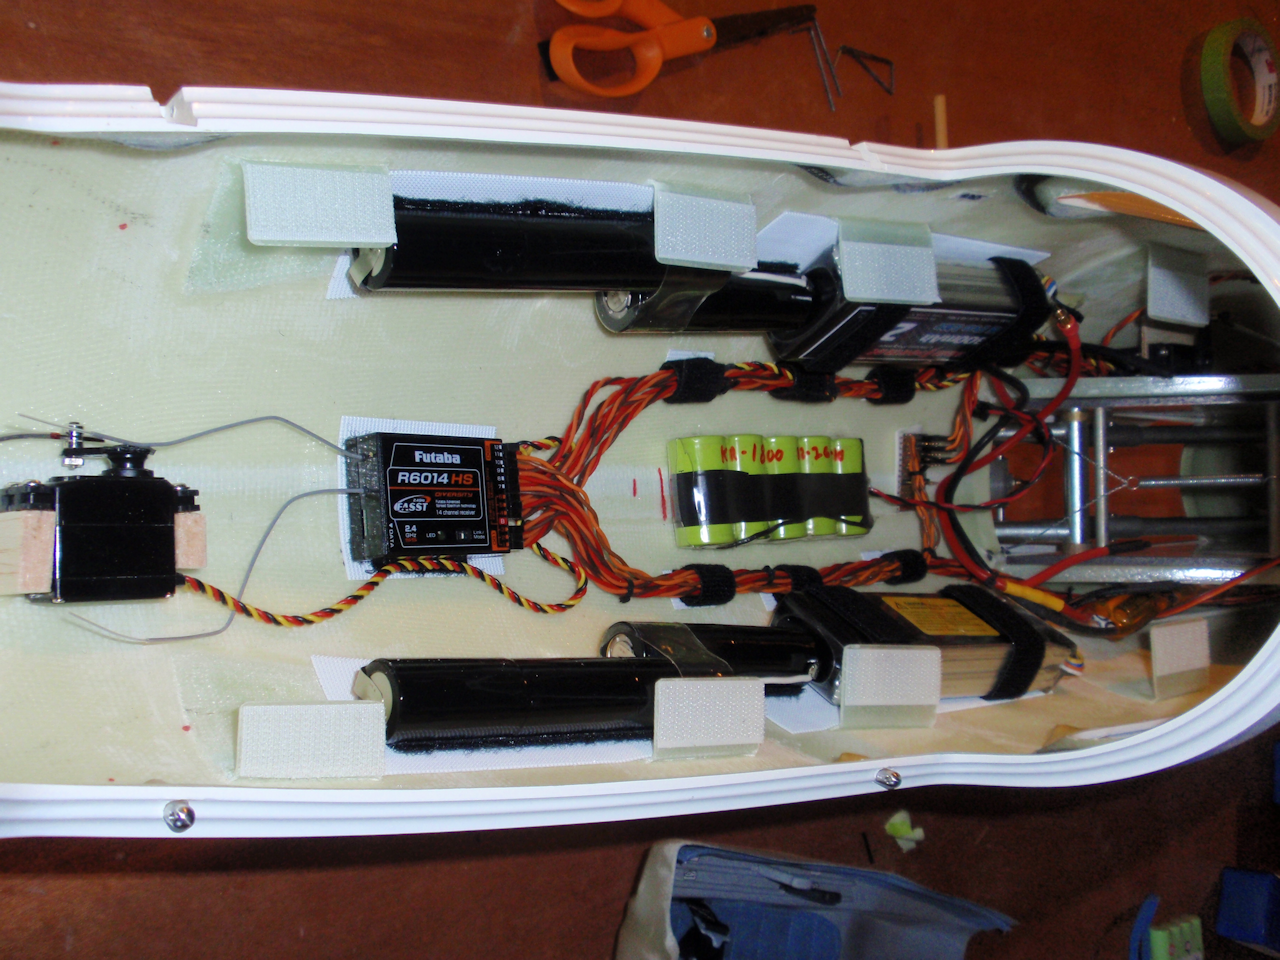
Rudder servo relocation
After more looking at where the SLS motor batteries will likely need to go, I relocated the rudder servo to be behind the front edge of the retract mount. This will let me strap the batteries to the sides of the fuselage where there is the most room. If I find space, I will mount them more forward in the fuselage to help with balance. As it sit, it looks like I will need as much weight as I can get as far forward as I can put it to minimize the amount of lead I will need to add.

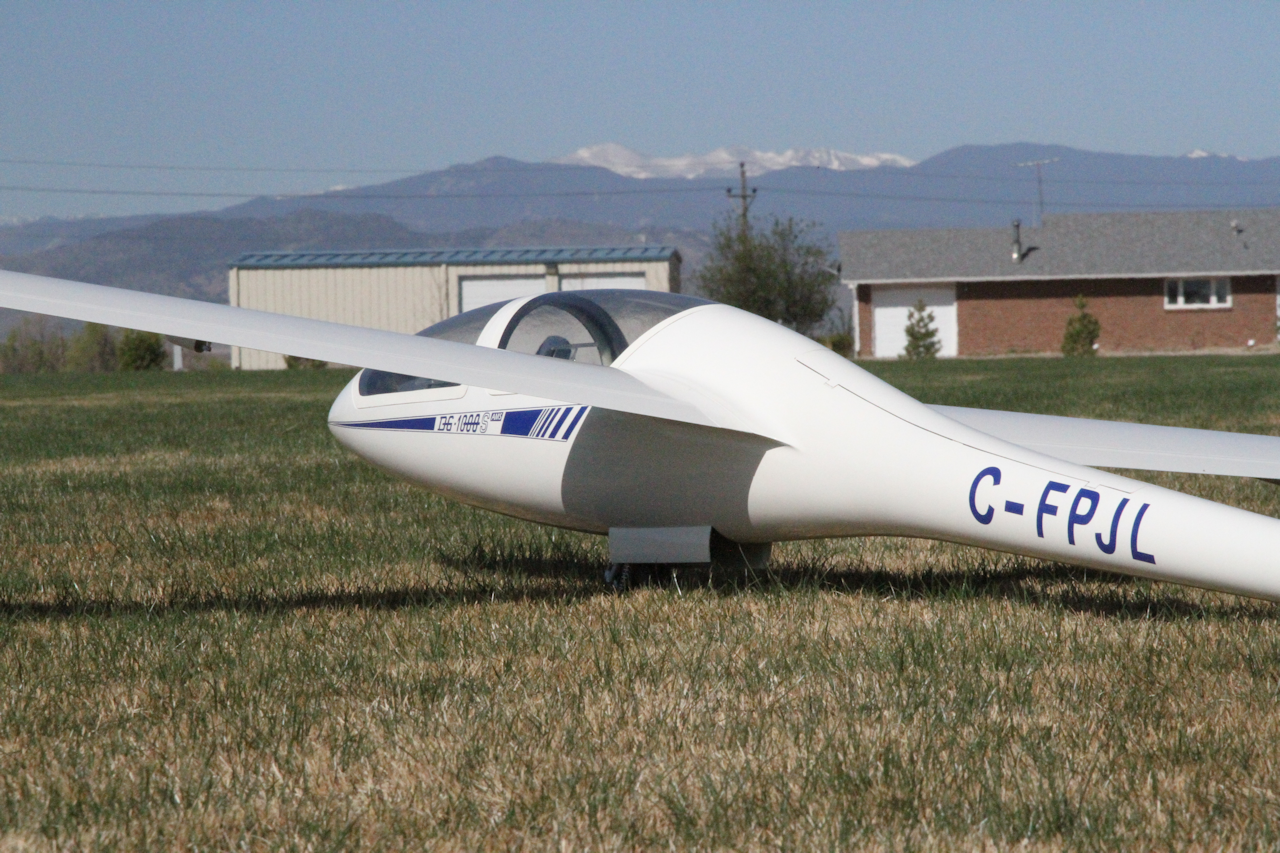
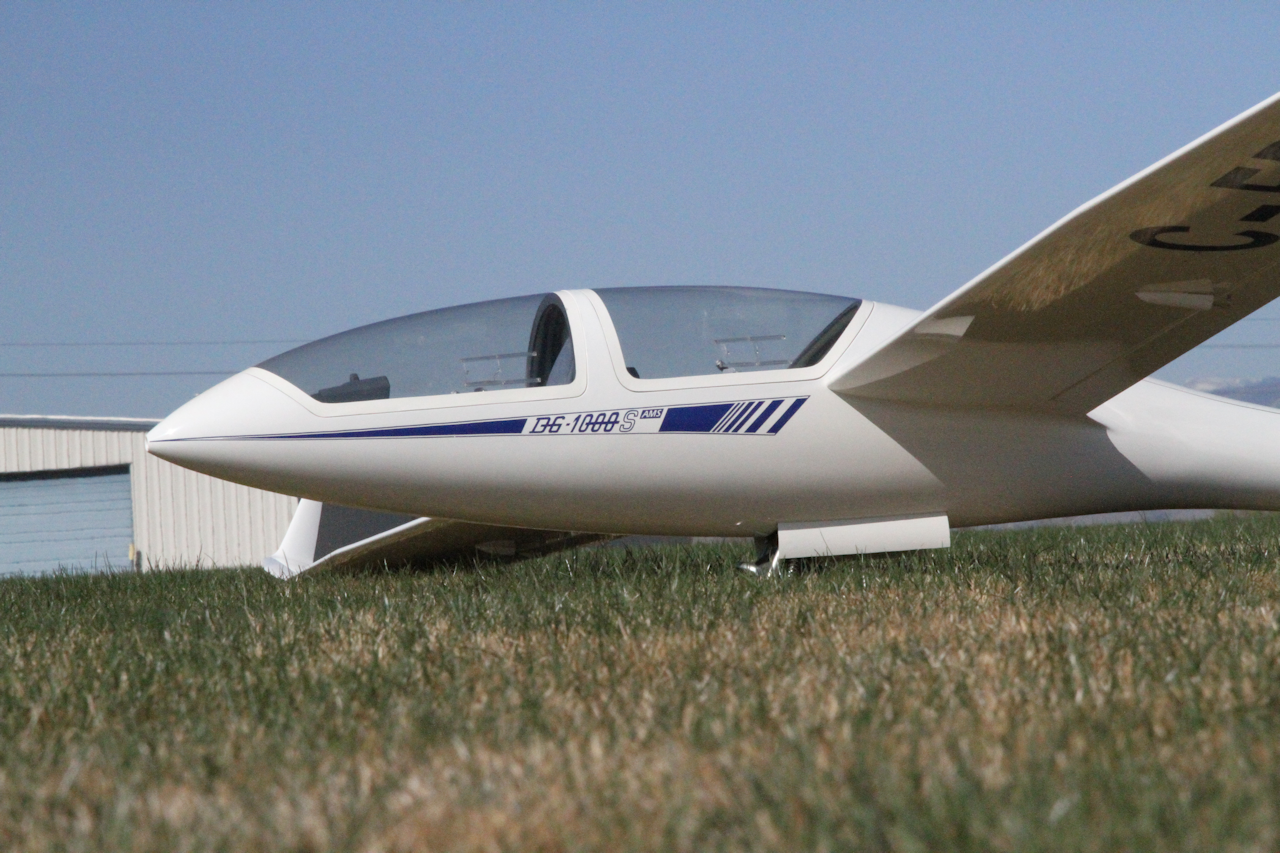
I decided to add my own nomenclature the the DG


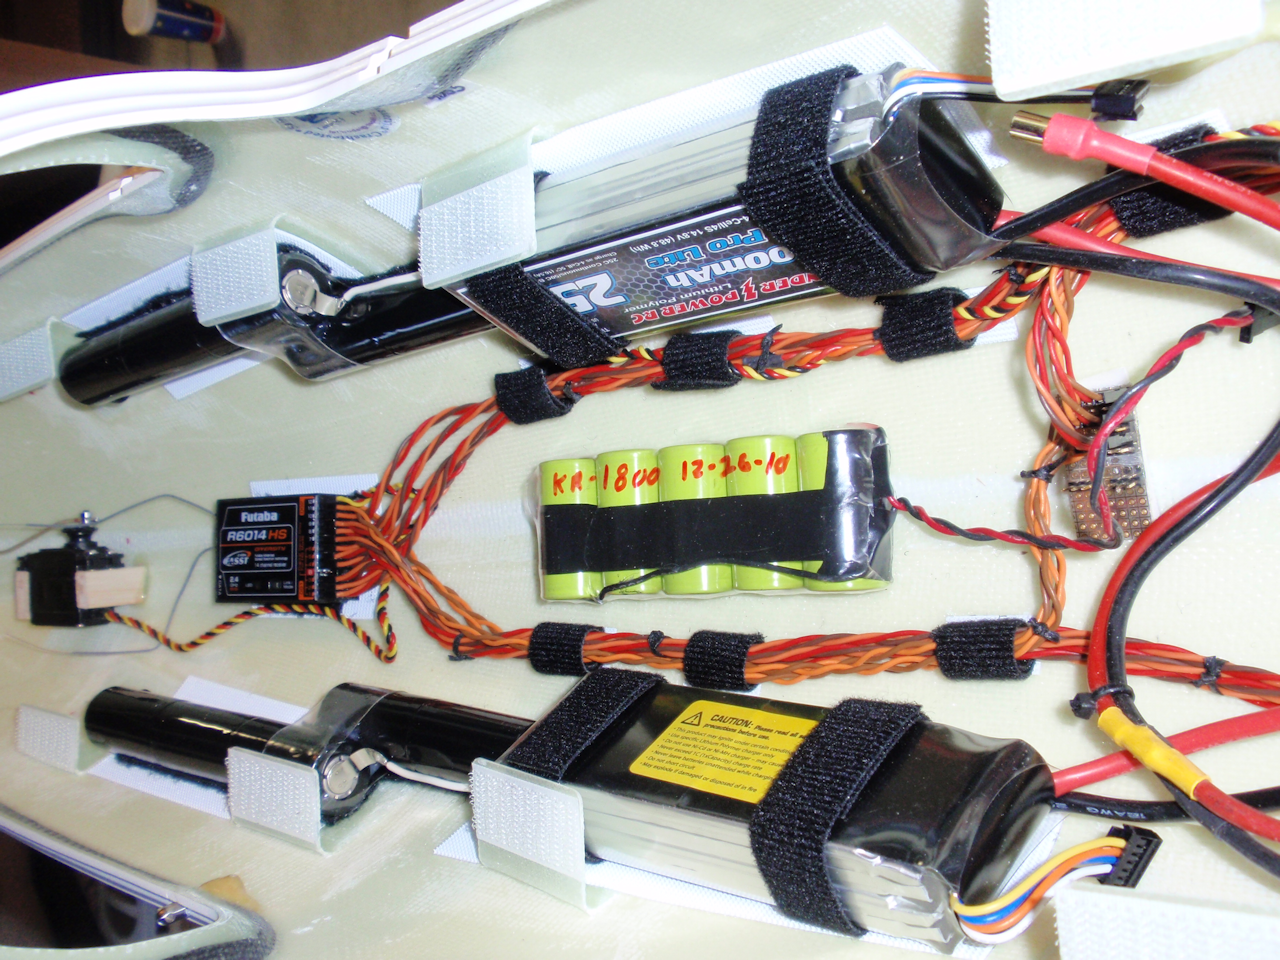
Most things are now wired up. For now, everything is wired directly to the receiver. I'm in the process of growing my own version of a battery sharing device and fail on switch.

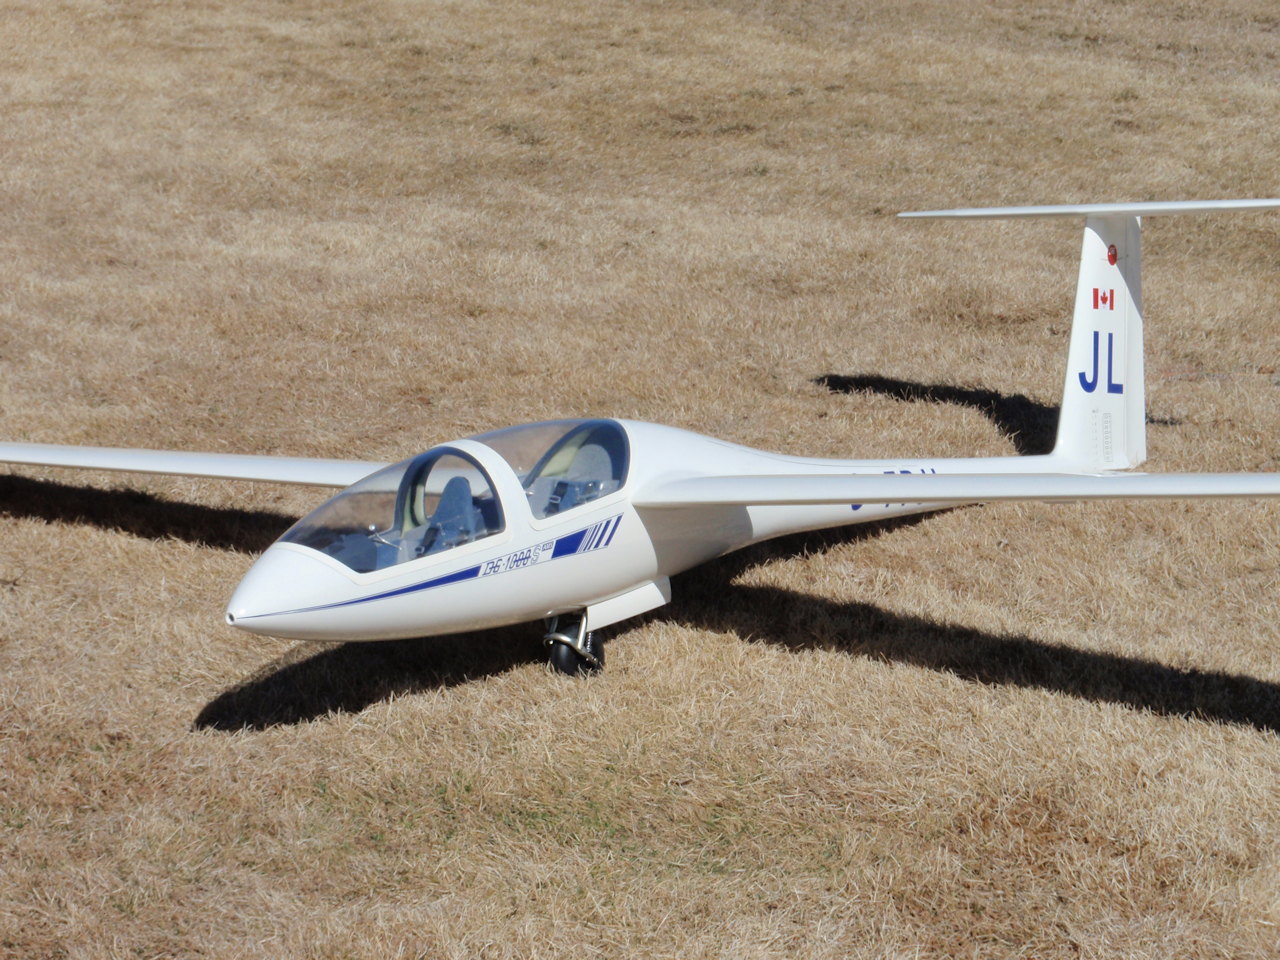
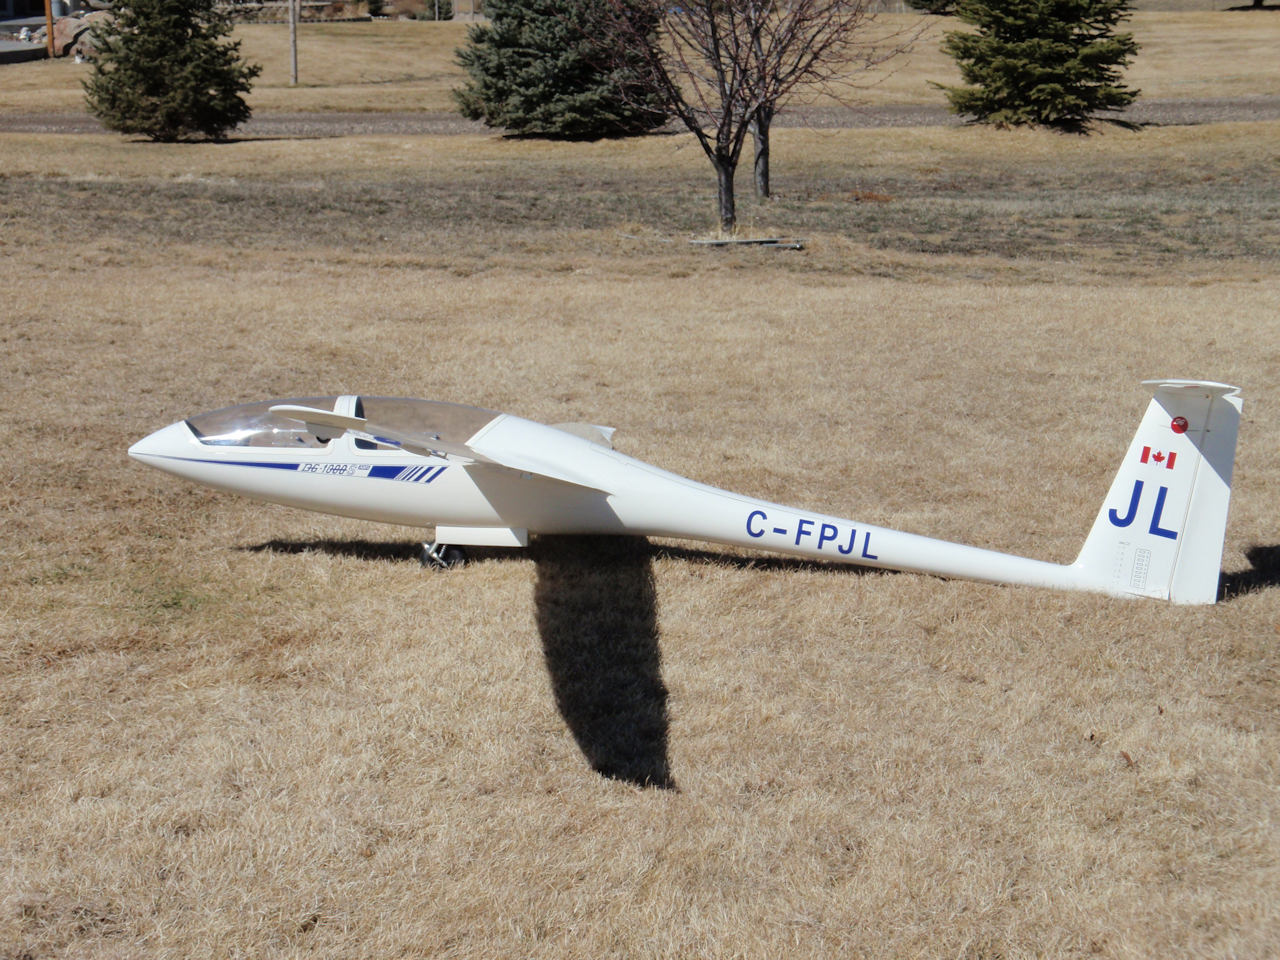

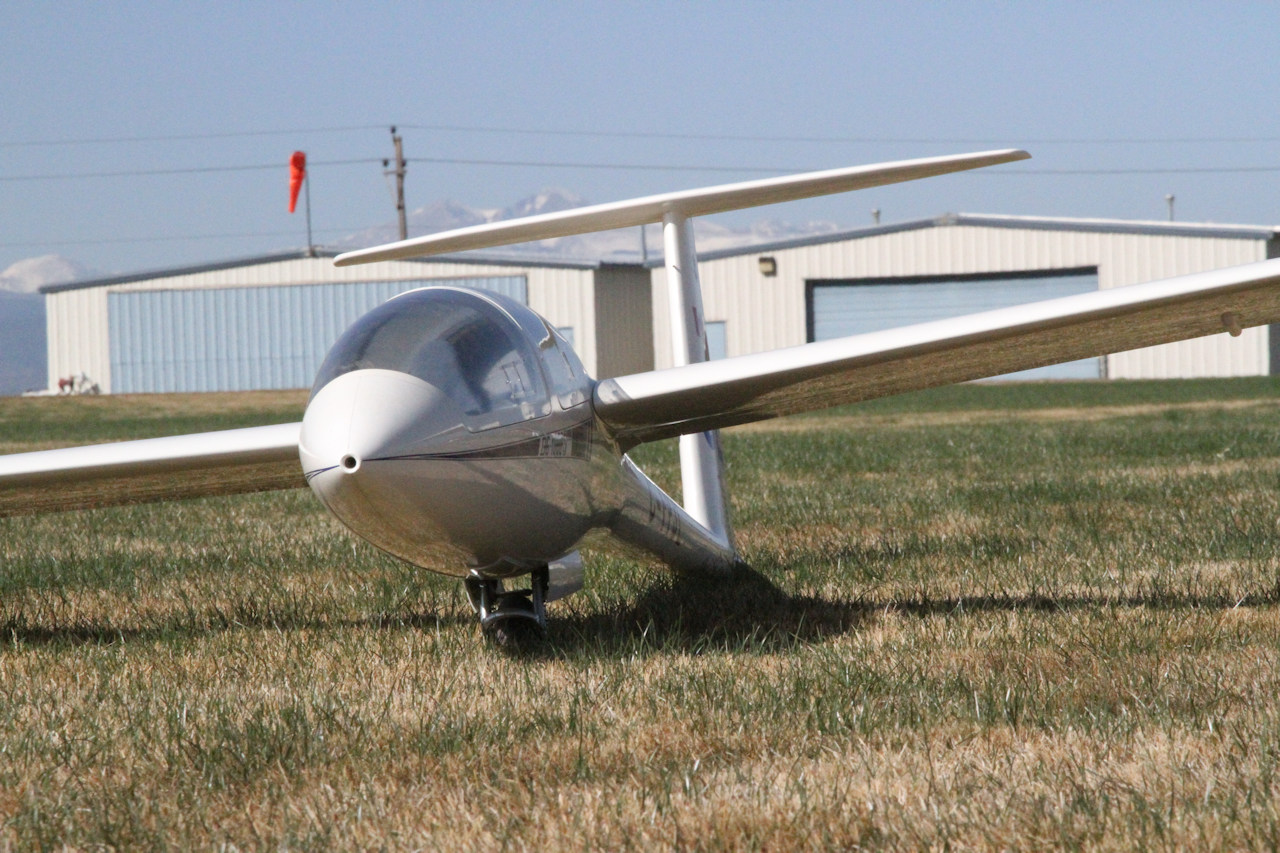
Took the DG out to the flying field today. No air time but was able to find some things that need addressing. The two biggest problems are the tendancy to nose over and the wing lock does not adequately hold the wing in place. I will come up with a way to keep the nose out of the ground and add a more positive wing lock. Did get some nice shots of the DG.
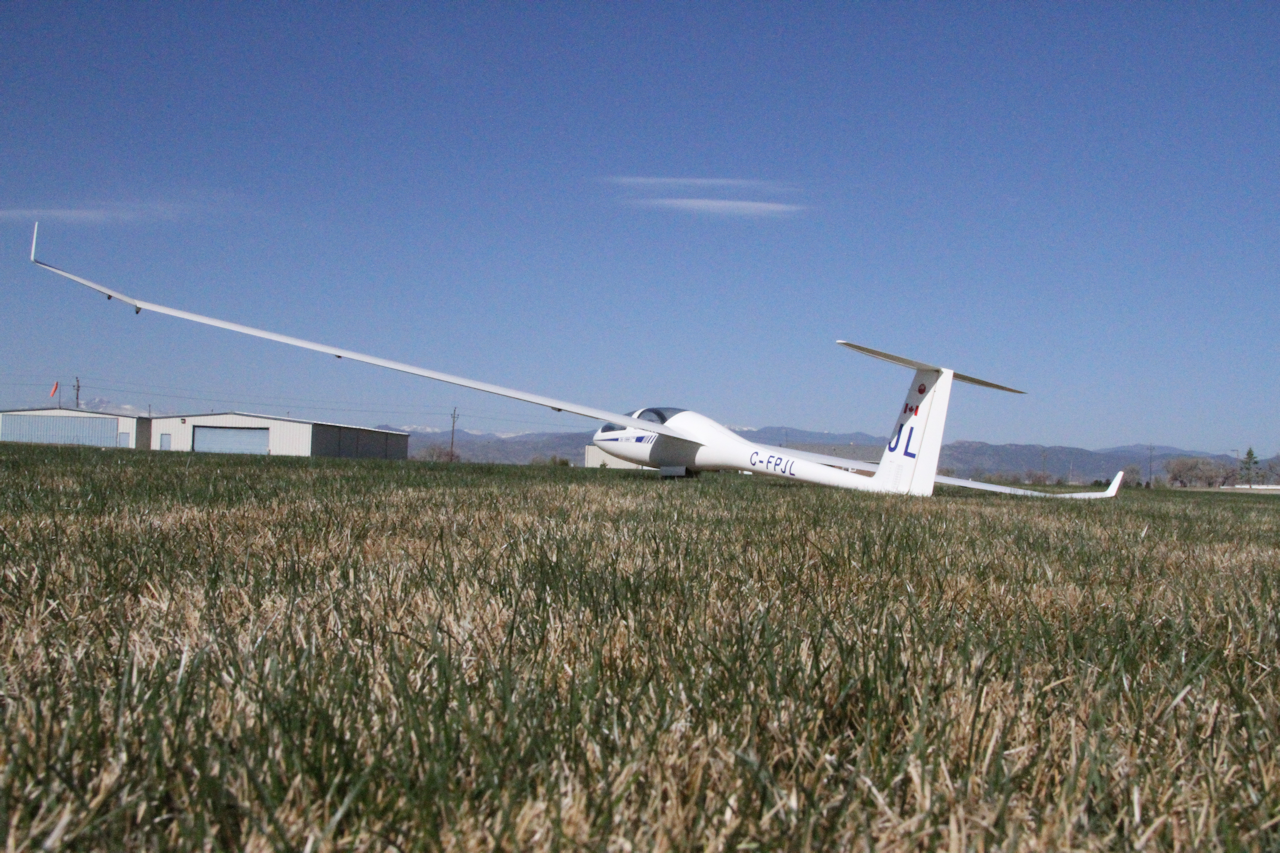
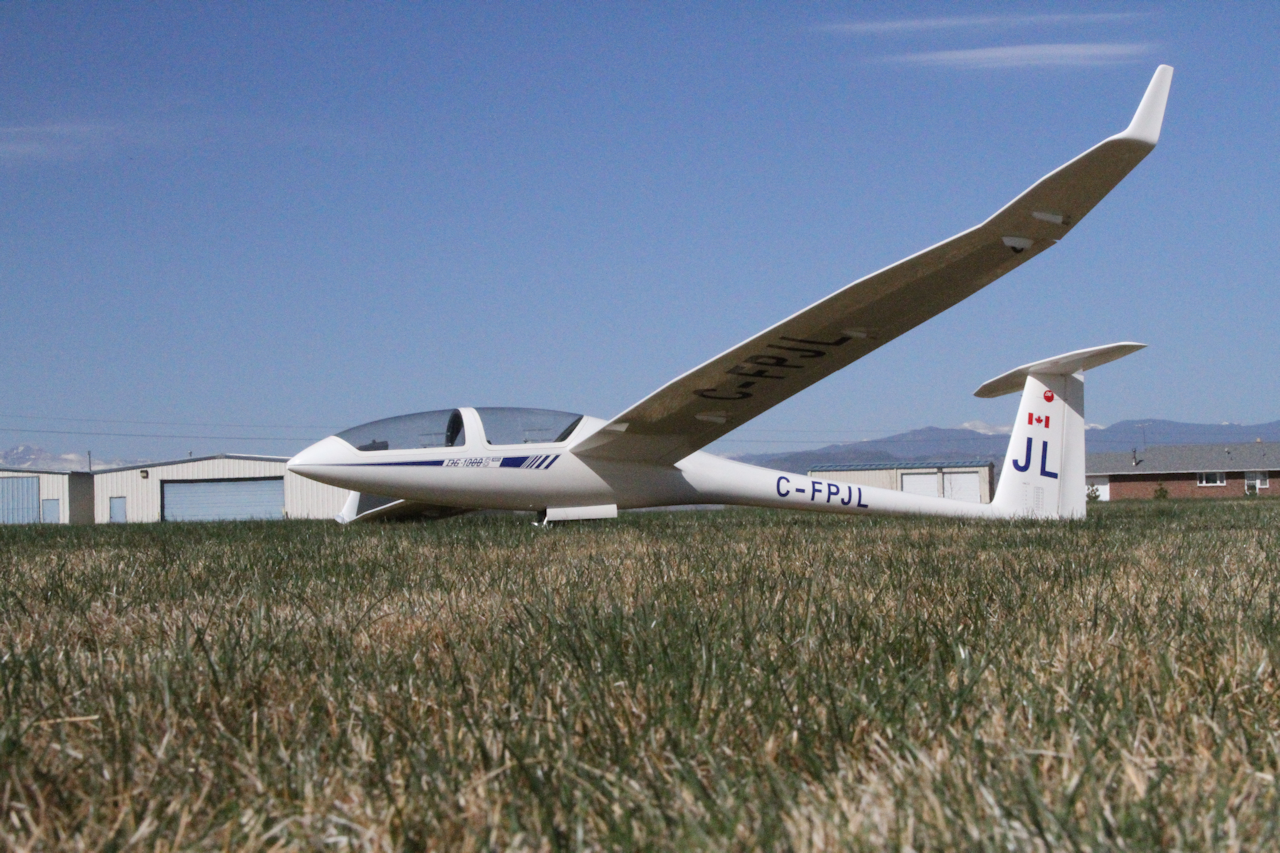

More to come as I make progress.
This is the second sailplane I have purchased from Etienne at Icare-RC. If you are looking for a great selection of sailplanes take a look at,